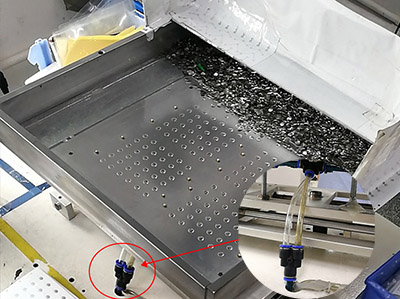

Assemble metal dome array processes play a decisive role in ensuring reliable tactile feedback, consistent electrical contact, and long service life in membrane switches and PCB-based interfaces. A properly executed assembly does more than just place domes onto a circuit—it defines the responsiveness, durability, and user experience of the final product.

How do you properly assemble a metal dome array?
A well-controlled metal dome arrays assembly process follows a structured sequence that balances precision with repeatability. Each step contributes directly to tactile consistency and electrical reliability.

The standard assembly workflow typically includes:
- Surface preparation of PCB or membrane circuit
- Positioning of alignment fixtures or tooling
- Placement of dome array (manual or automated)
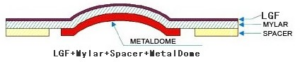
- Adhesive bonding or lamination
- Inspection and electrical testing
The first stage often gets overlooked. However, even microscopic contamination such as dust or oil residue can compromise conductivity. Cleaning the PCB contact pads using isopropyl alcohol ensures a stable interface before dome placement.
Placement accuracy is the next decisive factor. Dome arrays are usually pre-formed on PET carriers with precise spacing. During assembly, these carriers must align perfectly with PCB pads. A tolerance deviation beyond ±0.05 mm can already introduce actuation inconsistency.
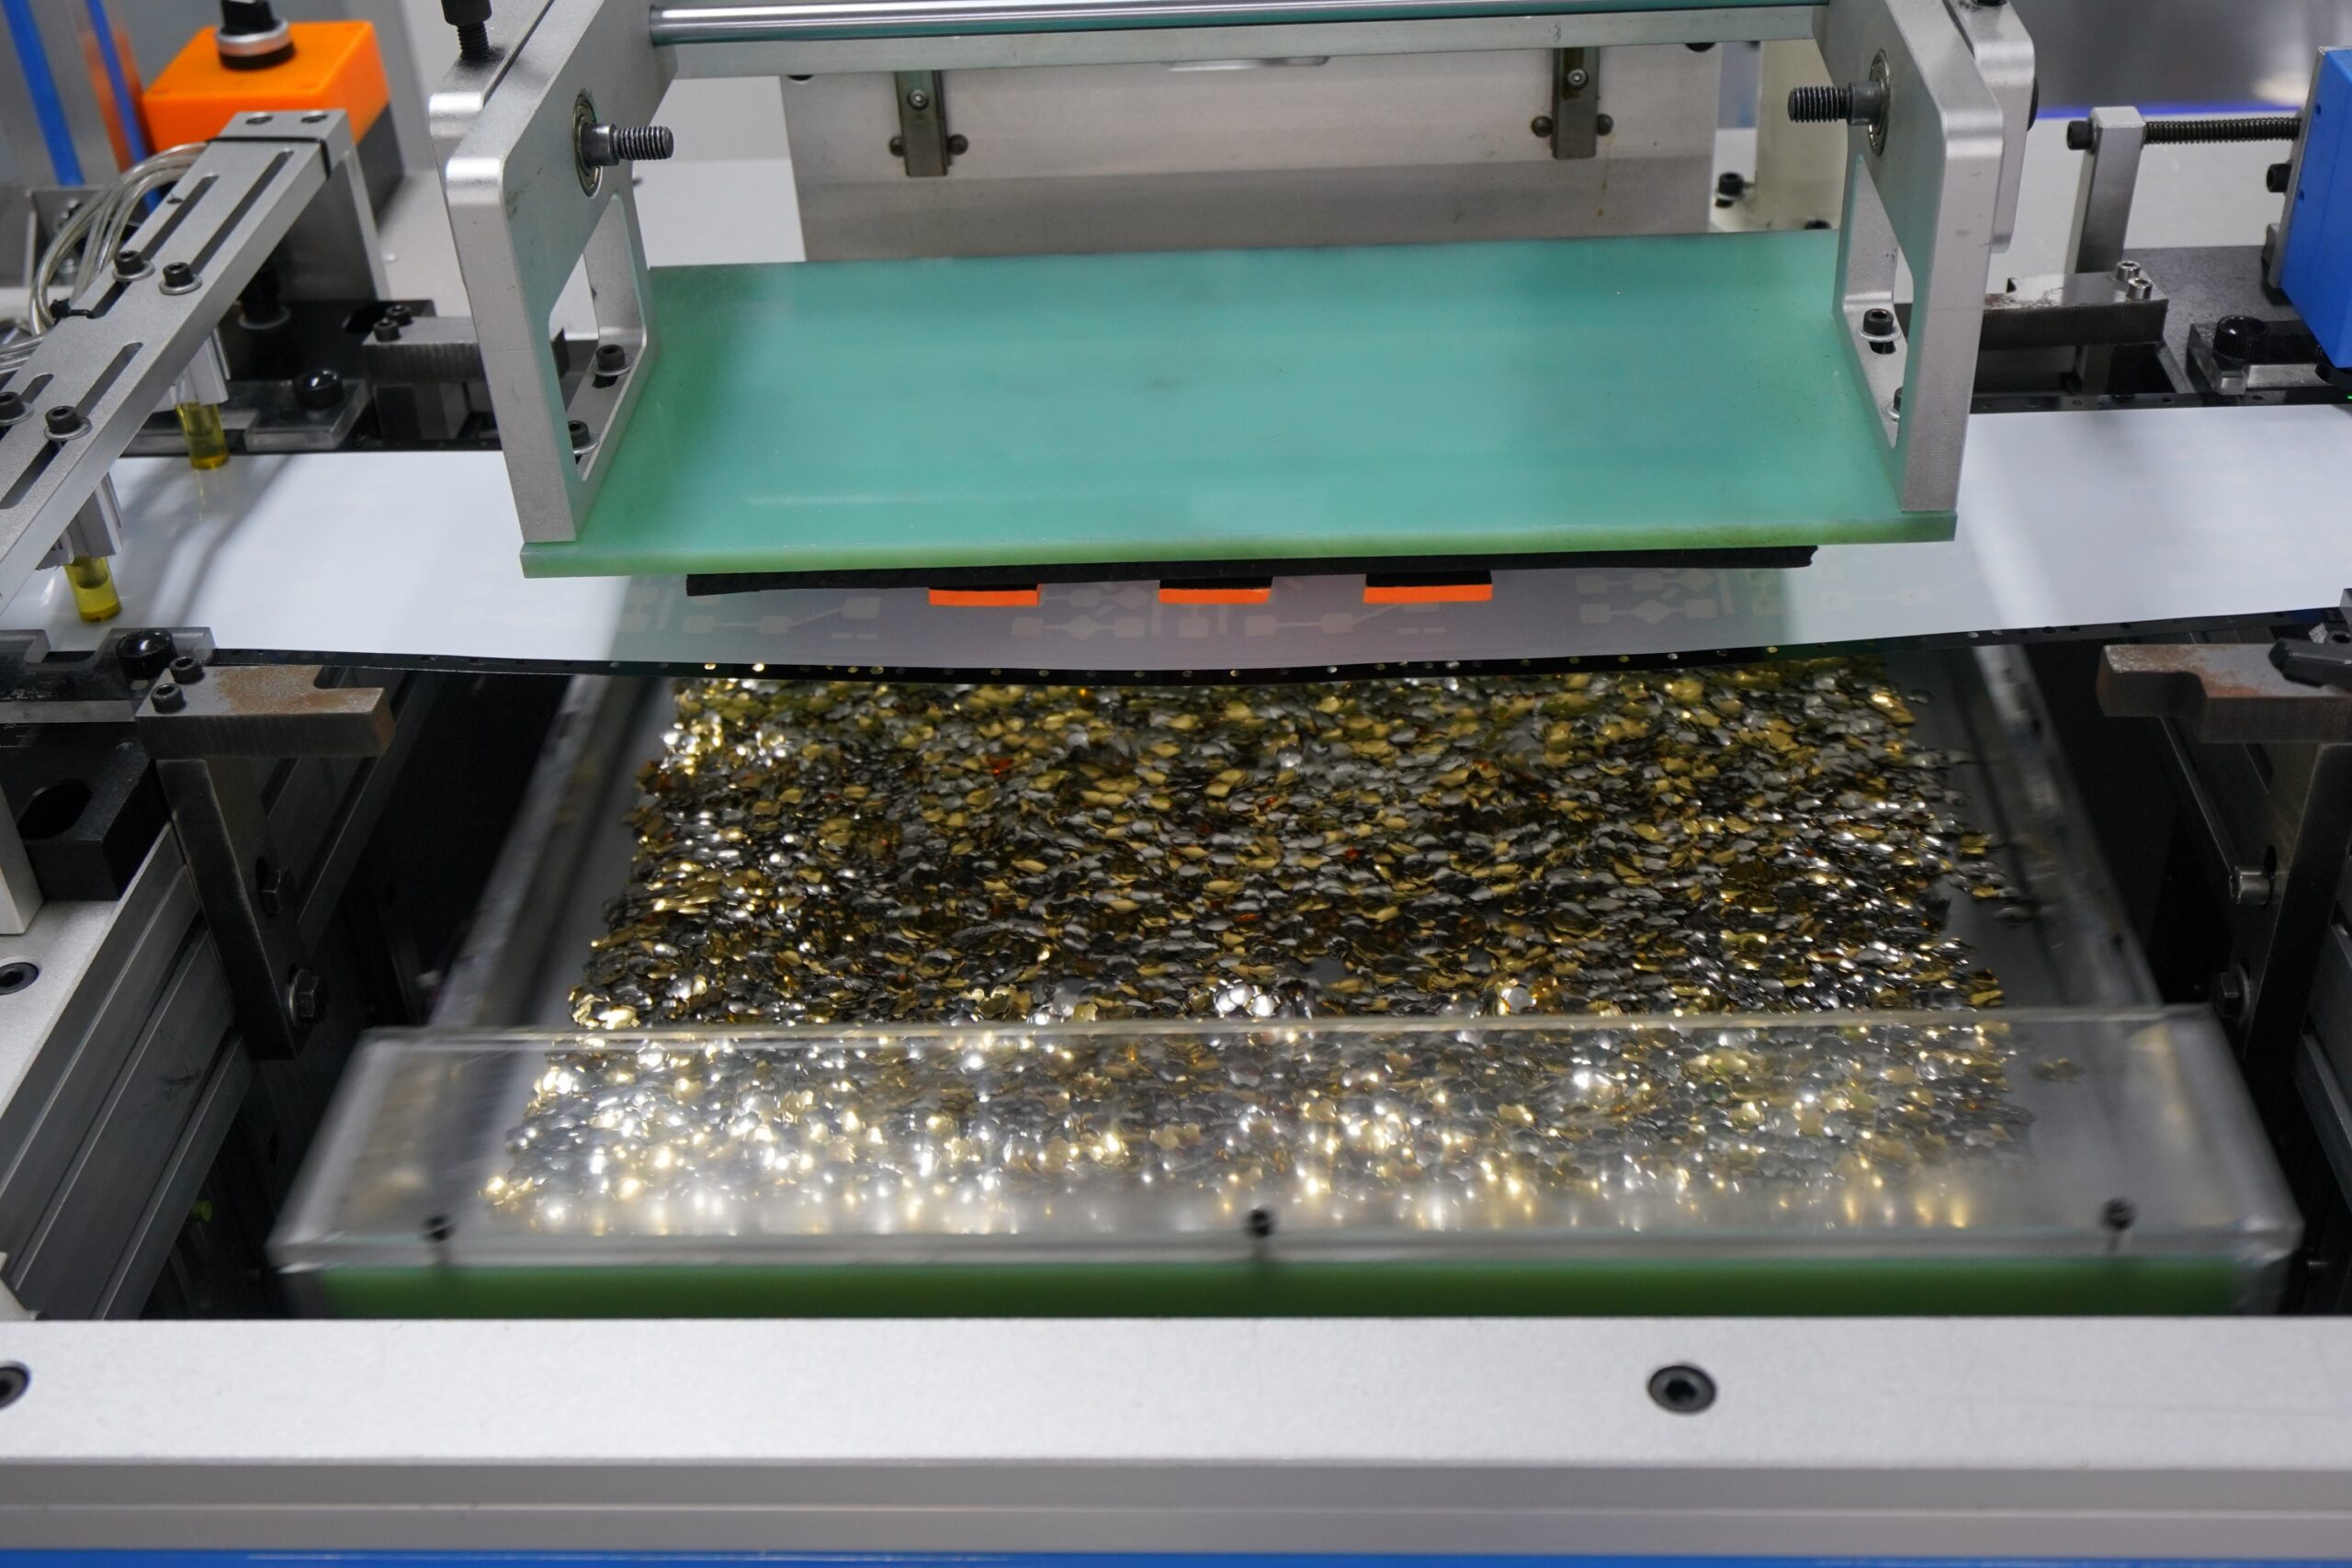
In high-volume manufacturing environments, semi-automatic placement machines are preferred. These systems use vision alignment to match fiducials on the PCB with the dome array layout. For prototyping or small batches, manual alignment using positioning jigs remains a practical approach.
At Best Technology, dome array integration is often paired with PCB assembly workflows. This reduces handling steps and improves alignment consistency, especially for compact control panels and automotive interfaces.
What tools are needed for metal dome array assembly?
The selection of tools determines not only assembly efficiency but also long-term product stability. While the process may appear simple, precision tooling is essential for professional results.
A typical assembly setup includes:
- Alignment jig or fixture plate
- Vacuum pickup tool or tweezers
- Optical inspection system (microscope or camera)
- Roller or lamination press
- ESD-safe workbench
Each tool serves a distinct purpose. For example, vacuum pickup tools prevent deformation of domes during handling. Unlike tweezers, they distribute force evenly and reduce the risk of structural distortion.
Alignment jigs deserve special attention. These fixtures are custom-designed based on PCB geometry. They ensure repeatable placement by physically constraining the dome array into the correct position. Without such tooling, manual placement becomes highly dependent on operator skill.
For production lines, lamination presses provide uniform pressure across the dome array. This ensures consistent adhesion without introducing localized stress points. Uneven pressure can lead to dome collapse or inconsistent tactile force.
From a manufacturing perspective, investing in precision tooling reduces defect rates significantly. It also shortens cycle time, which becomes critical in high-volume electronics assembly.
What precautions should be taken during assembly?
Metal domes are delicate spring structures. Their performance depends heavily on maintaining their geometry and surface integrity. During assembly dome processes, several precautions help preserve these characteristics.
Key precautions include:
- Avoid excessive mechanical force during handling
- Maintain a clean, dust-free environment
- Control humidity and temperature conditions
- Use ESD protection to prevent electrostatic damage
- Prevent direct contact with dome center
Even slight deformation can alter the actuation force curve. For example, pressing on the dome apex during handling may reduce its elasticity, leading to a “soft” or inconsistent click.
Environmental control is equally important. High humidity can weaken adhesive performance, while low humidity increases static risks. Maintaining relative humidity between 40% and 60% creates a stable assembly environment.
Another often overlooked factor is operator training. Skilled technicians understand how to handle dome arrays without introducing micro-damage. This human factor becomes especially relevant in manual assembly scenarios.
How to align a metal dome array correctly with a PCB?
Alignment is the core of dome arrays performance. Even if all other steps are executed perfectly, poor alignment can compromise functionality.
The alignment process typically involves:
- Identifying PCB contact pad centers
- Matching dome array layout to pad geometry
- Using fiducial markers for positioning
- Securing the array before final bonding
For high-precision applications, optical alignment systems are used. These systems detect reference marks on both the PCB and dome carrier, ensuring accurate overlay.
In manual setups, alignment fixtures act as mechanical guides. These fixtures hold the PCB in place while the dome array is positioned using reference edges or pins. A practical engineering rule is to maintain alignment tolerance within ±0.05 mm. This ensures that the dome center sits directly above the contact pad, enabling uniform actuation force.
Misalignment typically leads to:
- Uneven tactile feedback
- Increased contact resistance
- Reduced lifespan
In advanced designs, engineers may include alignment marks directly in the PCB layout. This simplifies assembly and improves yield rates.
How to avoid damaging domes during array assembly?
Avoiding damage during assemble metal dome array processes requires a combination of proper tools, controlled handling, and process discipline.
The most effective strategies include:
- Using vacuum pickup tools instead of direct contact
- Applying uniform pressure during bonding
- Avoiding repeated repositioning of the dome array
- Ensuring smooth lamination surfaces
Repeated repositioning is particularly harmful. Each adjustment introduces micro-stress to the dome structure. Over time, this can weaken the metal and reduce its spring-back capability.
Pressure control during lamination also plays a key role. Excessive force can flatten the dome, while insufficient pressure may lead to poor adhesion. A controlled pressure range—typically between 0.2 to 0.4 MPa—is commonly used in industrial settings.
Material selection further supports durability. High-quality stainless steel domes exhibit better fatigue resistance compared to lower-grade alternatives. At Best Technology, dome assembly processes are often validated through repeated actuation testing. This ensures that domes maintain their performance after assembly.

What adhesive is used for assembling metal dome arrays?
Adhesive selection directly influences the stability and longevity of the dome array. Most metal dome arrays use pressure-sensitive adhesives (PSA) integrated into PET carriers.
Common adhesive types include:
- Acrylic-based PSA
- Silicone-based adhesive
- Double-sided adhesive films
Acrylic PSA is widely used due to its strong bonding strength and good environmental resistance. It performs well under temperature variations and maintains adhesion over time. Silicone adhesives offer flexibility and higher temperature tolerance. They are often used in automotive or industrial environments where thermal cycling is more aggressive.
Below is a comparison for clarity:
| Adhesive Type | Strength | Temperature Resistance | Flexibility | Typical Application |
|---|---|---|---|---|
| Acrylic PSA | High | Moderate to High | Medium | Consumer electronics |
| Silicone | Medium | Very High | High | Automotive, industrial |
| Double-sided film | Medium | Moderate | Medium | General applications |
Selecting the right adhesive depends on the operating environment. For example, control panels exposed to outdoor conditions benefit from silicone-based solutions.
Can you reuse a metal dome array after disassembly?
Reusability is technically possible but rarely recommended in professional applications. When a dome array is removed, several changes occur:
- Adhesive strength decreases
- Alignment accuracy becomes harder to maintain
- Dome structure may experience stress
In prototyping environments, engineers may reuse dome arrays for testing purposes. However, for production-grade products, fresh components are always preferred. The cost of replacement is relatively low compared to the risk of performance inconsistency. For applications requiring high reliability—such as automotive dashboards or medical devices—reusing dome arrays introduces unnecessary uncertainty.
How to test functionality after dome array assembly?
Testing validates whether the assembly dome process meets design expectations. Functional testing typically includes both electrical and mechanical evaluations.
Key testing methods include:
- Continuity testing for electrical contact
- Actuation force measurement
- Life cycle testing (press cycles)
- Visual inspection for alignment
Continuity testing ensures that the dome creates a stable electrical connection when pressed. This is usually done using a multimeter or automated test system.
Actuation force measurement evaluates tactile performance. Engineers use force-displacement testers to confirm that the dome provides consistent feedback across all keys.
Life cycle testing simulates real usage conditions. High-quality domes can withstand over one million actuations without significant degradation.
In production environments, automated test fixtures are commonly used. These systems allow rapid verification of multiple keys, improving throughput and consistency.

What are common mistakes in dome array assembly?
Even experienced teams encounter challenges during dome arrays assembly. Recognizing common mistakes helps improve process reliability.
Typical issues include:
- Misalignment between dome and PCB pads
- Contamination on contact surfaces
- Uneven pressure during bonding
- Using incorrect adhesive type
- Handling domes with excessive force
Among these, contamination is one of the most underestimated factors. Even invisible residues can increase contact resistance, leading to intermittent failures.
Another frequent issue is inconsistent pressure application. This often occurs in manual assembly setups without proper tooling. Over time, it results in variability across units.
A brief comparison of good vs poor practices highlights the impact:
| Practice | Result |
|---|---|
| Clean surface before assembly | Stable electrical contact |
| Controlled pressure lamination | Consistent tactile response |
| Accurate alignment | Uniform performance |
| Poor handling | Reduced lifespan |
| Misalignment | Inconsistent feedback |
By standardizing assembly procedures and investing in proper tooling, these issues can be effectively minimized.
Summary:
Assemble metal dome array processes require more than simple placement—they demand precision, control, and engineering awareness. From selecting the right tools and adhesives to maintaining strict alignment tolerances, every step contributes to the final product quality.
If you are looking for professional support in metal dome arrays assembly or integrated PCB solutions, feel free to reach out: sales@metal-domes.com