Designing a dome array starts with a clear understanding of the product’s user experience. Decide how each key should feel and sound when pressed. Select stainless steel with nickel or gold plating for durability and reliable conductivity. Careful planning at these steps ensures a responsive, long-lasting dome array.
What is a dome array?
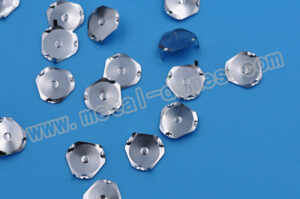
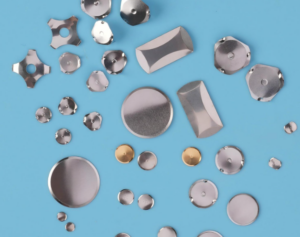
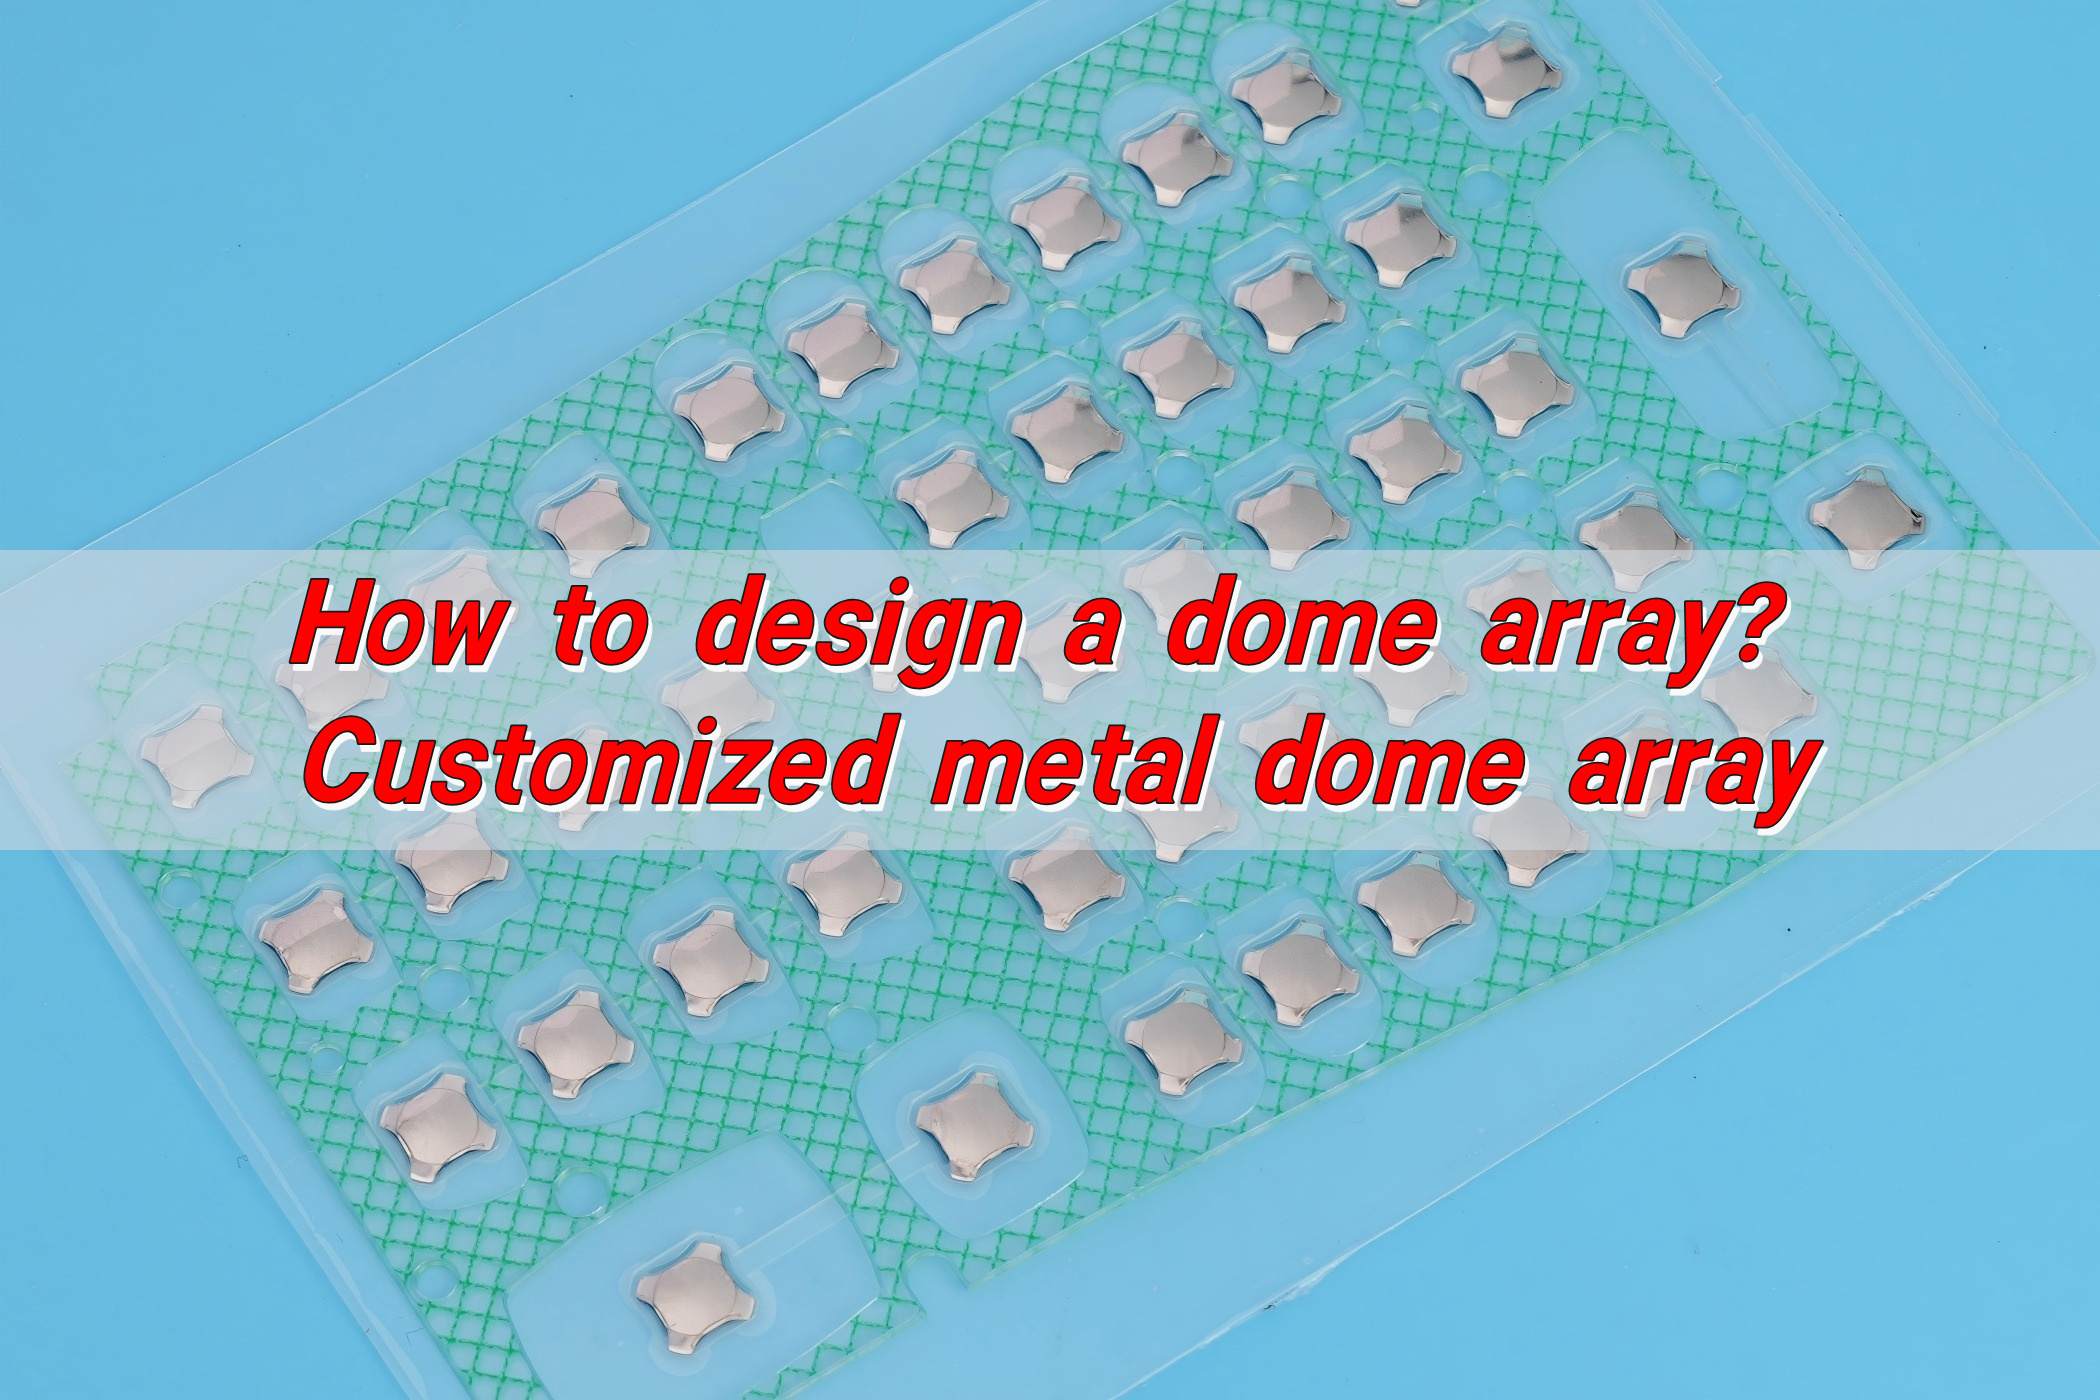
Dome array is a single sheet that holds many metal domes in precise positions. Each metal dome acts as a snap dome switch. When pressed, the dome collapses and makes electrical contact with a pad on the circuit board. When released, the dome springs back and breaks the contact.

The sheet that carries the domes is typically PET film or similar flexible material with adhesive on the back. This film keeps each dome aligned over its contact ring. Because domes are pre-mounted, installation is fast and repeatable.
Dome arrays provide a clean surface and hide the circuitry beneath. They give users a clear tactile click with every press. You will find dome arrays in everything from remote controls to medical devices and industrial panels. The array’s role is both mechanical and electrical. Mechanically, it controls travel and feedback. Electrically, it ensures reliable closure between dome and pad. A well-made dome array improves product feel, reduces assembly time, and raises production consistency.
What are the types of dome arrays?
Dome arrays come in many forms. The right type depends on your product’s function, size, and user experience goals.
- Single Layer Arrays: These arrays feature a single adhesive layer with domes on top. They are lightweight and easy to install. Use them when space is tight and the device requires simple tactile feedback.
- Double Layer Arrays: The double-layer dome array construction incorporates a spacer layer into the assembly with venting allowing the domes to breathe included into the layer if necessary. Various materials and thicknesses can be utilised for the spacer material.
- PET Film Arrays: PET film provides excellent flexibility and durability. It works well in devices that need frequent actuation. The film resists heat and chemicals, keeping the dome stable over time.
- Peel & Place Array: Tape-and-reel arrays are packaged for automated pick-and-place. Each dome is oriented and presented on tape for fast, machine-friendly assembly.
- Custom Shape Arrays: Some projects demand unique layouts. Custom arrays can match special button patterns, curves, or branding designs. This allows more freedom in product styling.
- Backlight Compatible Arrays: These arrays integrate with LED backlighting. They give keys an illuminated glow without affecting dome performance. They are perfect for night-time or low-light applications.
Each type supports different snap forces and sizes. Choosing the right one ensures a balance between tactile feel and lifespan.
How to design a dome array?
Designing a dome array requires careful planning. Follow these core steps for a smooth process.
- Define the Application
Start by understanding where the array will be used. Is it for a consumer gadget, medical tool, or industrial panel? Each environment has unique demands for temperature, humidity, and lifespan.
- Select the Metal Dome
Choose a metal dome that matches the desired tactile feedback. Consider diameter, height, and snap force. Typical domes range from 4 mm to 20 mm, with forces from 100 g to 500 g. A higher force gives a firmer click. A lighter force feels softer and faster.
- Plan the Circuit Layout
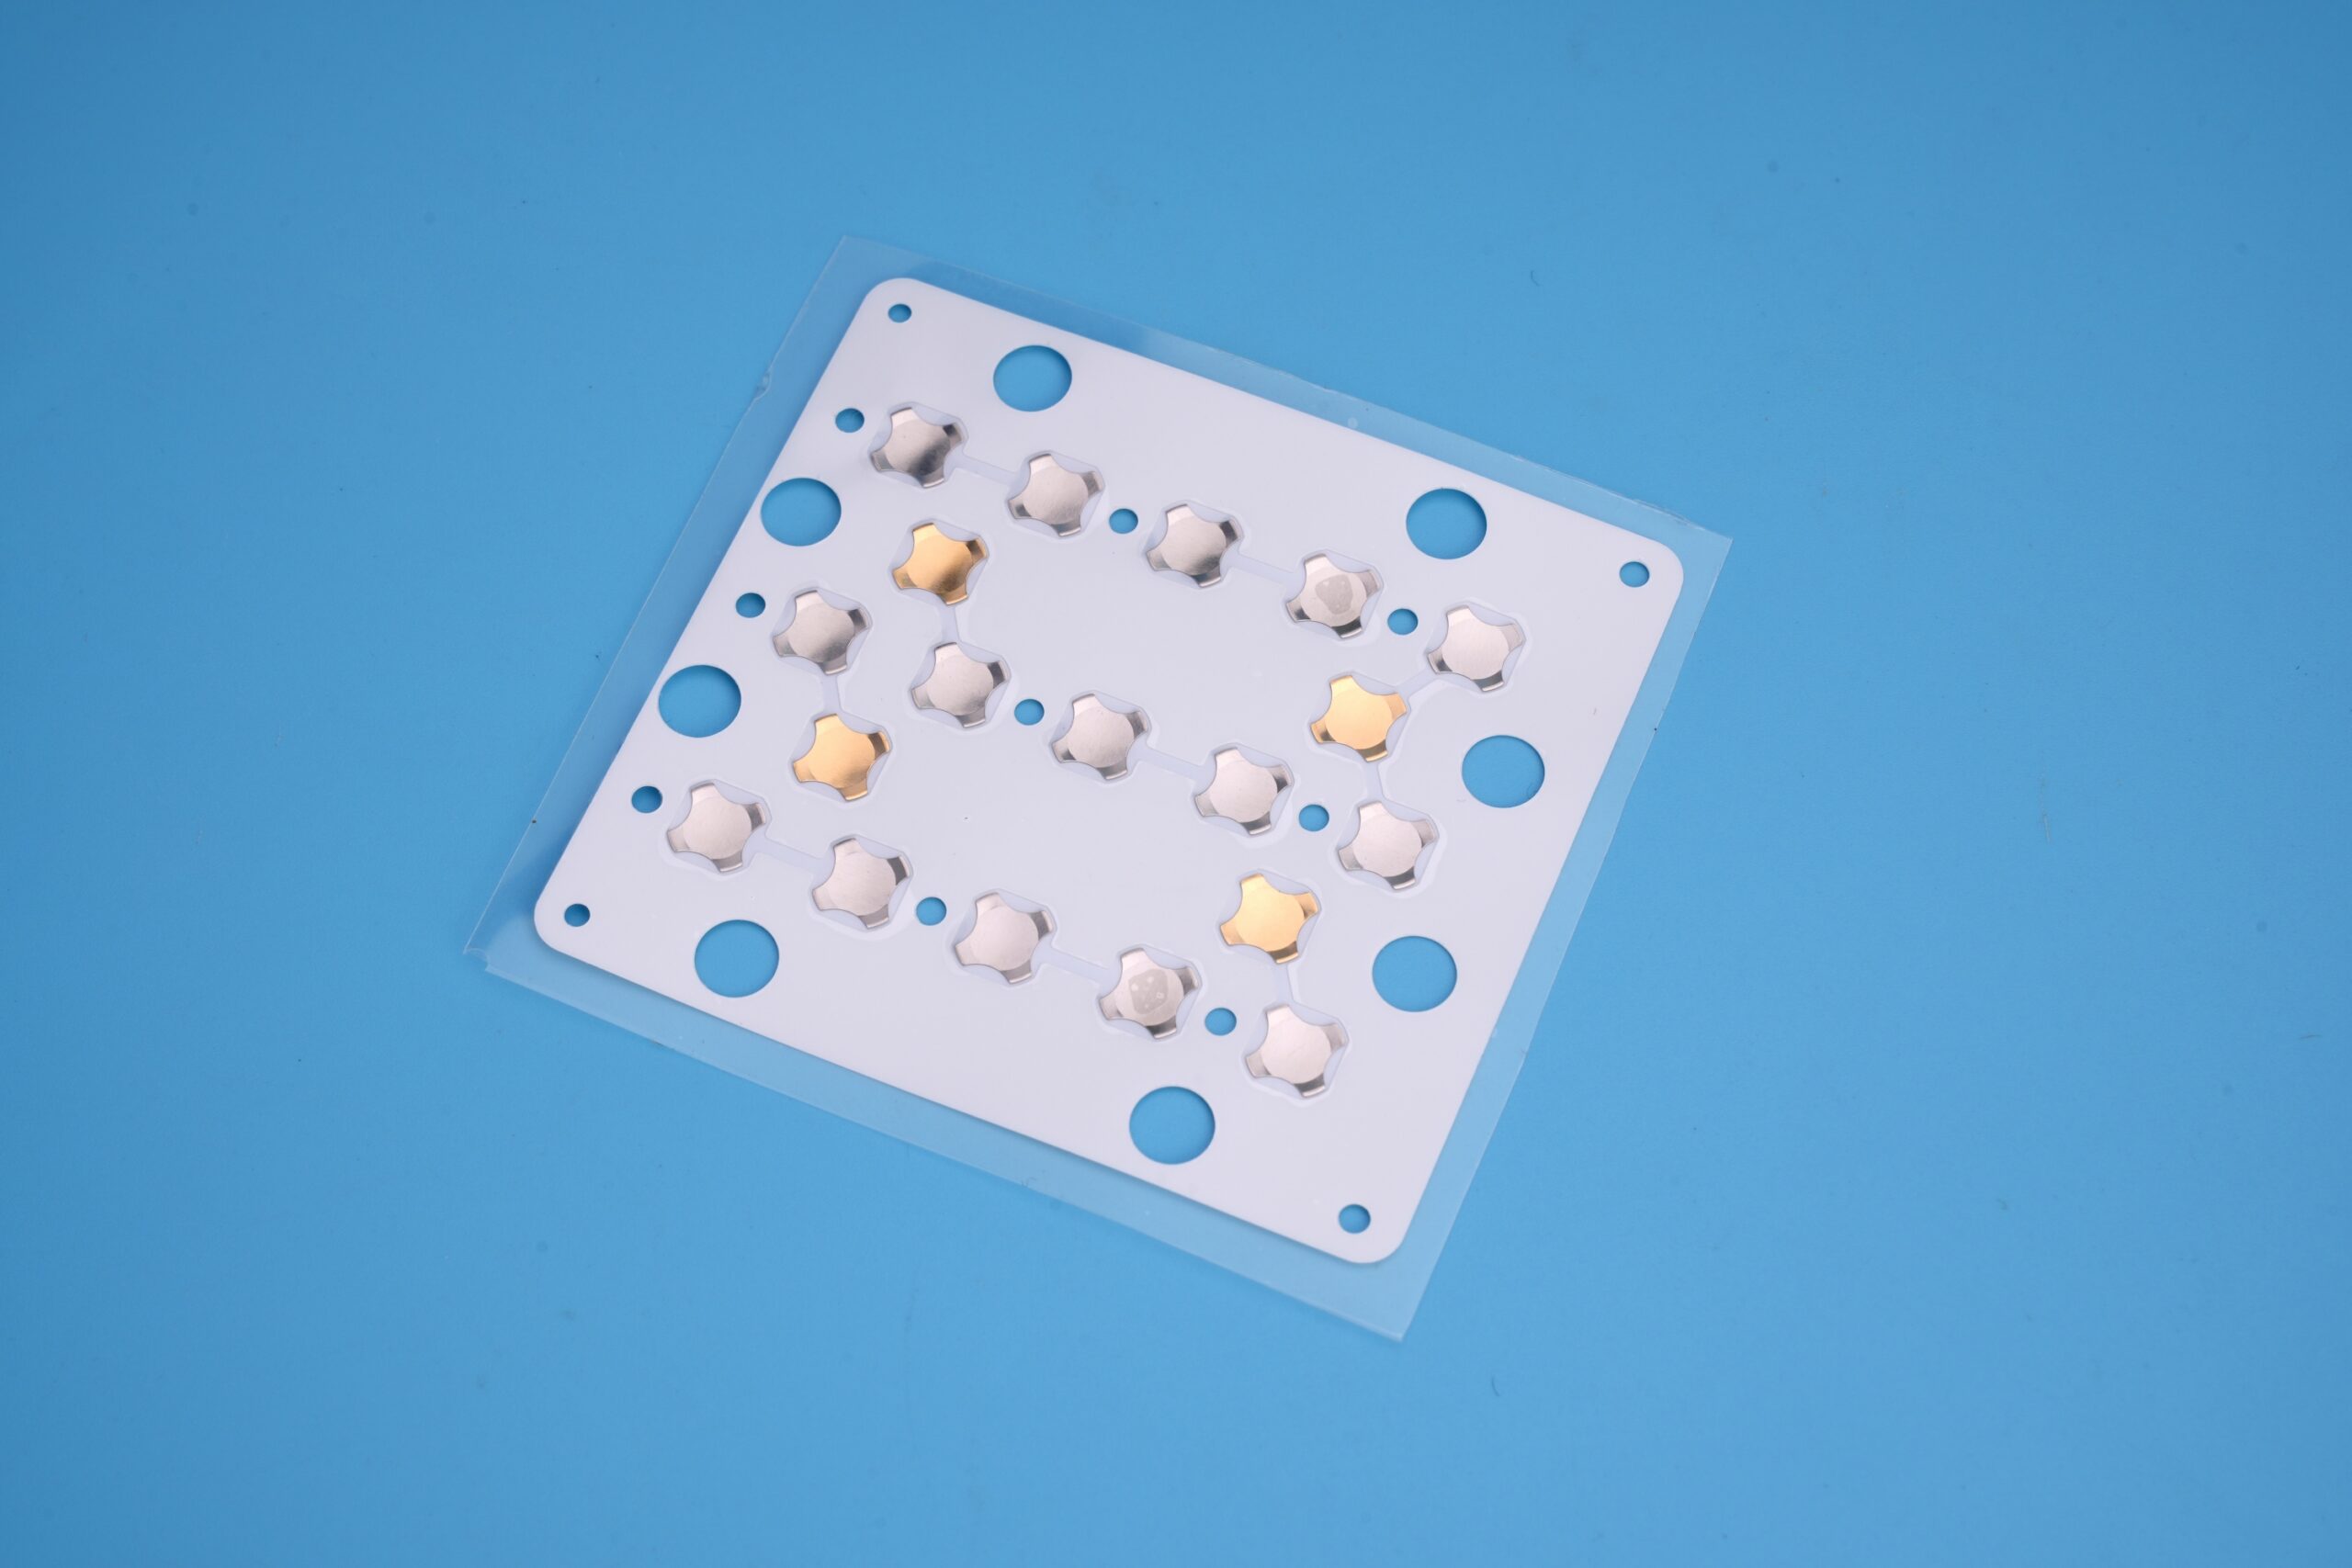
Align each dome with the PCB contact pads. The center of the dome must sit exactly over the circuit’s conductive ring. Misalignment can cause false triggers or missed presses.
- Decide on Adhesive Layers
Pick an adhesive that bonds well with both the PET film and the PCB surface. Strong yet removable adhesives help during repairs. For harsh environments, use high-temperature or waterproof adhesives.
- Add Vents or Channels
If your device needs air release during pressing, add vent holes. These tiny channels let air escape and reduce pressure under the dome.
- Test Tactile Feedback
Create prototypes early. Test them with real users. Gather feedback on click strength, sound, and travel distance. Small changes in dome size or film thickness can transform the feel.
- Ensure Durability
Confirm that the array can survive repeated actuations. High-quality domes last over one million cycles. Check for consistent rebound and minimal wear.
- Finalize the Design
Once testing confirms performance, lock in the layout. Prepare detailed drawings for manufacturing. Include dome specs, adhesive type, and alignment guides.
How to make dome arrays?
Manufacturing dome arrays demands precision and clean processes.
- Metal dome stamping: Stainless steel is stamped into exact dome shapes. Force and travel height are tested for every batch.
- Plating: Nickel or gold plating improves conductivity and protects against corrosion.
- Adhesive sheet preparation: Cut PET or polycarbonate sheets to the correct size.
- Placement: Each dome is positioned onto the sheet with automated equipment. Tape & Reel packaging can deliver 20,000 to 100,000 domes per hour.
- Quality testing: Check dome position, adhesion, and electrical performance. Quality control ensures only perfect arrays leave the factory.
- Finally, package the arrays carefully. Seal them to protect against dust during shipping. This keeps them clean and ready for installation.
What are the benefits of dome arrays?
Dome arrays deliver many strong advantages. The advantages are clear and compelling.
- Tactile feedback: A crisp snap improves user confidence.
- Durability: Over one million actuations with little wear.
- Cost savings: Pre-assembled sheets reduce labor costs.
- Design freedom: Custom shapes fit any product.
- Slim profile: Perfect for lightweight electronics.
- Stable performance: Precise contact force ensures consistent signals.
These benefits make dome arrays a smart choice for engineers who want quality and speed.
How to secure dome arrays?
Start by preparing the board. Clean the surface with isopropyl alcohol or a mild solvent to remove oils, dust, and flux residues. Ensure the board is dry before placement.
Use alignment aids like tooling pins or printed fiducials to position the array precisely. Peel the adhesive liner carefully to avoid touching the adhesive surface. For larger arrays, remove the liner incrementally during placement to prevent dust from settling.
Lay the array onto the board starting at one edge and press down slowly while smoothing across the surface. Use a soft roller or hand press to apply uniform pressure. Work from the center outward to reduce air pockets. If bubbles appear, lift the nearest corner and reapply while smoothing.
Inspect each dome visually to confirm full contact with the pad and to verify alignment. Use adhesive edge sealing with silicone or epoxy where the device will face moisture, chemicals, or heavy vibration. For removable designs, apply a lower-strength adhesive or use mechanical retainers that allow service access.
Record the placement process and acceptance test results for traceability. Train assembly staff with a simple checklist: clean board, check fiducials, peel liner, align edges, roll to bond, inspect, and test. This routine yields repeatable results and fewer field returns.
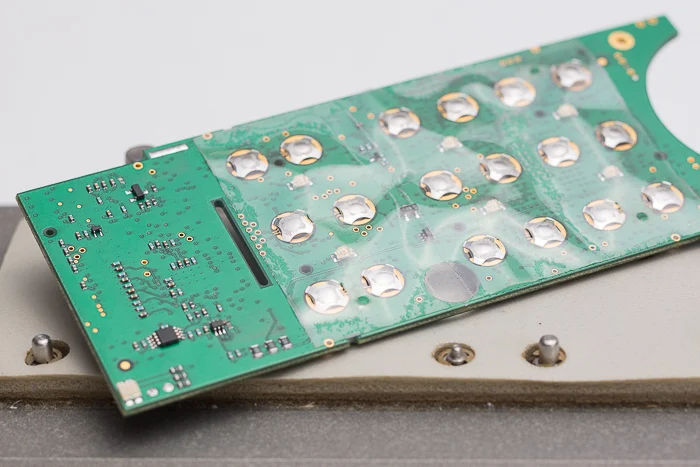
How to place metal dome arrays on a circuit board?
Placing the array is straightforward with the right technique but requires precision.
Prepare the board and confirm it is clean. Position alignment guides or tooling holes.
Use tweezers or a vacuum picker to handle the array. Avoid bending or scratching the film.
Lay the array flat from one side to the other. This reduces trapped air.
Check that every dome sits squarely over its pad. Accurate placement prevents signal issues.
Press the entire array with a soft roller. This activates the adhesive and locks it in place.
Finally, run a quick electrical test. Confirm each dome switches the circuit when pressed. This final check ensures a flawless assembly.
What are the uses of metal dome arrays?
Metal dome arrays appear in many industries. Their reliability and tactile feel make them valuable across many products.
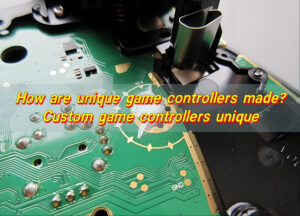
Consumer electronics use them in remote controls, smartphones, and game controllers. They give each button a crisp, satisfying response.
Medical equipment relies on them for diagnostic tools and patient monitors. Their clean design supports strict hygiene standards.
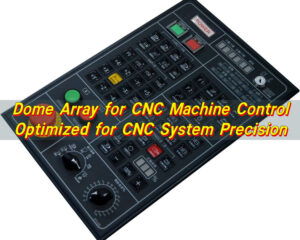
Industrial control panels depend on their durability. They perform well in rugged factory settings and outdoor machines.
Automotive systems use them in dashboards, steering wheel buttons, and keyless entry pads. They remain responsive under vibration and temperature changes.
Telecommunication devices such as two-way radios benefit from their quick, positive feedback. Home appliances like microwaves, washing machines, and air conditioners also use metal dome arrays. They provide dependable input and a smooth user experience.
Conclusion:
Dome arrays deliver consistent tactile feedback, faster assembly, and a neat product finish. From consumer gadgets to critical medical tools, dome arrays deliver reliable tactile feedback and strong electrical performance.
For custom designs or quick quotes, contact sales@metal-domes.com