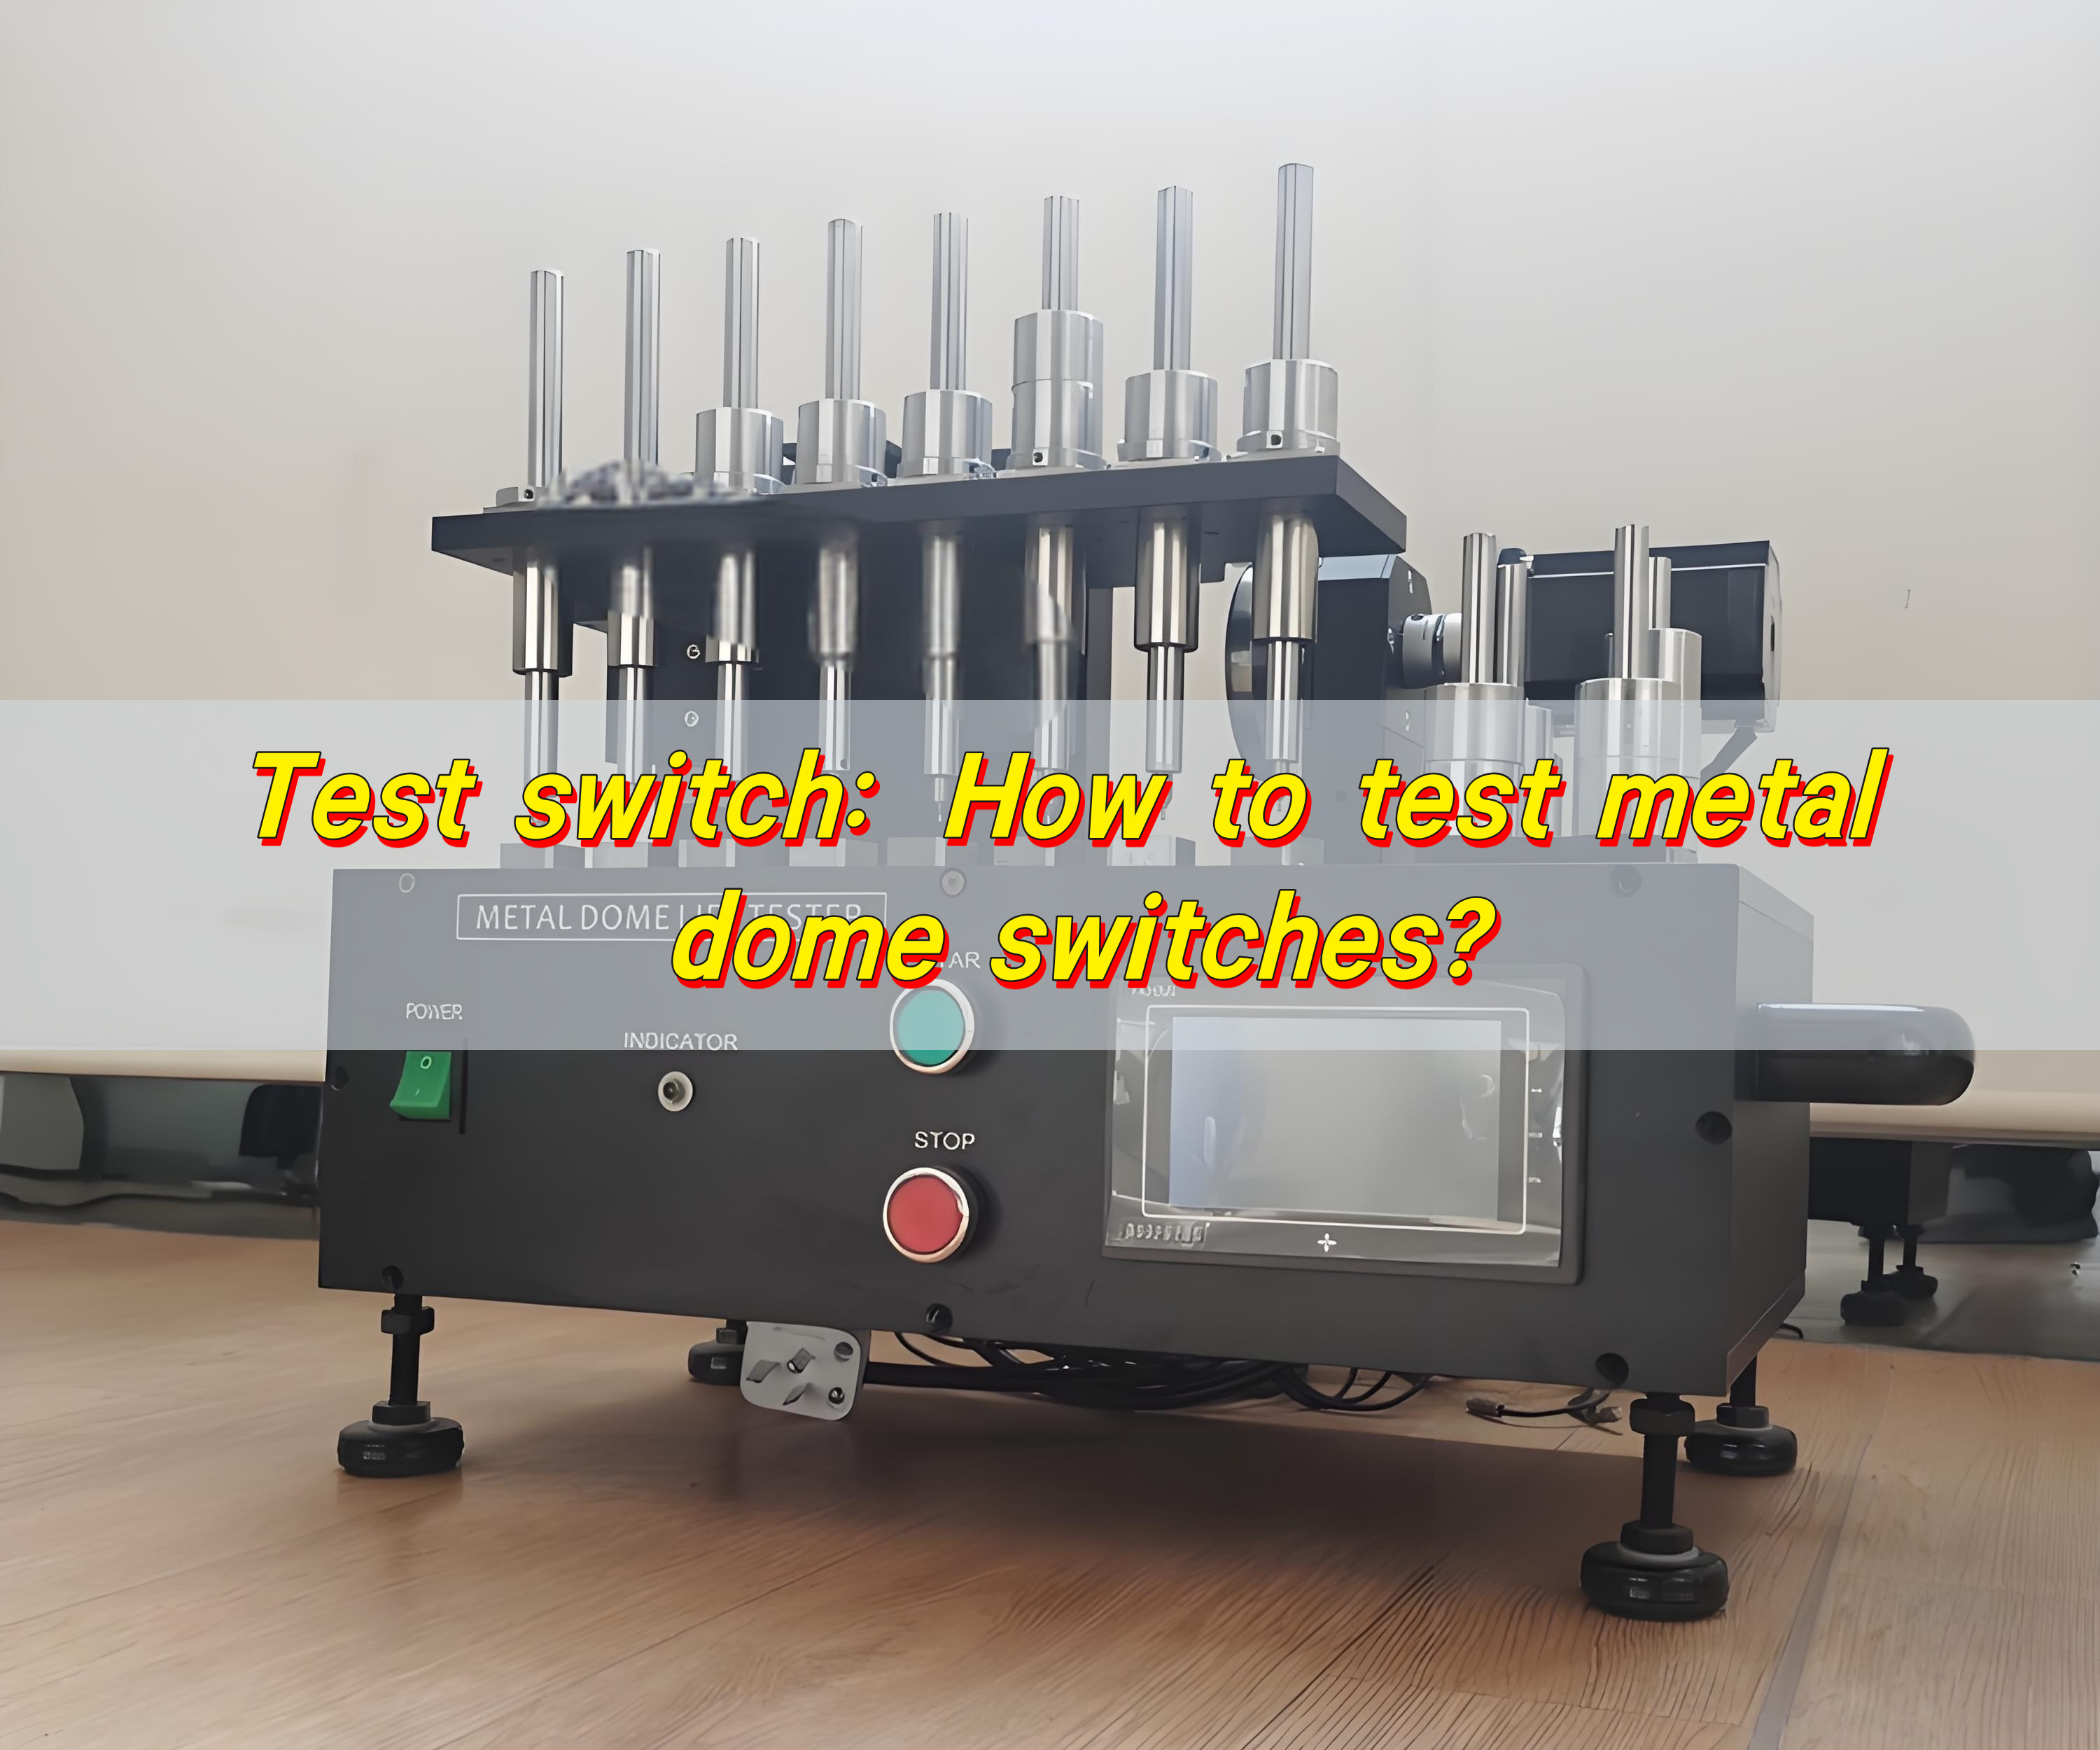
To test metal dome switches, use a test switch setup to evaluate tactile feedback, actuation force, and electrical conductivity. Begin with a visual check for defects, then place the dome on a test board and press it using the test switch tool. Confirm the click feel, measure the snap ratio, and use a multimeter to check signal continuity. This precise method ensures each dome delivers reliable, responsive performance.
What is a test switch used for?
Test switch is a tool used to verify if a button or tactile switch is functioning as intended. In electronics, where reliability matters, it’s often the first line of defense against faulty components.

When engineers use a test switch, they’re not just looking for “yes” or “no” answers. They’re checking how the switch reacts to pressure, how consistent it feels, and if it meets design specs. Especially for metal dome switches, which are used in precision keypads, medical equipment, and handheld devices, accuracy is everything.
Test switch helps check:
- Actuation force: how hard the user must press
- Feedback: how the button feels when pressed
- Circuit continuity: whether the switch completes the signal
When testing is done well, it ensures better user experience, longer device life, and fewer returns. For industries that demand perfection, like automotive or medical, this matters.
Testing switches early helps reduce cost. Catching a faulty dome before it’s assembled into a product saves time and labor.
How does a keyboard switch tester work?
A keyboard switch tester is a simple, hands-on device that allows you to press various switches individually. While it’s often associated with mechanical keyboards, many testers today are also suitable for dome switches.
Here’s how it works:
- You mount the switch on a test panel. Pressing the switch allows you to:
- Measure the force needed to actuate
- Feel the tactile response
- Confirm electrical contact is made
- Monitor rebound time
Most keyboard switch testers are built with transparent or labeled keycaps to easily track which switch is being tested. They may include:
- Springs or weights to mimic finger pressure
- LED or sound feedback for signal confirmation
- Digital outputs for engineers to analyze graphs
In the case of metal dome switches, these testers help validate tactile strength. If the dome clicks too lightly or feels mushy, it gets flagged. A dome with too high actuation force may strain fingers in real use. A dome with too little force may feel loose or trigger too easily.
When paired with a multimeter or oscilloscope, the tester even helps monitor timing, delay, and bounce. This data is critical for high-speed electronics and medical input systems.
Switch tester vs key switch tester: what’s the difference?
Though the names sound alike, a switch tester and key switch tester serve slightly different roles.
- Switch tester: This is a broad tool. It tests various types of switches—toggle switches, push buttons, slide switches, and dome switches. It’s useful in industrial testing lines where multiple switch types are used.
- Key switch tester: This tool is more specific. It’s designed for switches that operate under keys—like membrane keyboards, rubber domes, or metal dome switches in handheld devices.
In most metal dome applications, the switch is pressed via a key or overlay. That makes the key switch tester more relevant. It’s designed to simulate finger pressure, align with key travel, and provide feedback on feel.
The key switch tester typically comes with force sensors or test fixtures that replicate actual use. This helps fine-tune tactile strength, click sound, and spring-back action.
In short:
- Use switch testers for general testing
- Use key switch testers for tactile, responsive keypads
And in dome-based keyboards or devices, the dome switch tester is just another name for a specialized key switch tester.
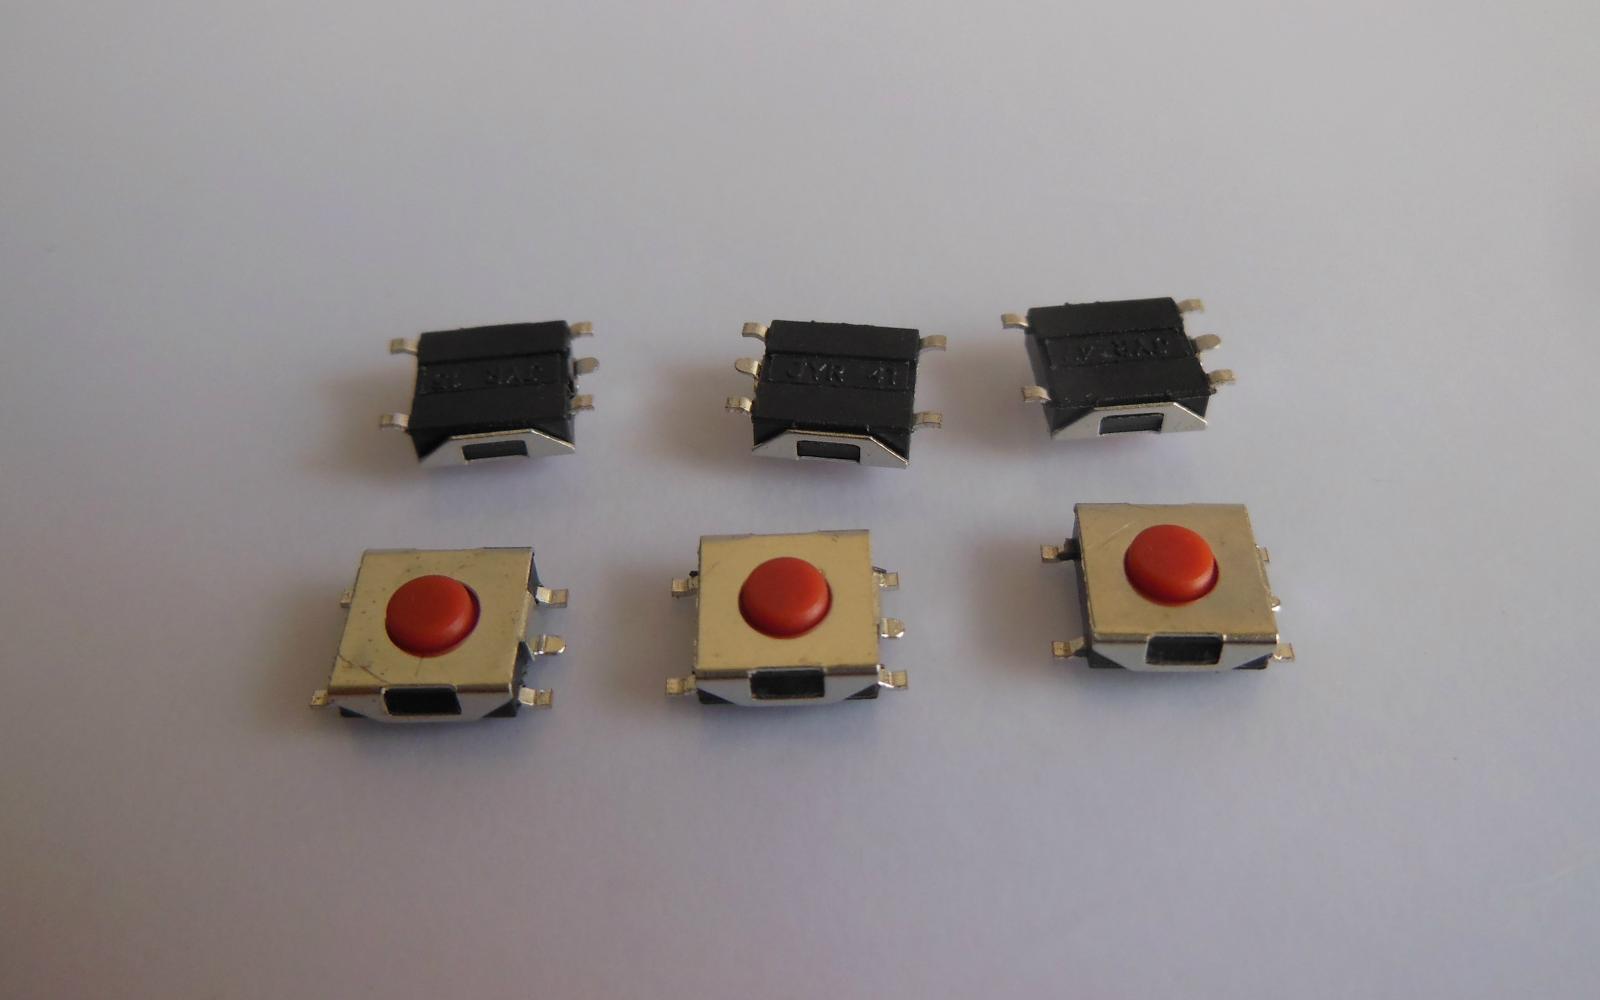
How to test a metal dome switch?
Testing a metal dome switch involves five core steps. Each step helps confirm whether the dome will perform reliably in real-world use.
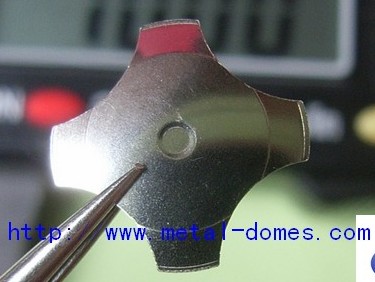
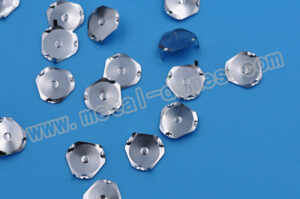
Step 1: Visual Inspection
- Start by inspecting the dome. Check for:
- Bent edges
- Dust or debris
- Uneven plating
- Surface scratches
Any visual flaw may affect performance. Clean the surface if needed.
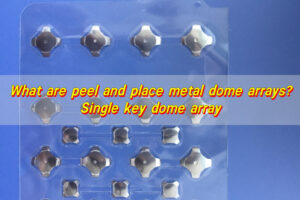
Step 2: Placement on Test Fixture
Place the dome onto the alignment board or test PCB. Use a flat, clean surface. Make sure the dome fits securely into its socket.
For arrays, be sure that all domes are aligned correctly.
Step 3: Actuation Test Using a Dome Switch Tester
Use a dome switch tester or similar tool. Press the dome using a standard force—usually between 160g to 300g.
Pay attention to:
- Click feedback (is it crisp or soft?)
- Bounce (does it rebound properly?)
- Centering (is the force evenly distributed?)
If a dome feels too stiff, it might cause fatigue in the end-user. If it’s too soft, it might misfire. This test finds the balance.
Step 4: Circuit Testing
Using a multimeter, connect the dome in a basic circuit. Press the dome and check for:
- Continuity
- Consistent closing of the circuit
- No delay in signal
A faulty dome may cause a delayed response or a missed input. Even a 0.01-second delay can be an issue in sensitive electronics.
Step 5: Repetition Test
Press the dome at least 20–50 times. A high-quality dome should feel the same every time. This step reveals any loss of tactile feedback or inconsistent clicking.
For mass production, some testing machines can press domes thousands of times to simulate long-term use. This full method ensures every metal dome switch lives up to your performance expectations.
What does a dome switch tester check?
Dome switch tester is built to measure critical tactile and electrical features that affect real-world performance. It evaluates both feel and function.
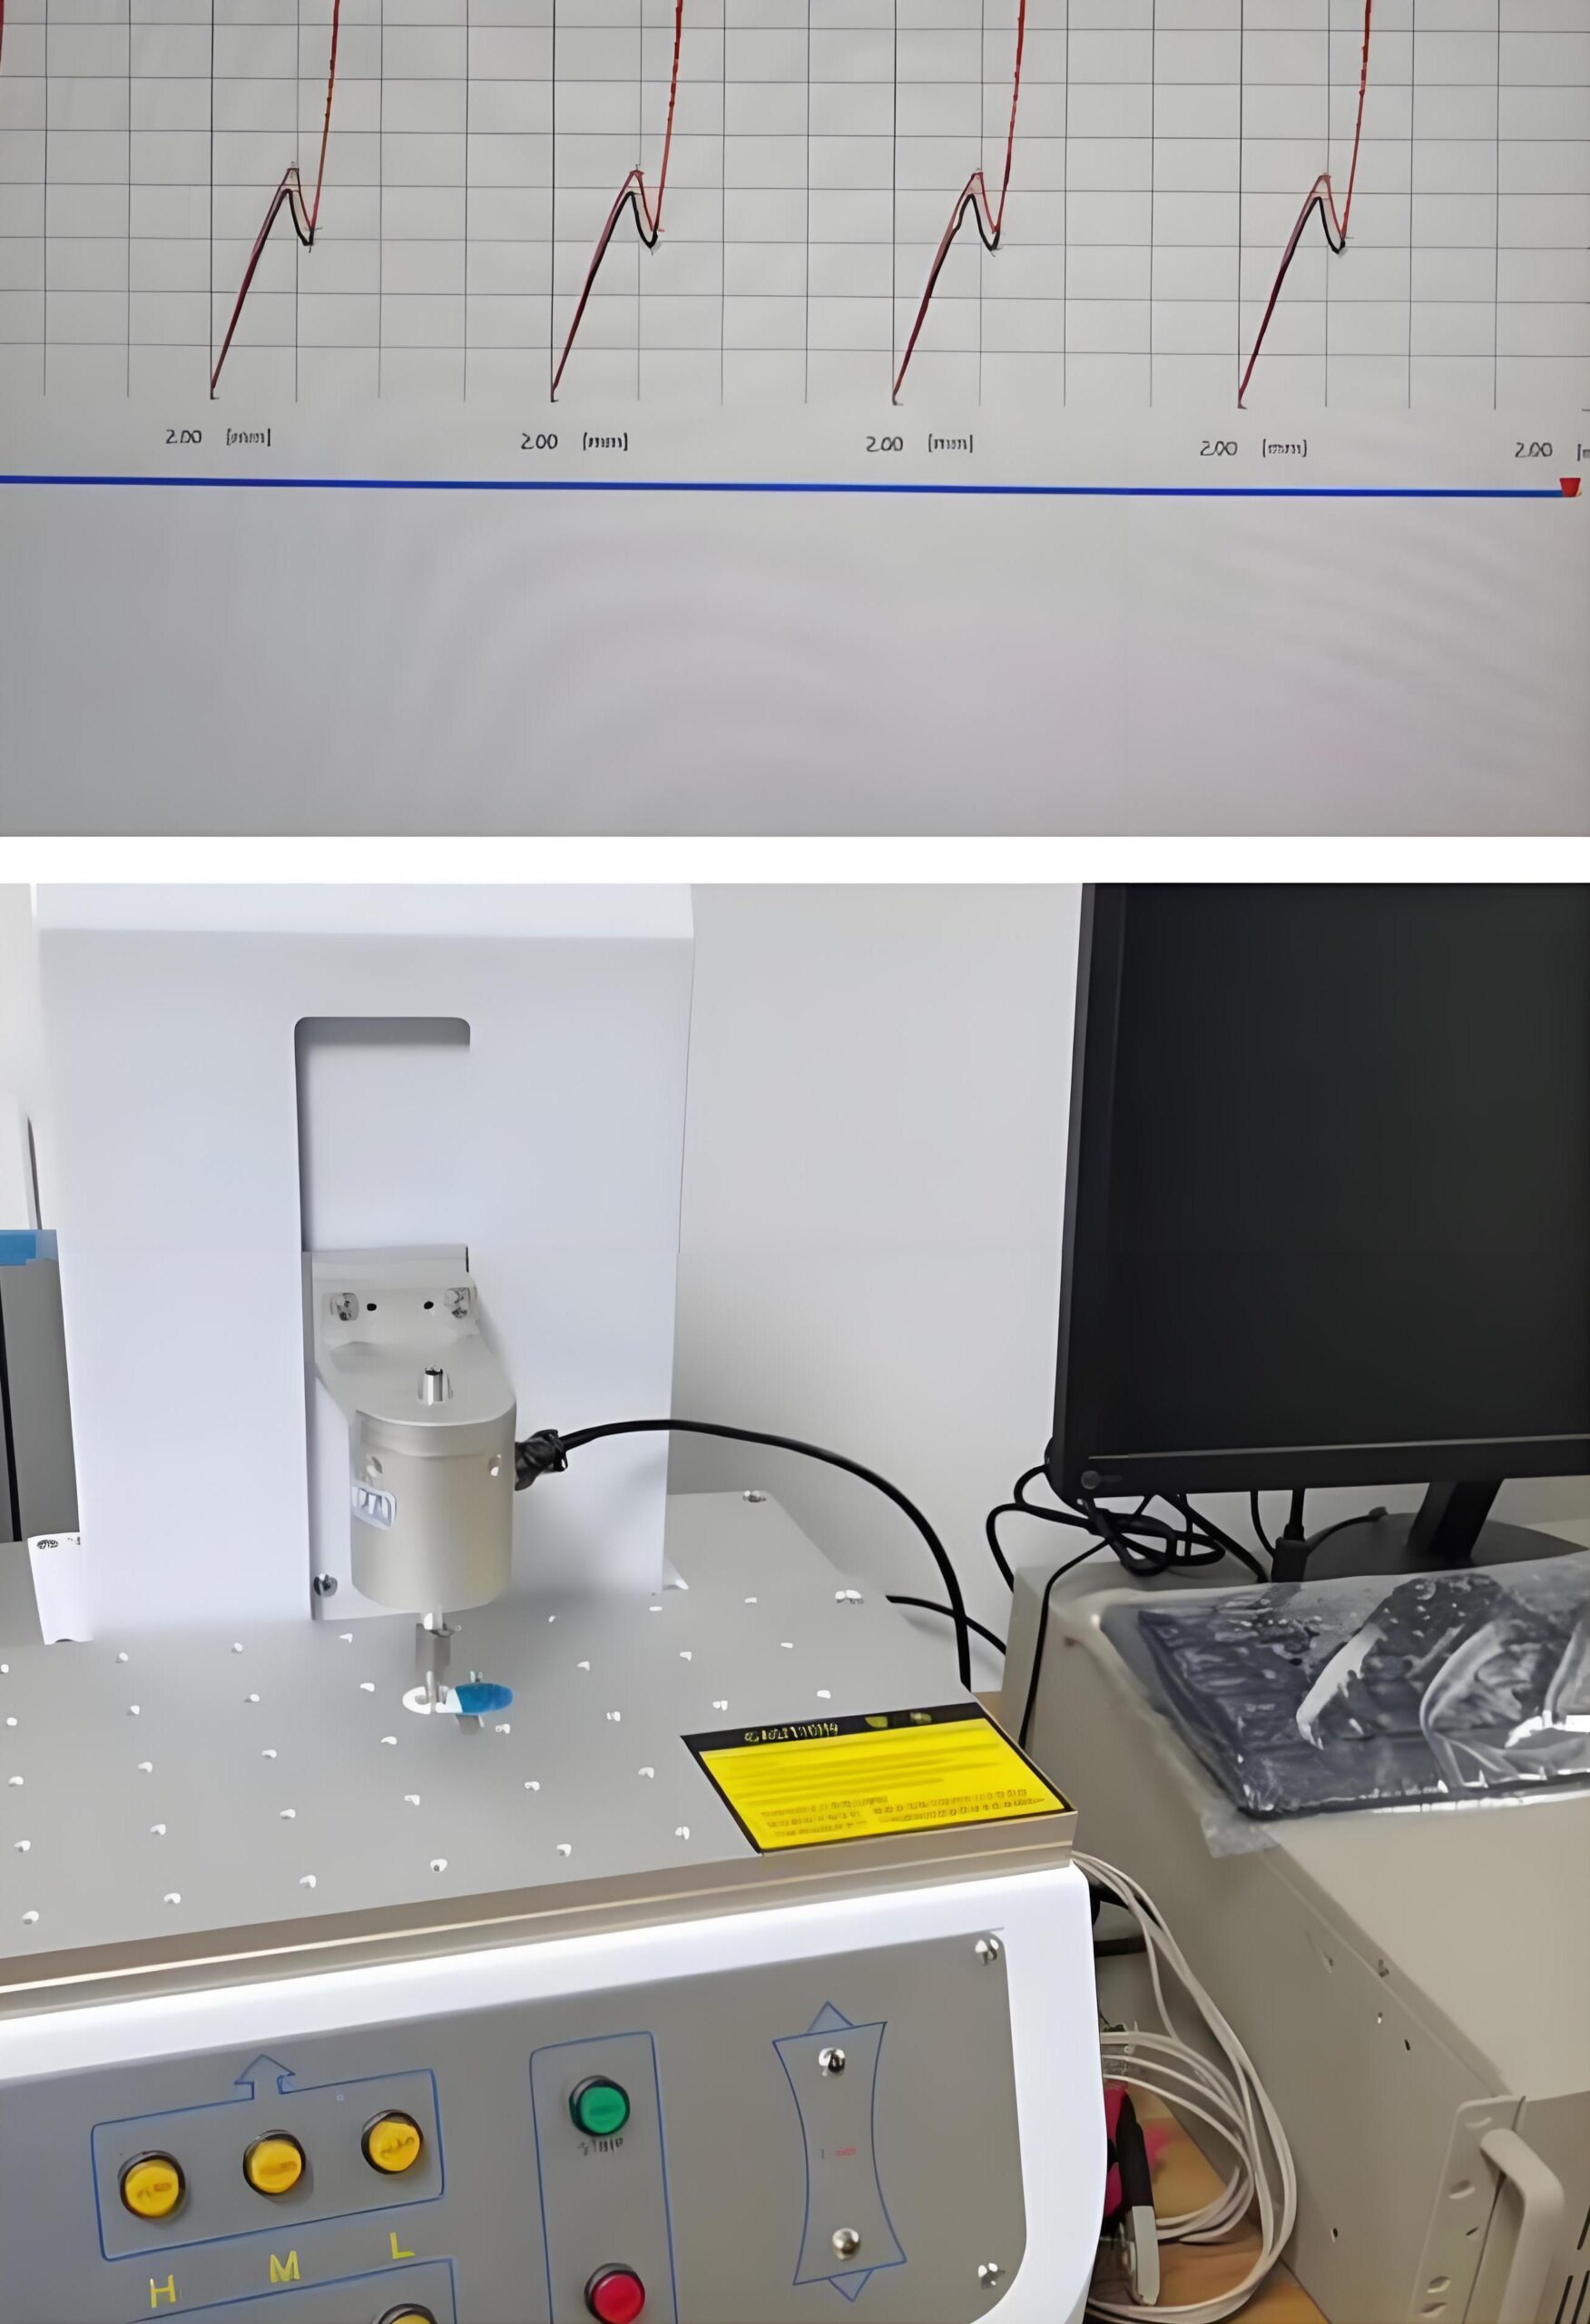
Here’s what it checks:
- Actuation force: The tester measures the exact grams of pressure needed to activate the switch. Ideal ranges vary by product. Mobile devices use lighter force; industrial equipment may require more.
- Snap ratio: This is the difference between actuation and release force. A better snap ratio gives a stronger, clearer click.
- Tactile feedback: How does the dome feel? The tester checks for crispness, bounce, and sound.
- Contact resistance: The tester ensures that once the dome is pressed, it completes the circuit instantly, without delay or added resistance. Lower resistance means better conductivity.
- Repeatability: Does the dome perform the same after 10, 50, or 1,000 presses?
Every dome should pass these benchmarks. Even one failed test can result in a poor user experience.
Is a dome switch tester accurate enough?
Yes, absolutely. Today’s dome switch testers are engineered for high precision and reliability.
Advanced testers measure down to:
- ±0.05mm for travel
- ±5g for actuation force
- Real-time digital feedback for consistency
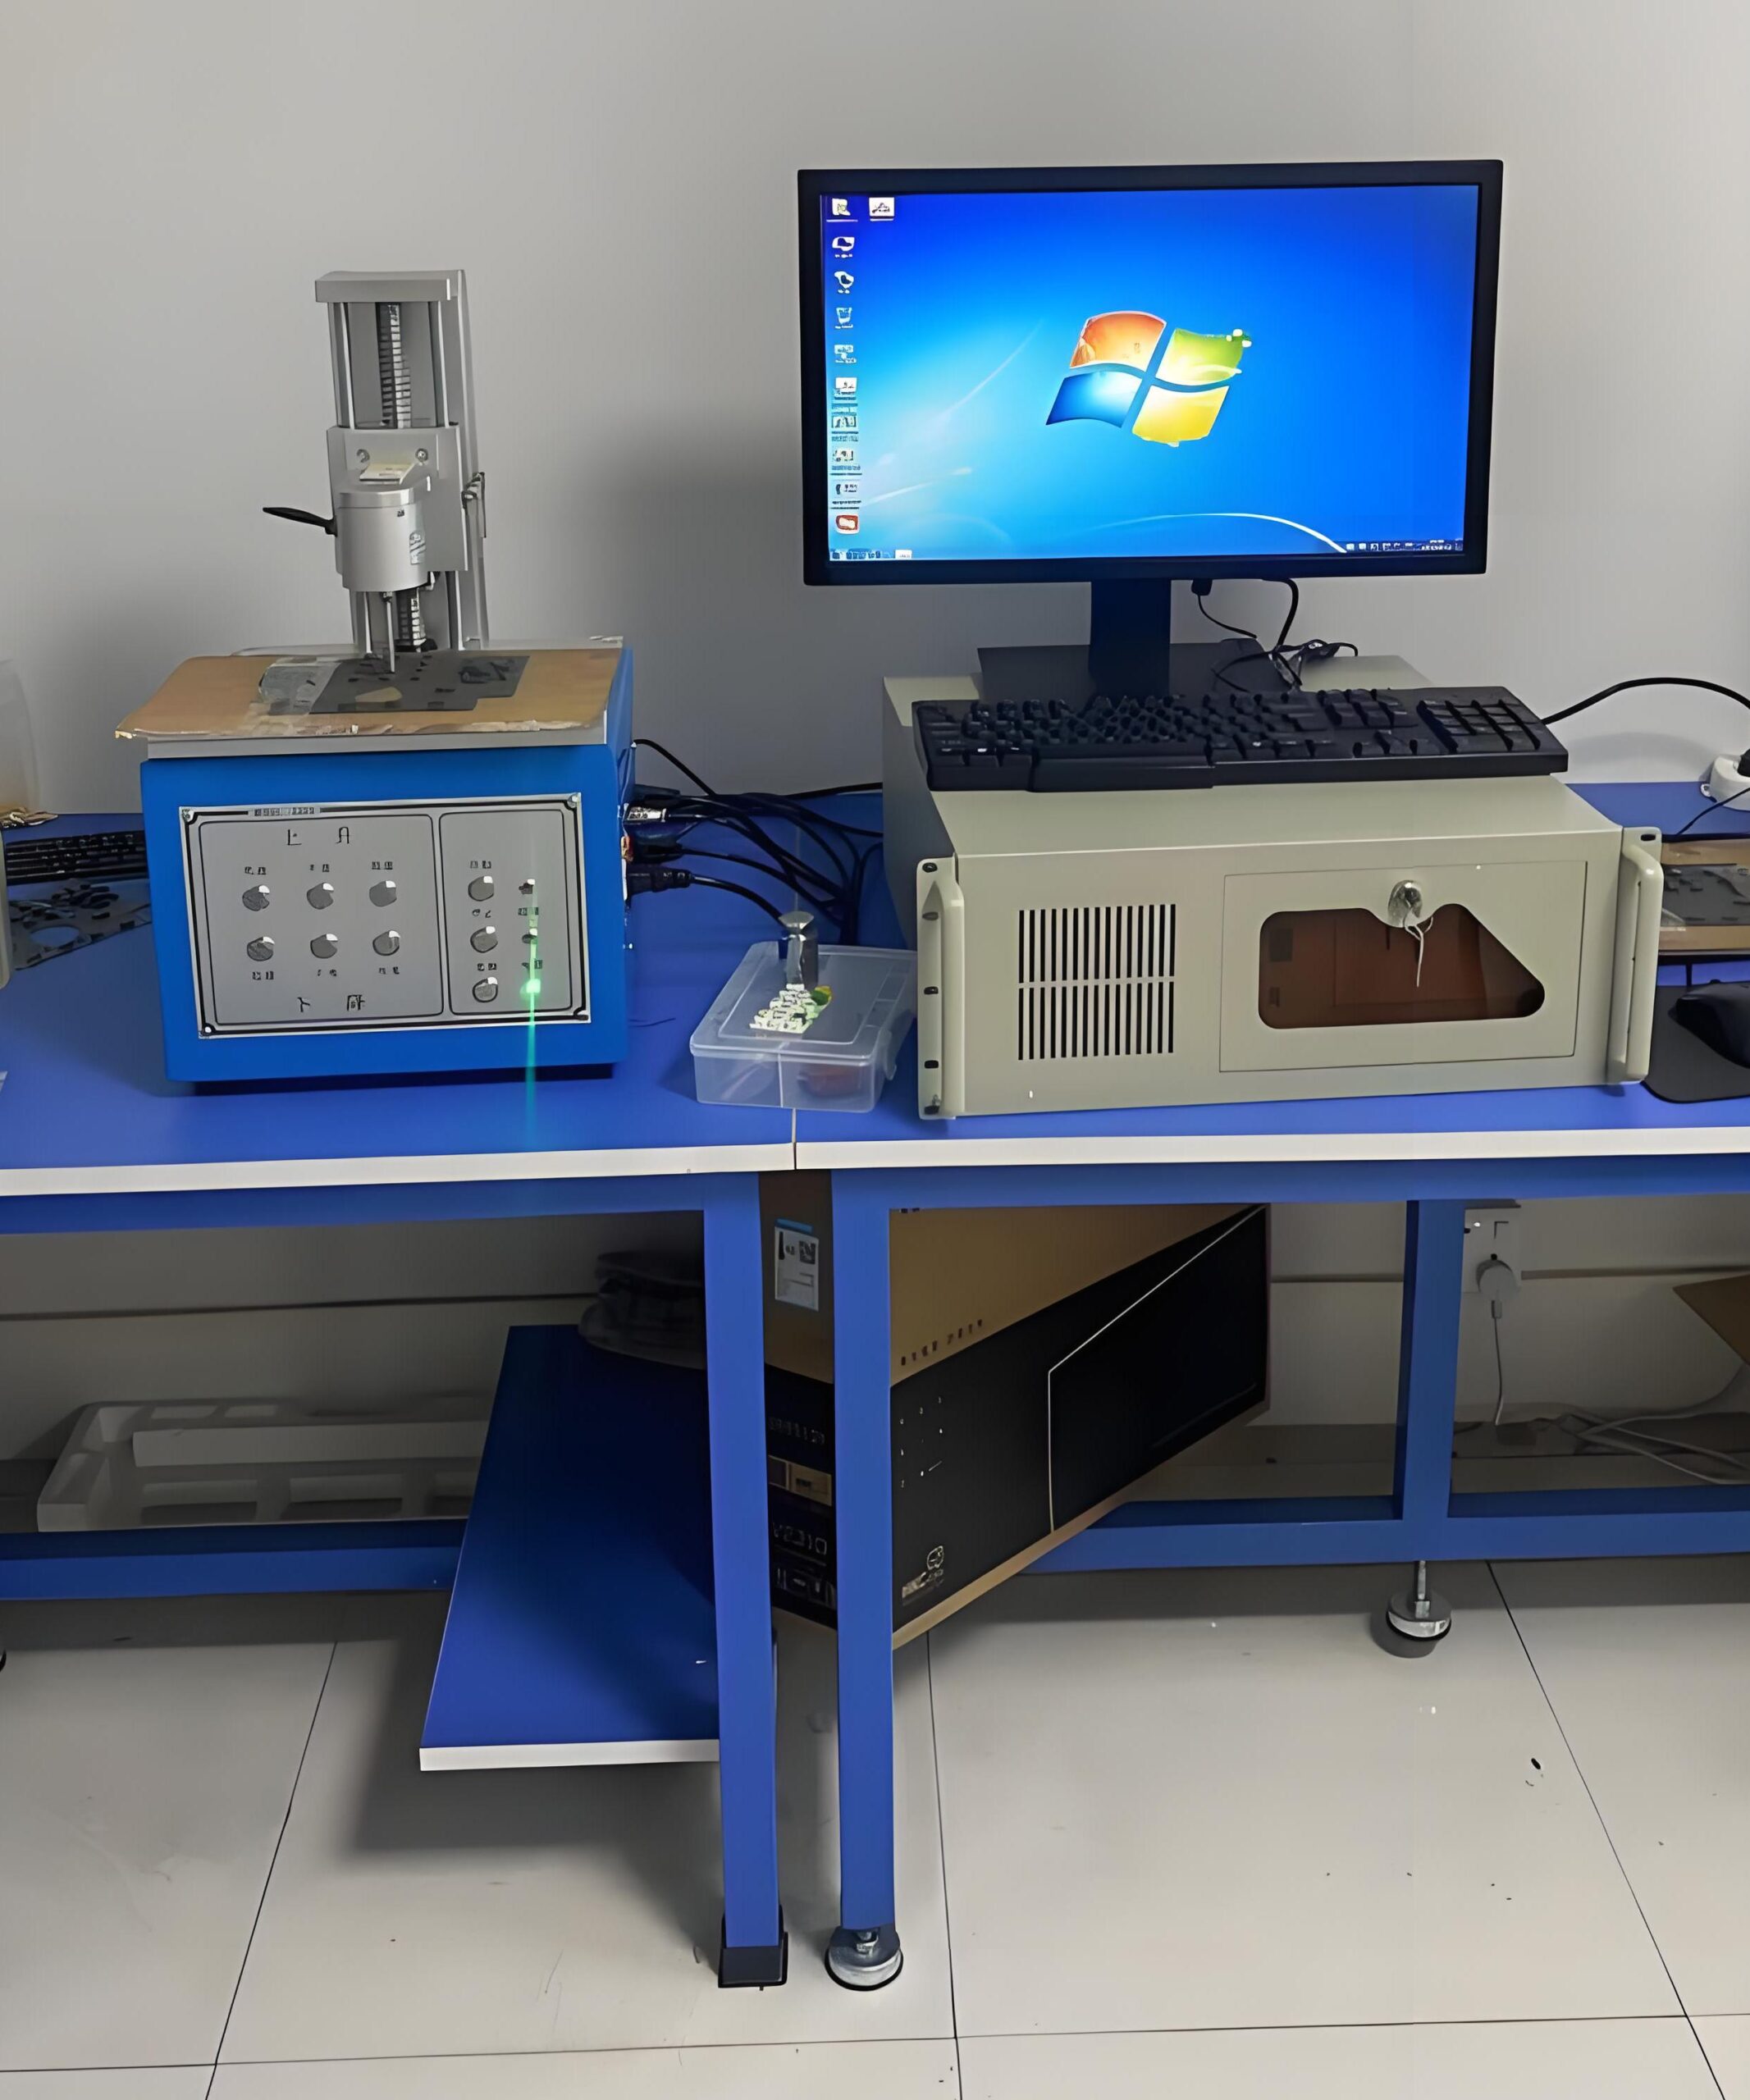
Many testers come with digital force gauges and force-vs-travel graph displays. This helps engineers match switch behavior to user expectations exactly.
They can log:
- Travel curve charts
- Response time reports
- Click force maps
This data can be used to fine-tune dome design, compare batches, or identify production issues early. Even simpler testers, when handled correctly, are accurate for basic go/no-go testing.
For high-volume production lines, automated testers are ideal. They reduce human error and increase speed.
Conclusion:
Testing the switch is very important. With proper testing, you get better products, happier users, and fewer returns. You also save time and cut costs by identifying issues early.
Need help evaluating domes or improving your testing process? Contact us at sales@metal-domes.com for expert support, samples, or technical advice.