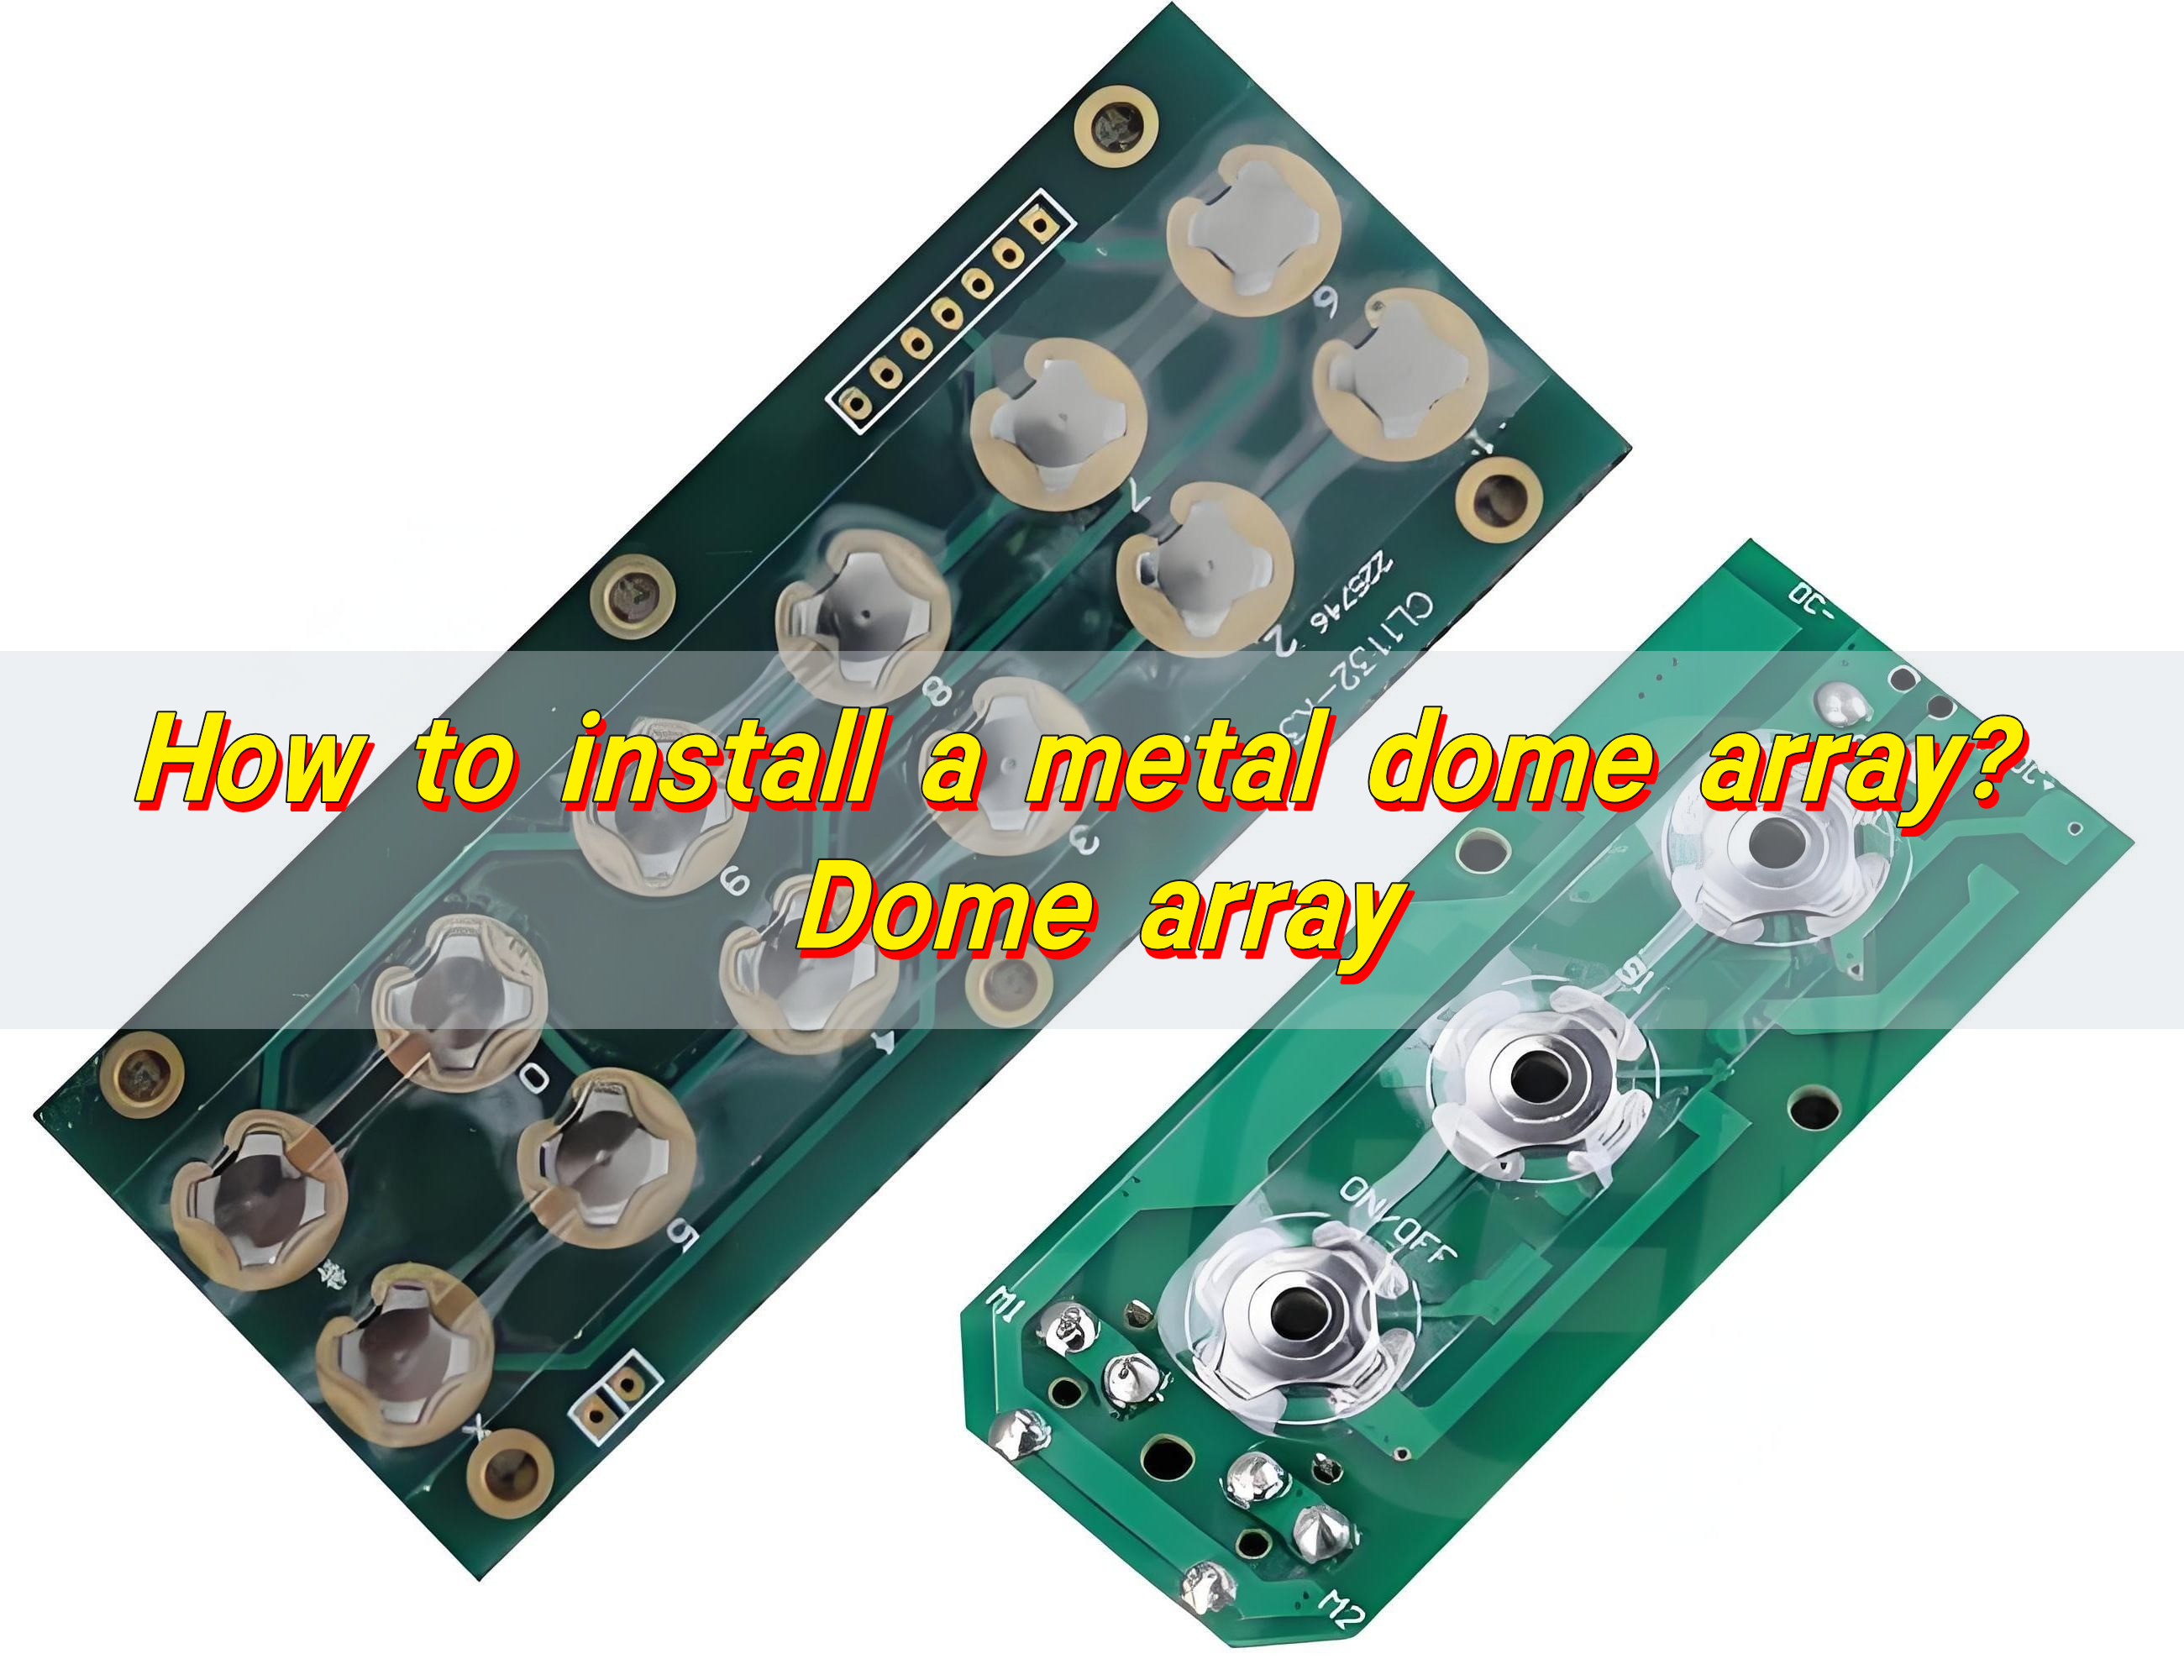
Installing a metal dome array starts with a clean surface. Carefully align the adhesive dome sheet over the contact points, then press it down evenly to secure it. Precision is key, as misalignment can affect tactile feel and switch performance. For best results, use tools or jigs to ensure accuracy and avoid touching the domes directly.
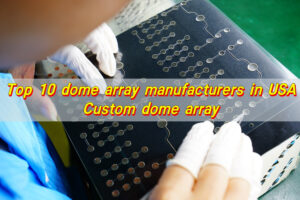
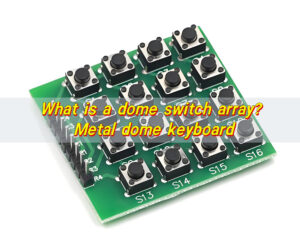
What is a metal dome array?
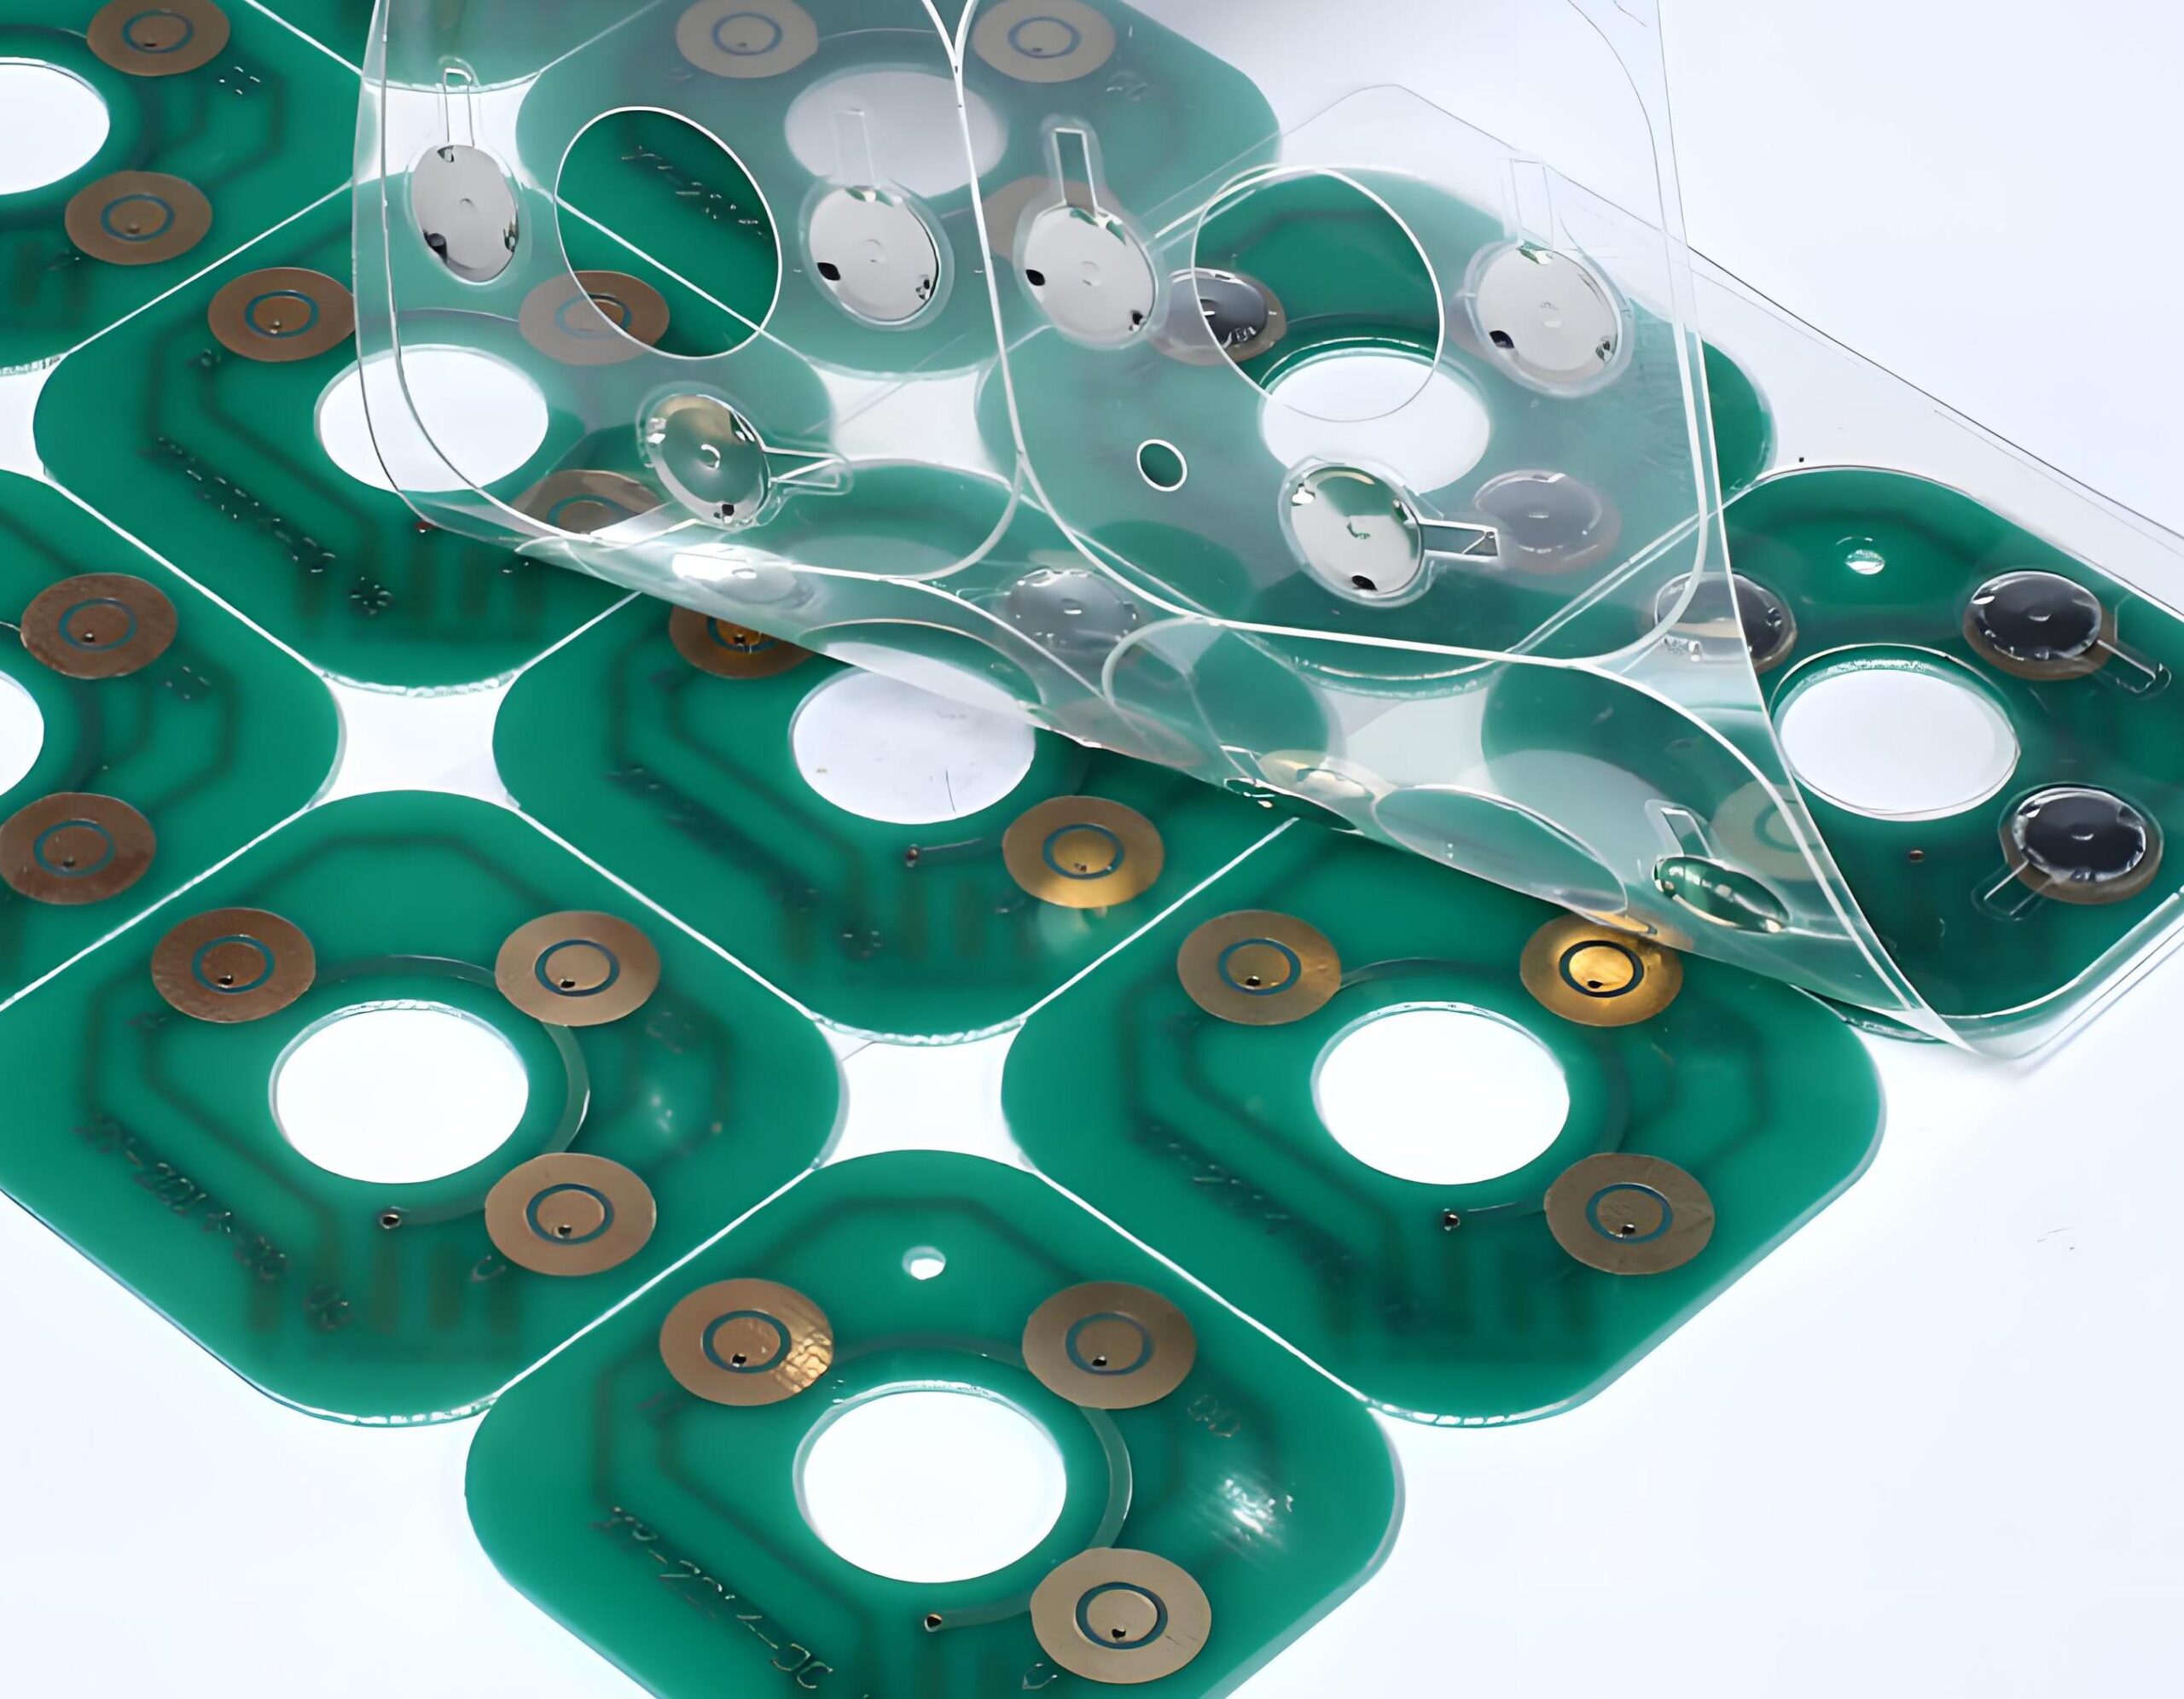
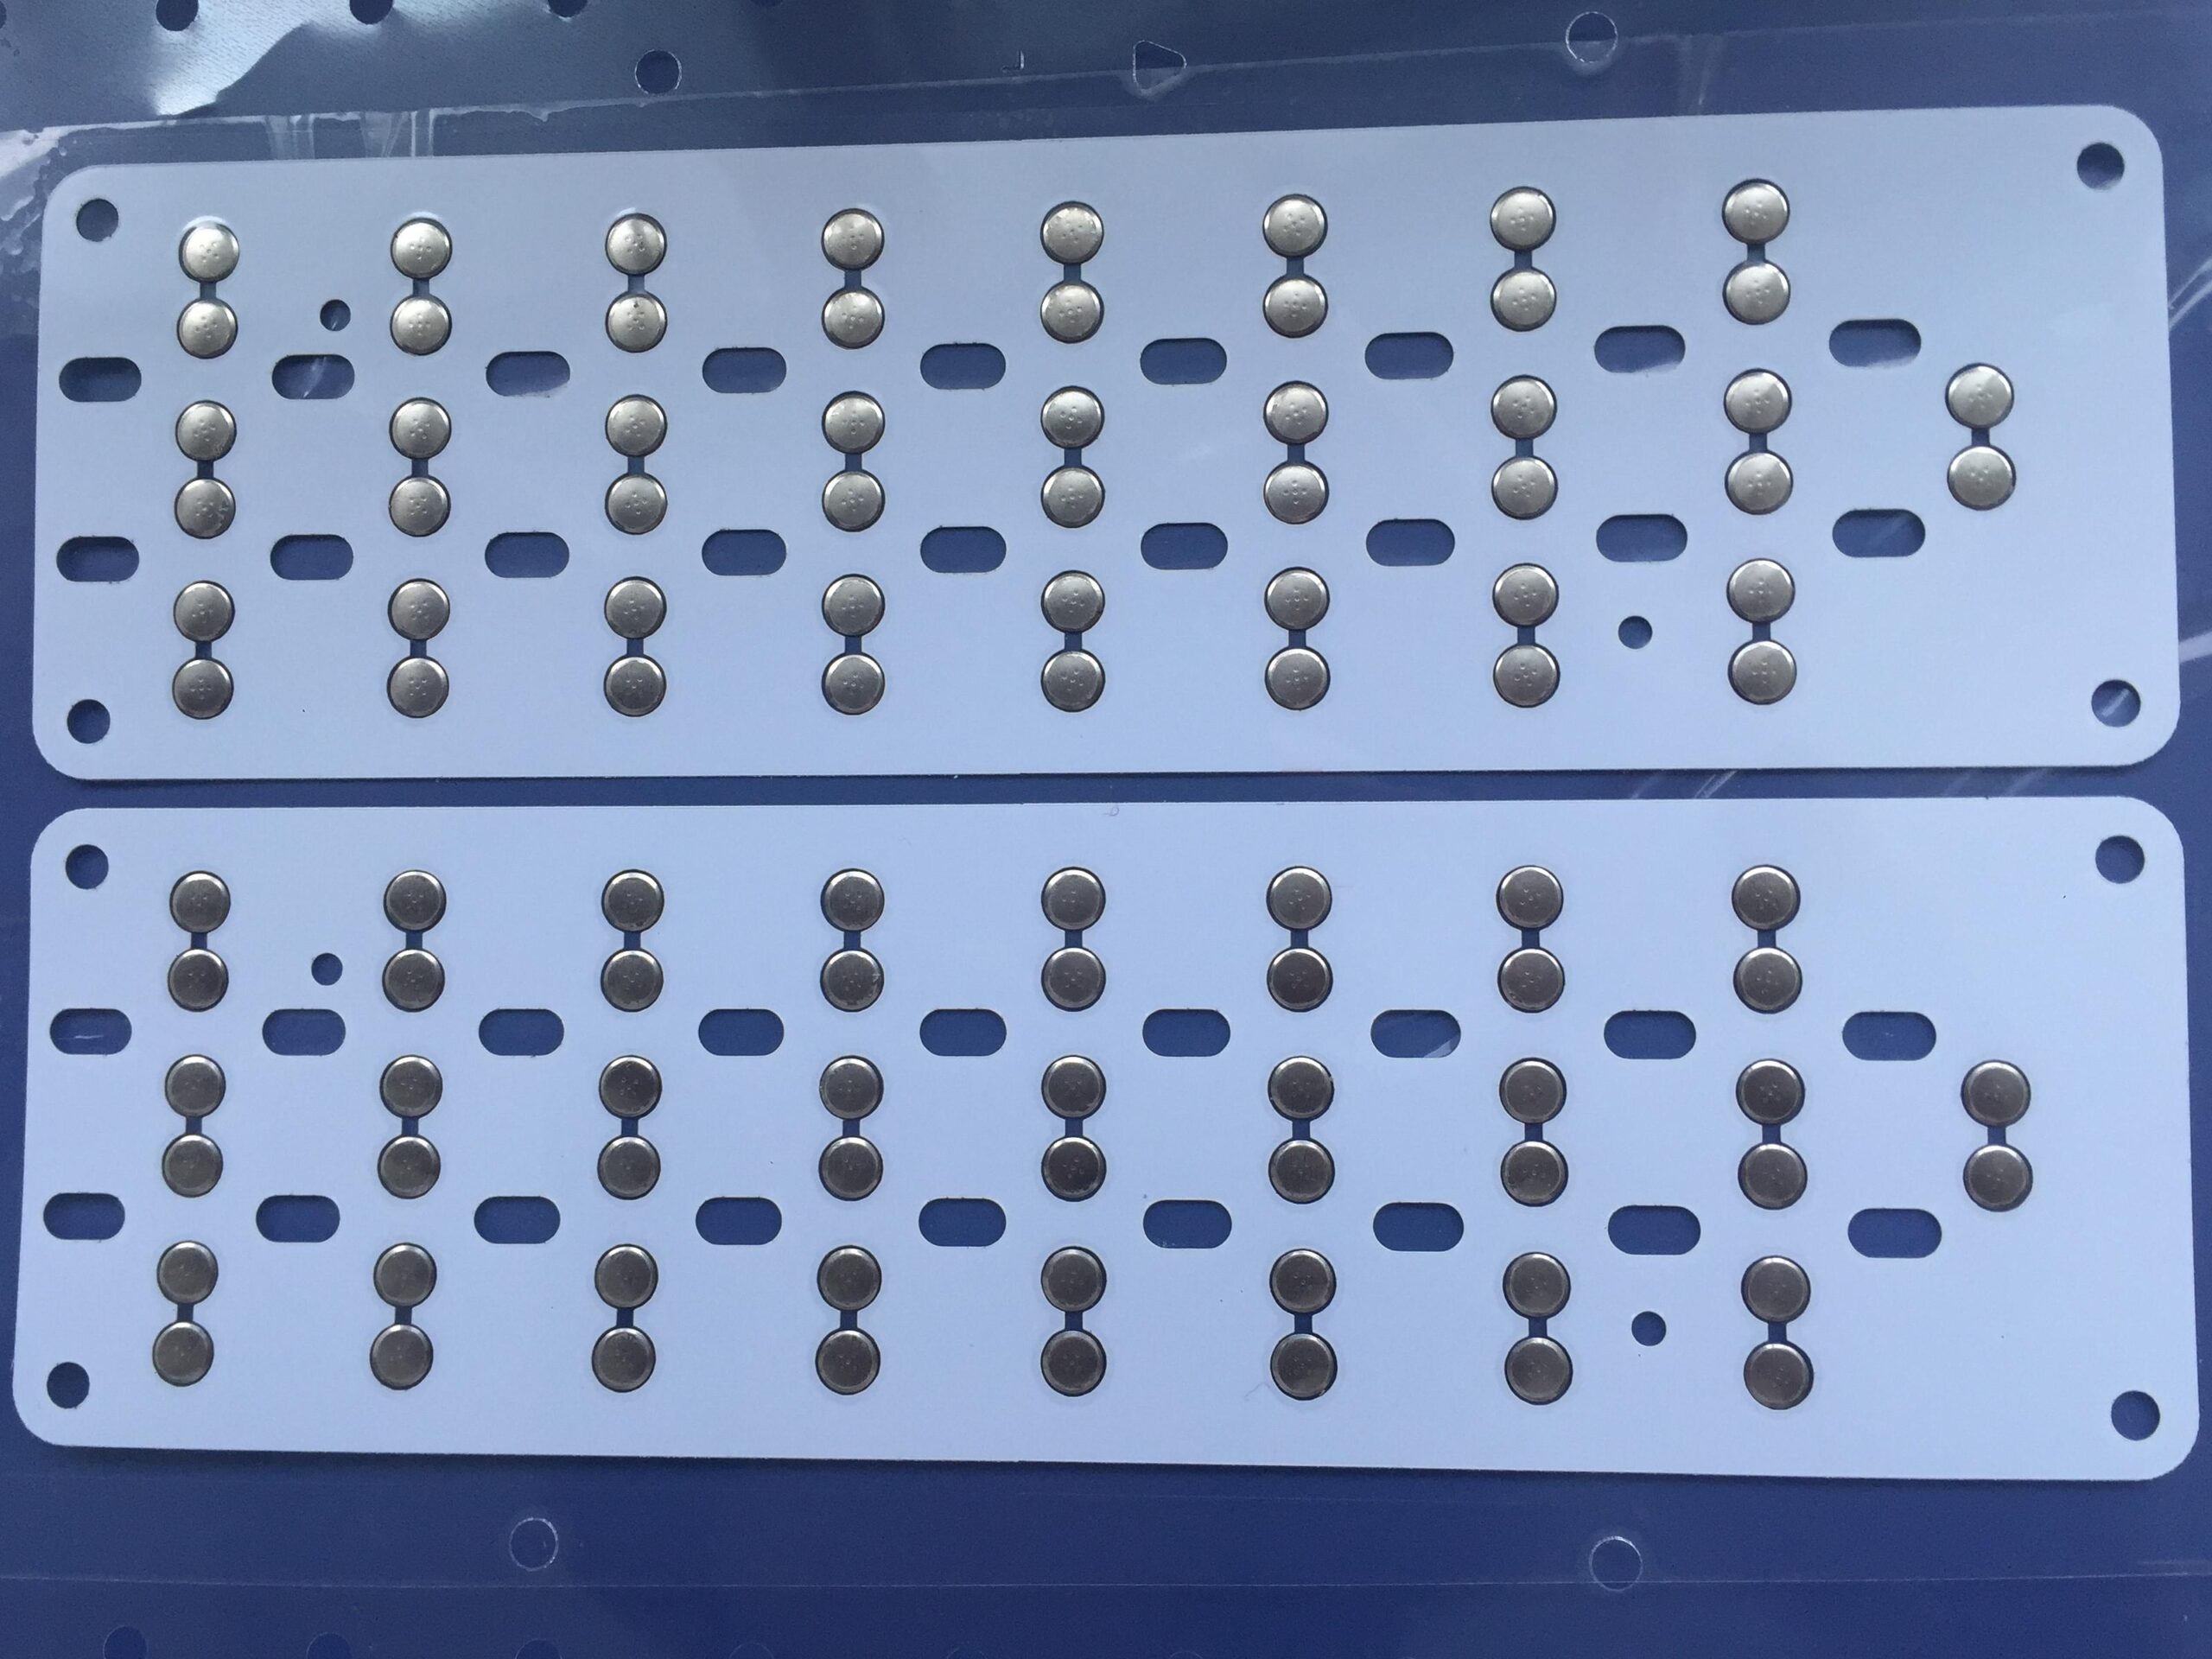
Metal dome array is a flexible sheet that holds multiple metal domes arranged in precise positions. Each metal dome acts as a tactile switch, providing a crisp, responsive feel when pressed.
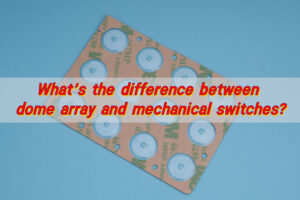
The domes are typically mounted on a PET adhesive film. This design allows the entire array to be placed onto a printed circuit board (PCB) in one step. It improves assembly speed and maintains consistency across each switch location.
Metal dome arrays are widely used in electronic devices like control panels, medical equipment, and industrial tools. They offer reliable switching, clear tactile feedback, and long life.
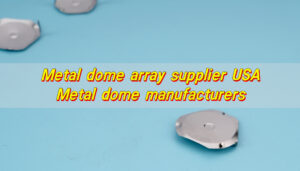
The metal dome itself is often made from stainless steel and precisely shaped to deliver a snap action. When pressure is applied, the dome collapses, creating contact with the circuit beneath. When released, it returns to its original shape.
Using a dome array simplifies installation, especially in high-density designs. Instead of placing each dome one by one, manufacturers can apply the entire array in one step. This boosts production speed and reduces error.
What’s the right way to place dome arrays?
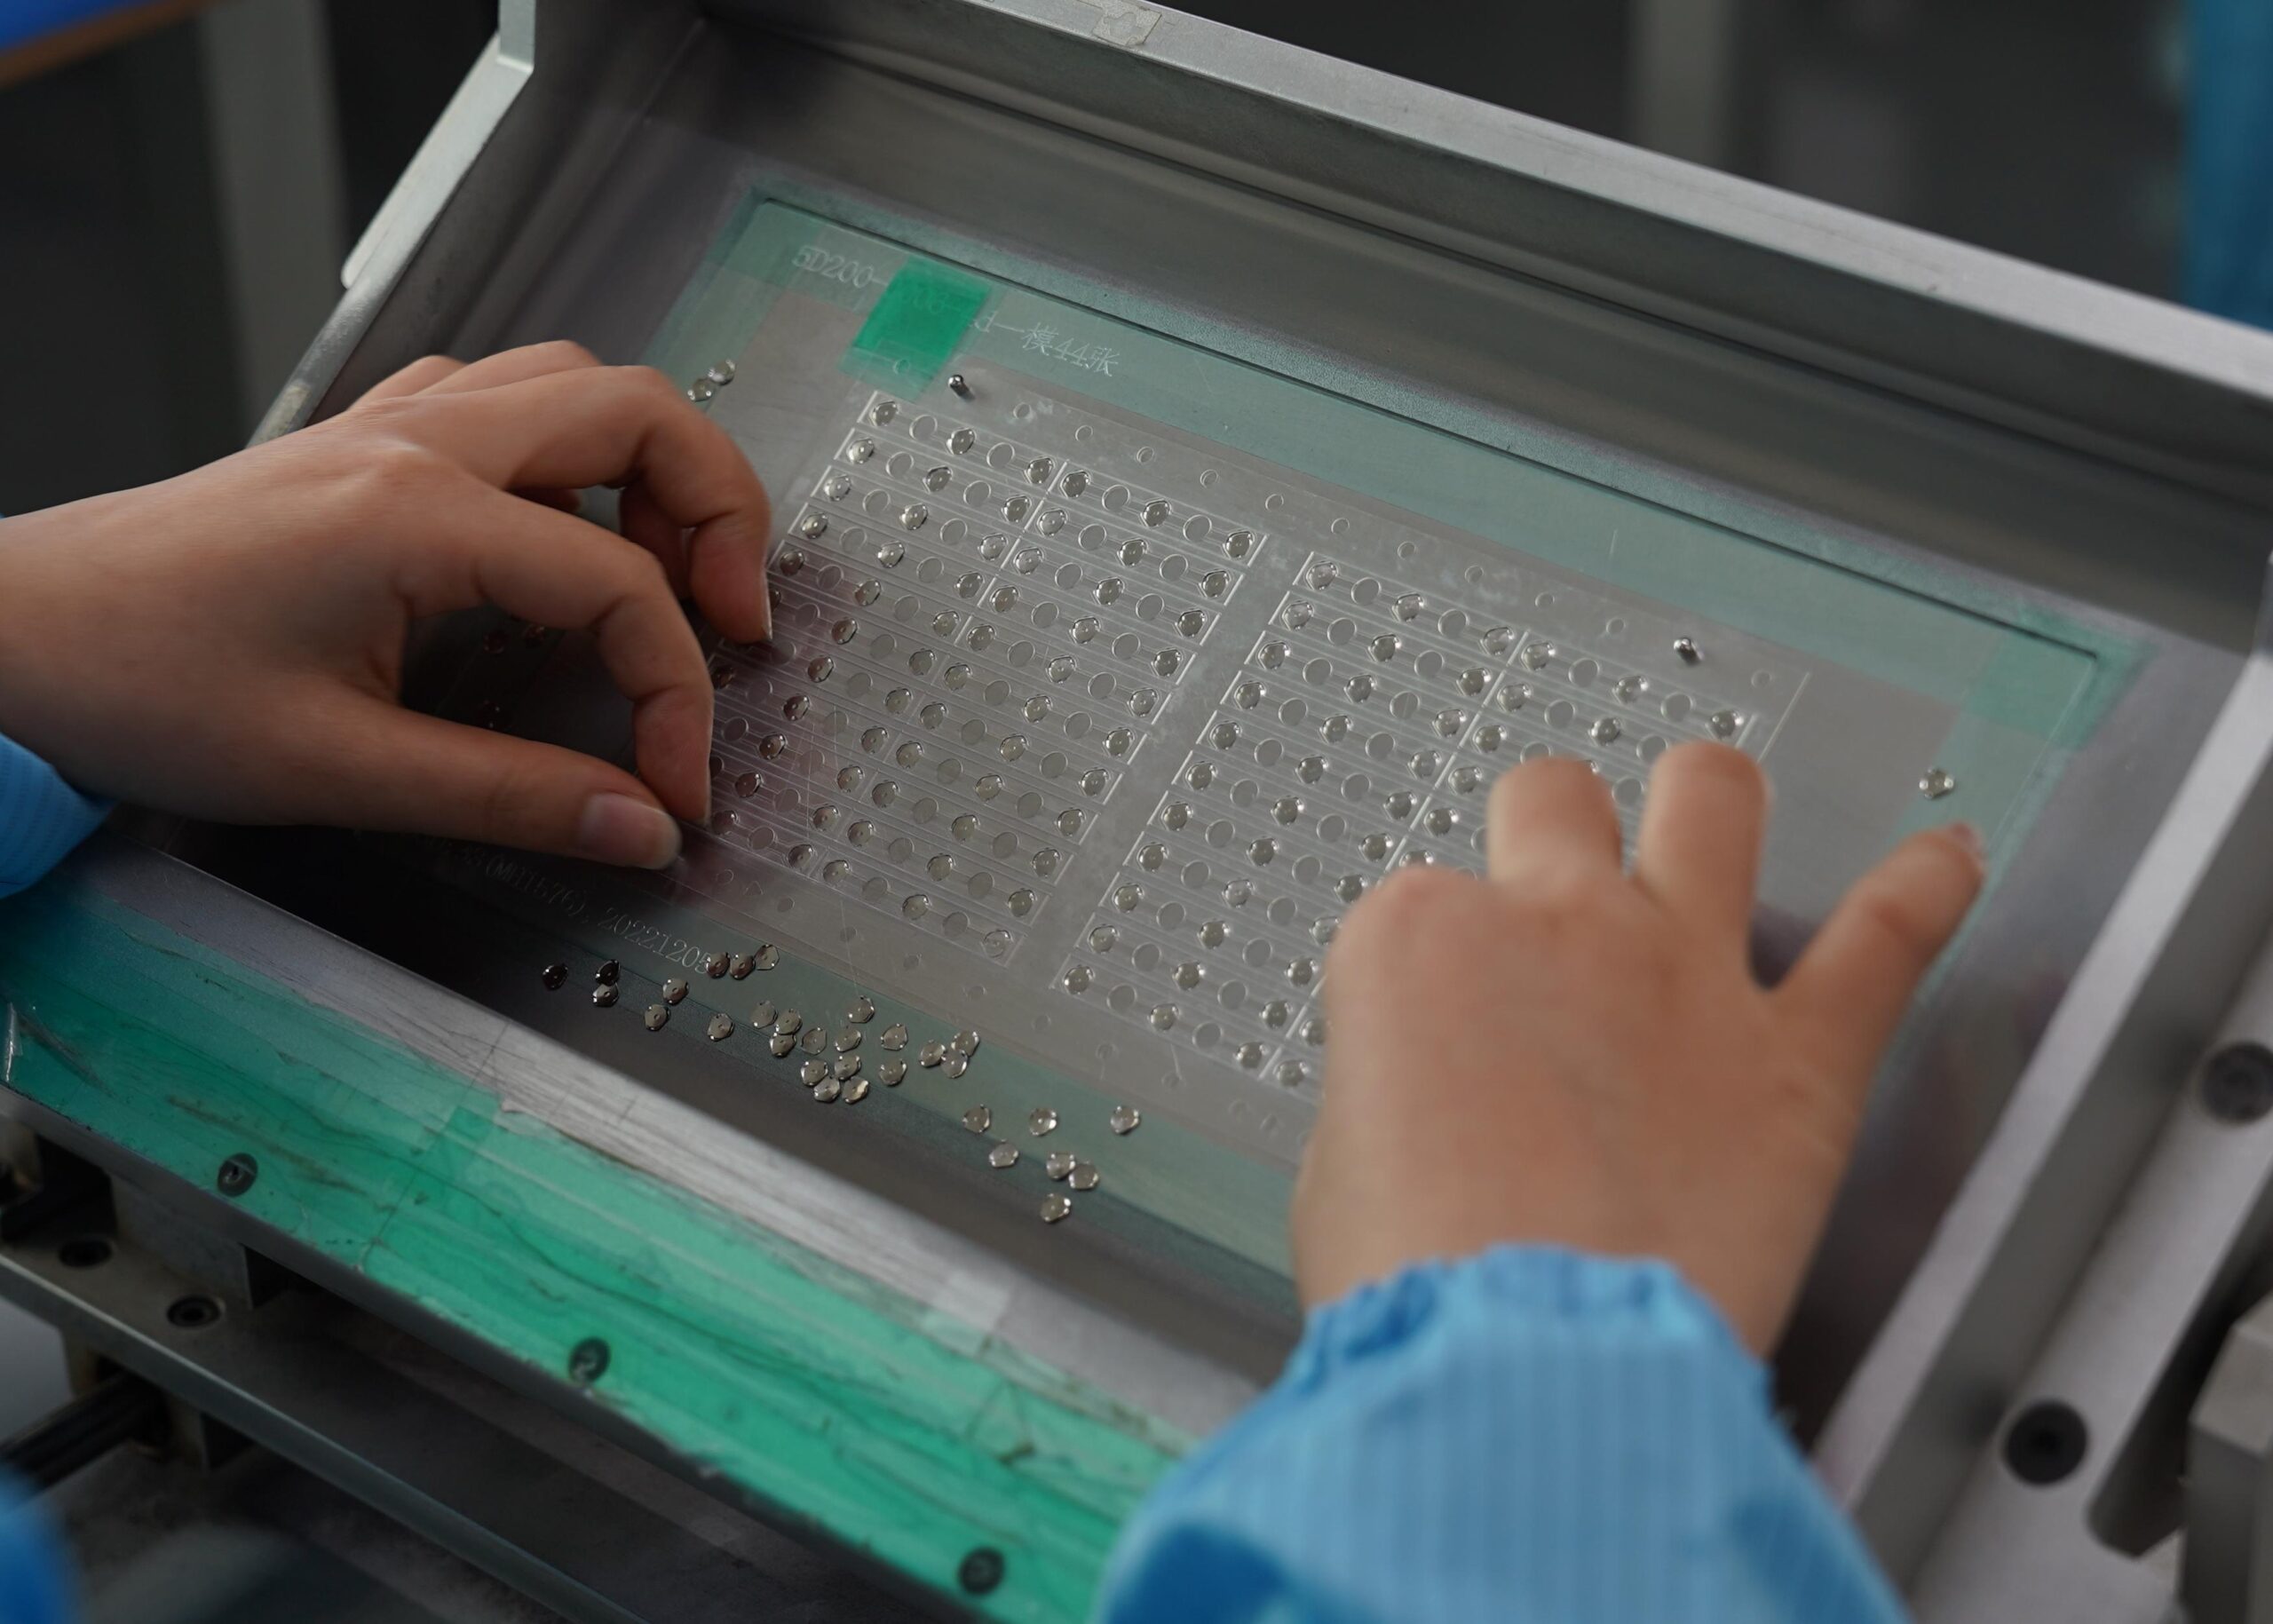
The correct placement of a dome array is critical. It ensures the buttons work properly and feel consistent. Before placing the array, inspect the surface of the PCB or contact layer. It must be clean, dry, and free from any oils, dust, or residues. Wipe the area using a lint-free cloth soaked in isopropyl alcohol. Let it dry completely.
Now, prepare the dome array for application. Carefully peel off the protective release liner. Avoid touching the adhesive side with your fingers to prevent contamination. Hold the dome sheet at the edges.
Align the array with the PCB carefully. Each dome must be centered over its contact pad. If alignment is off, the button might not register correctly. Precision is key. Use a fixture or template to guide placement if available.
Once aligned, apply gentle pressure along the PET film—not directly on the domes. Start pressing from one corner and work toward the opposite side. This helps eliminate trapped air. A soft roller can be useful for even pressure. After placement, do a quick visual check to confirm there are no bubbles or shifts.
Can dome arrays be installed by hand?
Yes, dome arrays can be installed by hand, especially in small-batch or prototype production. Hand installation works well if done with care.
To install by hand, use precision tools such as tweezers or vacuum pens. These tools allow better handling without touching the adhesive surface. Place the dome sheet above the circuit area, align it visually or with a guide, and gently lower it into place.
Once positioned, press around the edges of the film, not directly on the domes. Use a clean roller or a flat, non-abrasive tool to secure the adhesive. Go slowly. Ensure there’s no trapped air or folds. Press in small sections for better control.
Though it takes more time than automated methods, hand installation can still produce high-quality results when done right. Make sure the workspace is clean and well-lit to reduce errors.
Can metal dome arrays be reused?
Technically, it’s possible to remove and reapply a metal dome array, but it’s not recommended. These arrays are designed for one-time use. The adhesive is strong but not meant for multiple applications.
Removing a dome array may stretch or warp the PET film. It can also bend or damage the metal domes. If that happens, the tactile feel changes or fails completely. Inconsistent dome behavior leads to unreliable switches, which is risky for the end-user.
Even if the film looks fine, the adhesive might lose its strength. It may not bond well on the second try, especially if dust or oils are present. You might also struggle to realign it perfectly, leading to poor contact.
In short, don’t reuse metal dome arrays. For dependable performance, always use a fresh, untouched sheet. This ensures strong adhesion, proper dome shape, and clean, consistent feedback.
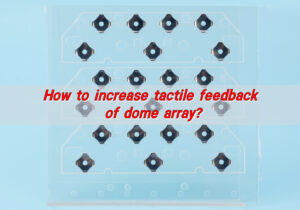
What affects the feel of a dome array?
The tactile feel of a dome array matters. It impacts how the user experiences the product.
One major factor is dome force, measured in gram-force (gf). Domes with lower force require less pressure to activate and feel softer. Higher force domes feel firmer and deliver a stronger click. The right choice depends on the product’s use case. For fast-response devices, lighter domes may work best. For industrial tools, a stronger snap is often preferred.
Another factor is dome shape. Round, four-leg, triangle, or oblong domes each feel different. For example, round domes offer a softer touch. Four-leg domes provide a louder, firmer click. Each style serves a different need.
PET film thickness also plays a role. Thicker films can dull the feel, while thinner ones maintain sensitivity. The same goes for graphic overlays. A thick overlay might mute the click, while a thin one preserves the snap.
Surface condition under the dome matters too. If the PCB has dirt or oxidation, it disrupts electrical contact. Even a well-placed dome won’t work right without a clean contact pad.
Adhesive type and temperature can also influence feel. Some adhesives become stiff in cold environments, reducing dome travel. Always match the adhesive to the operating conditions.
What are common dome array installation errors?
The most common mistake is misalignment. If domes are off-center from their contact pads, they won’t activate correctly. This results in dead spots or inconsistent responses. Always check alignment carefully during placement.
Trapped air bubbles under the PET film are another frequent issue. These bubbles interfere with dome movement and weaken the adhesive bond. To avoid this, apply the sheet from one side to the other and press gradually.
Touching the adhesive side with bare fingers is also a problem. Oil from the skin contaminates the glue, reducing bond strength. Always handle sheets with tweezers or gloves.
Pressing directly on domes during installation may deform them. This affects their snap-back ability and changes the tactile feel. Press only on the PET edges or use soft tools.
Dirty surfaces are another culprit. If the PCB isn’t clean, the dome might not make good electrical contact. This can cause switch failure even if the dome is in the right spot.
Rushing the process increases the chance of error. Hasty alignment, careless handling, or skipping surface cleaning will lead to problems later.
Avoiding these errors ensures smooth installation and long-lasting performance. Can save hours of rework later.
Conclusion:
Dome array installation requires precise alignment, applied on clean surfaces, and handled with care. While hand installation is possible and practical, it requires patience and the right tools. Reuse isn’t advised, as it risks poor performance. The feel of each dome depends on force, shape, film, and surface quality. Avoiding installation errors helps you achieve a responsive and satisfying switch every time.
Need help with metal dome array solutions or custom designs? Contact us at sales@metal-domes.com