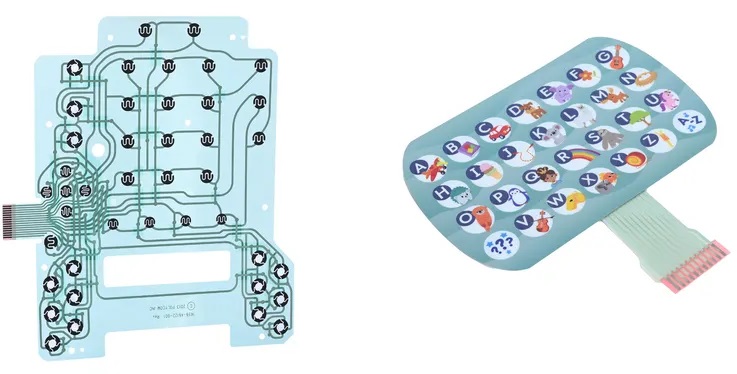
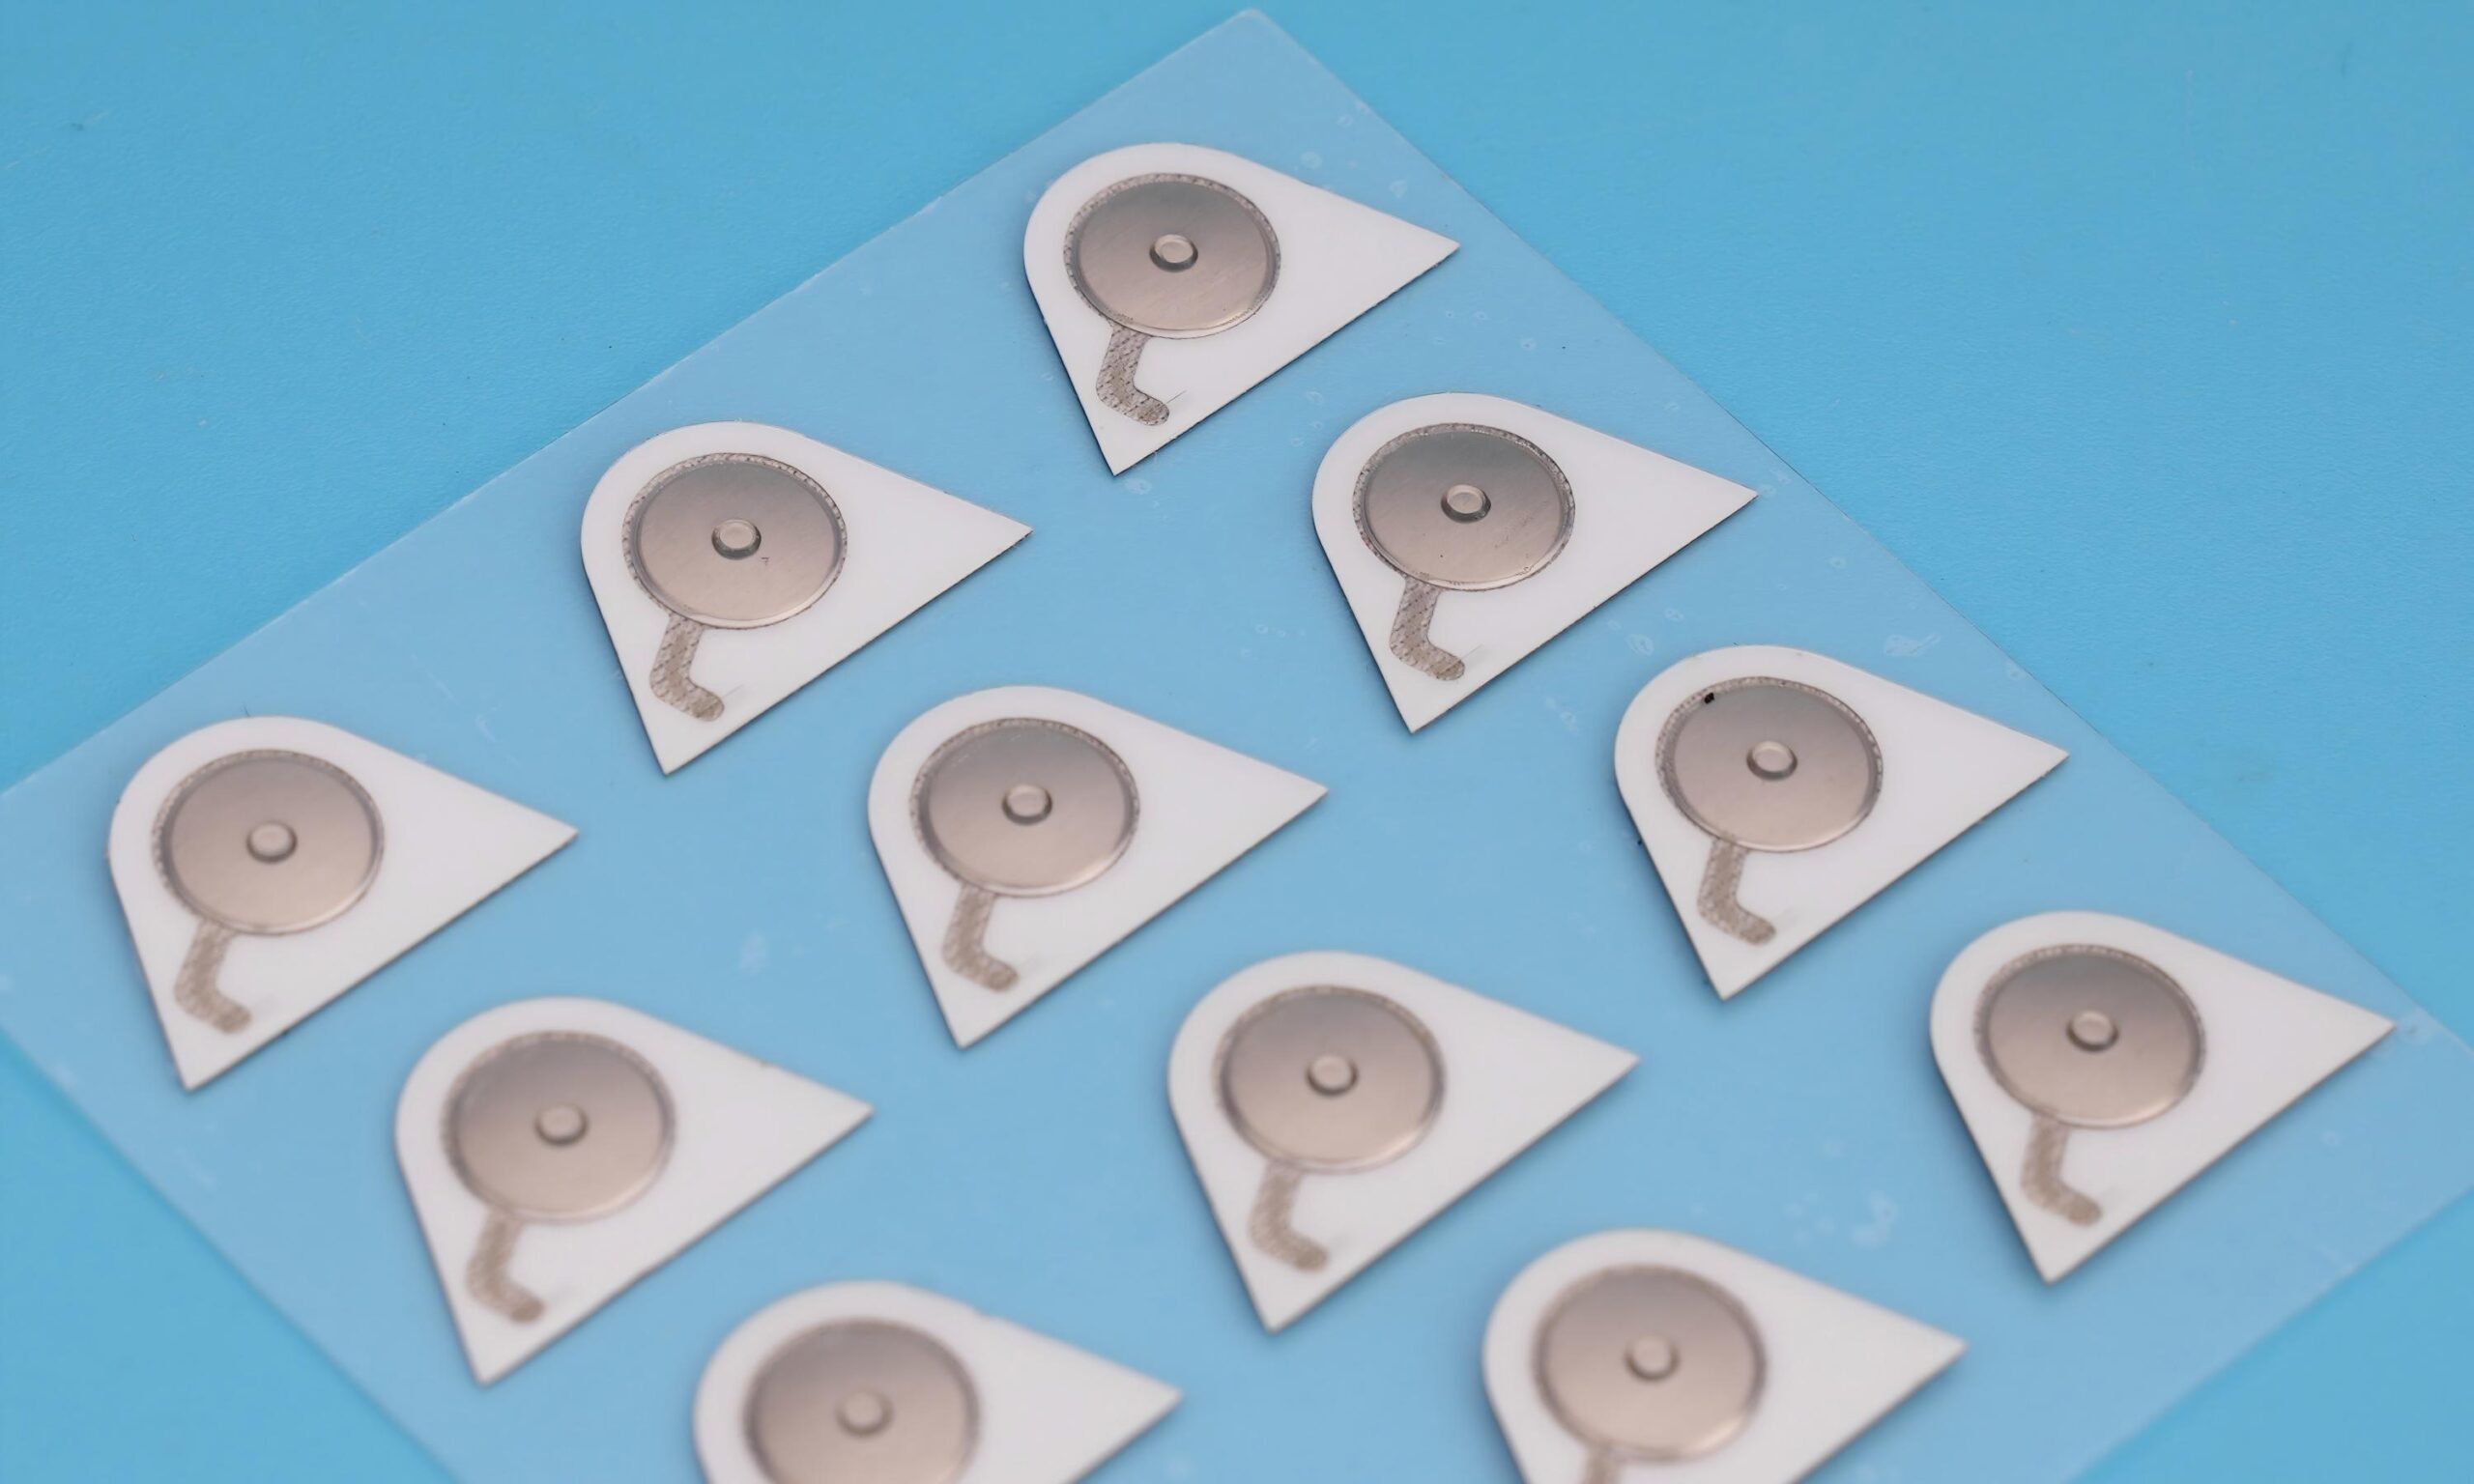
Choosing the right dome array manufacturer is crucial for product performance, lifespan, and user experience. As one of the top 10 dome array manufacturers in Brazil, BEST Technology has become a long-term partner for many brands due to its higher precision, faster delivery times, and more stable quality. Whether you are looking for metal buttons, membrane switch structures, or customized metal dome arrays, we can provide full-link support from design to mass production with our professional manufacturing capabilities.
Are you facing the following problems?
- Can’t find a manufacturer that supports small batches and expedited prototyping?
- Supplier quotations are not transparent, and the quality of the same batch is inconsistent?
- Poor customized dome array design capabilities, unable to provide structural suggestions?
- Mass production delivery is often delayed, affecting your overall project?
- Lack of a professional engineering team to assist in solving parameters such as tactile feel, travel, and lifespan?
- Many customized requirements, but manufacturers cannot provide material certification and reliability reports?
BEST Technology’s Solution
As a professional dome array manufacturer, BEST Technology provides a complete closed-loop process from engineering evaluation, structural design, material selection, prototyping and verification to mass production and shipment, allowing customers in Brazil to confidently entrust their projects to us.
- Requirements Communication: One-on-one engineer support, quickly providing solutions based on structural drawings.
- Design Optimization: Optimizing dome force, travel, and durability to ensure consistent tactile feel.
- Sample Verification: 48-hour engineering response, fast prototyping to accelerate project progress.
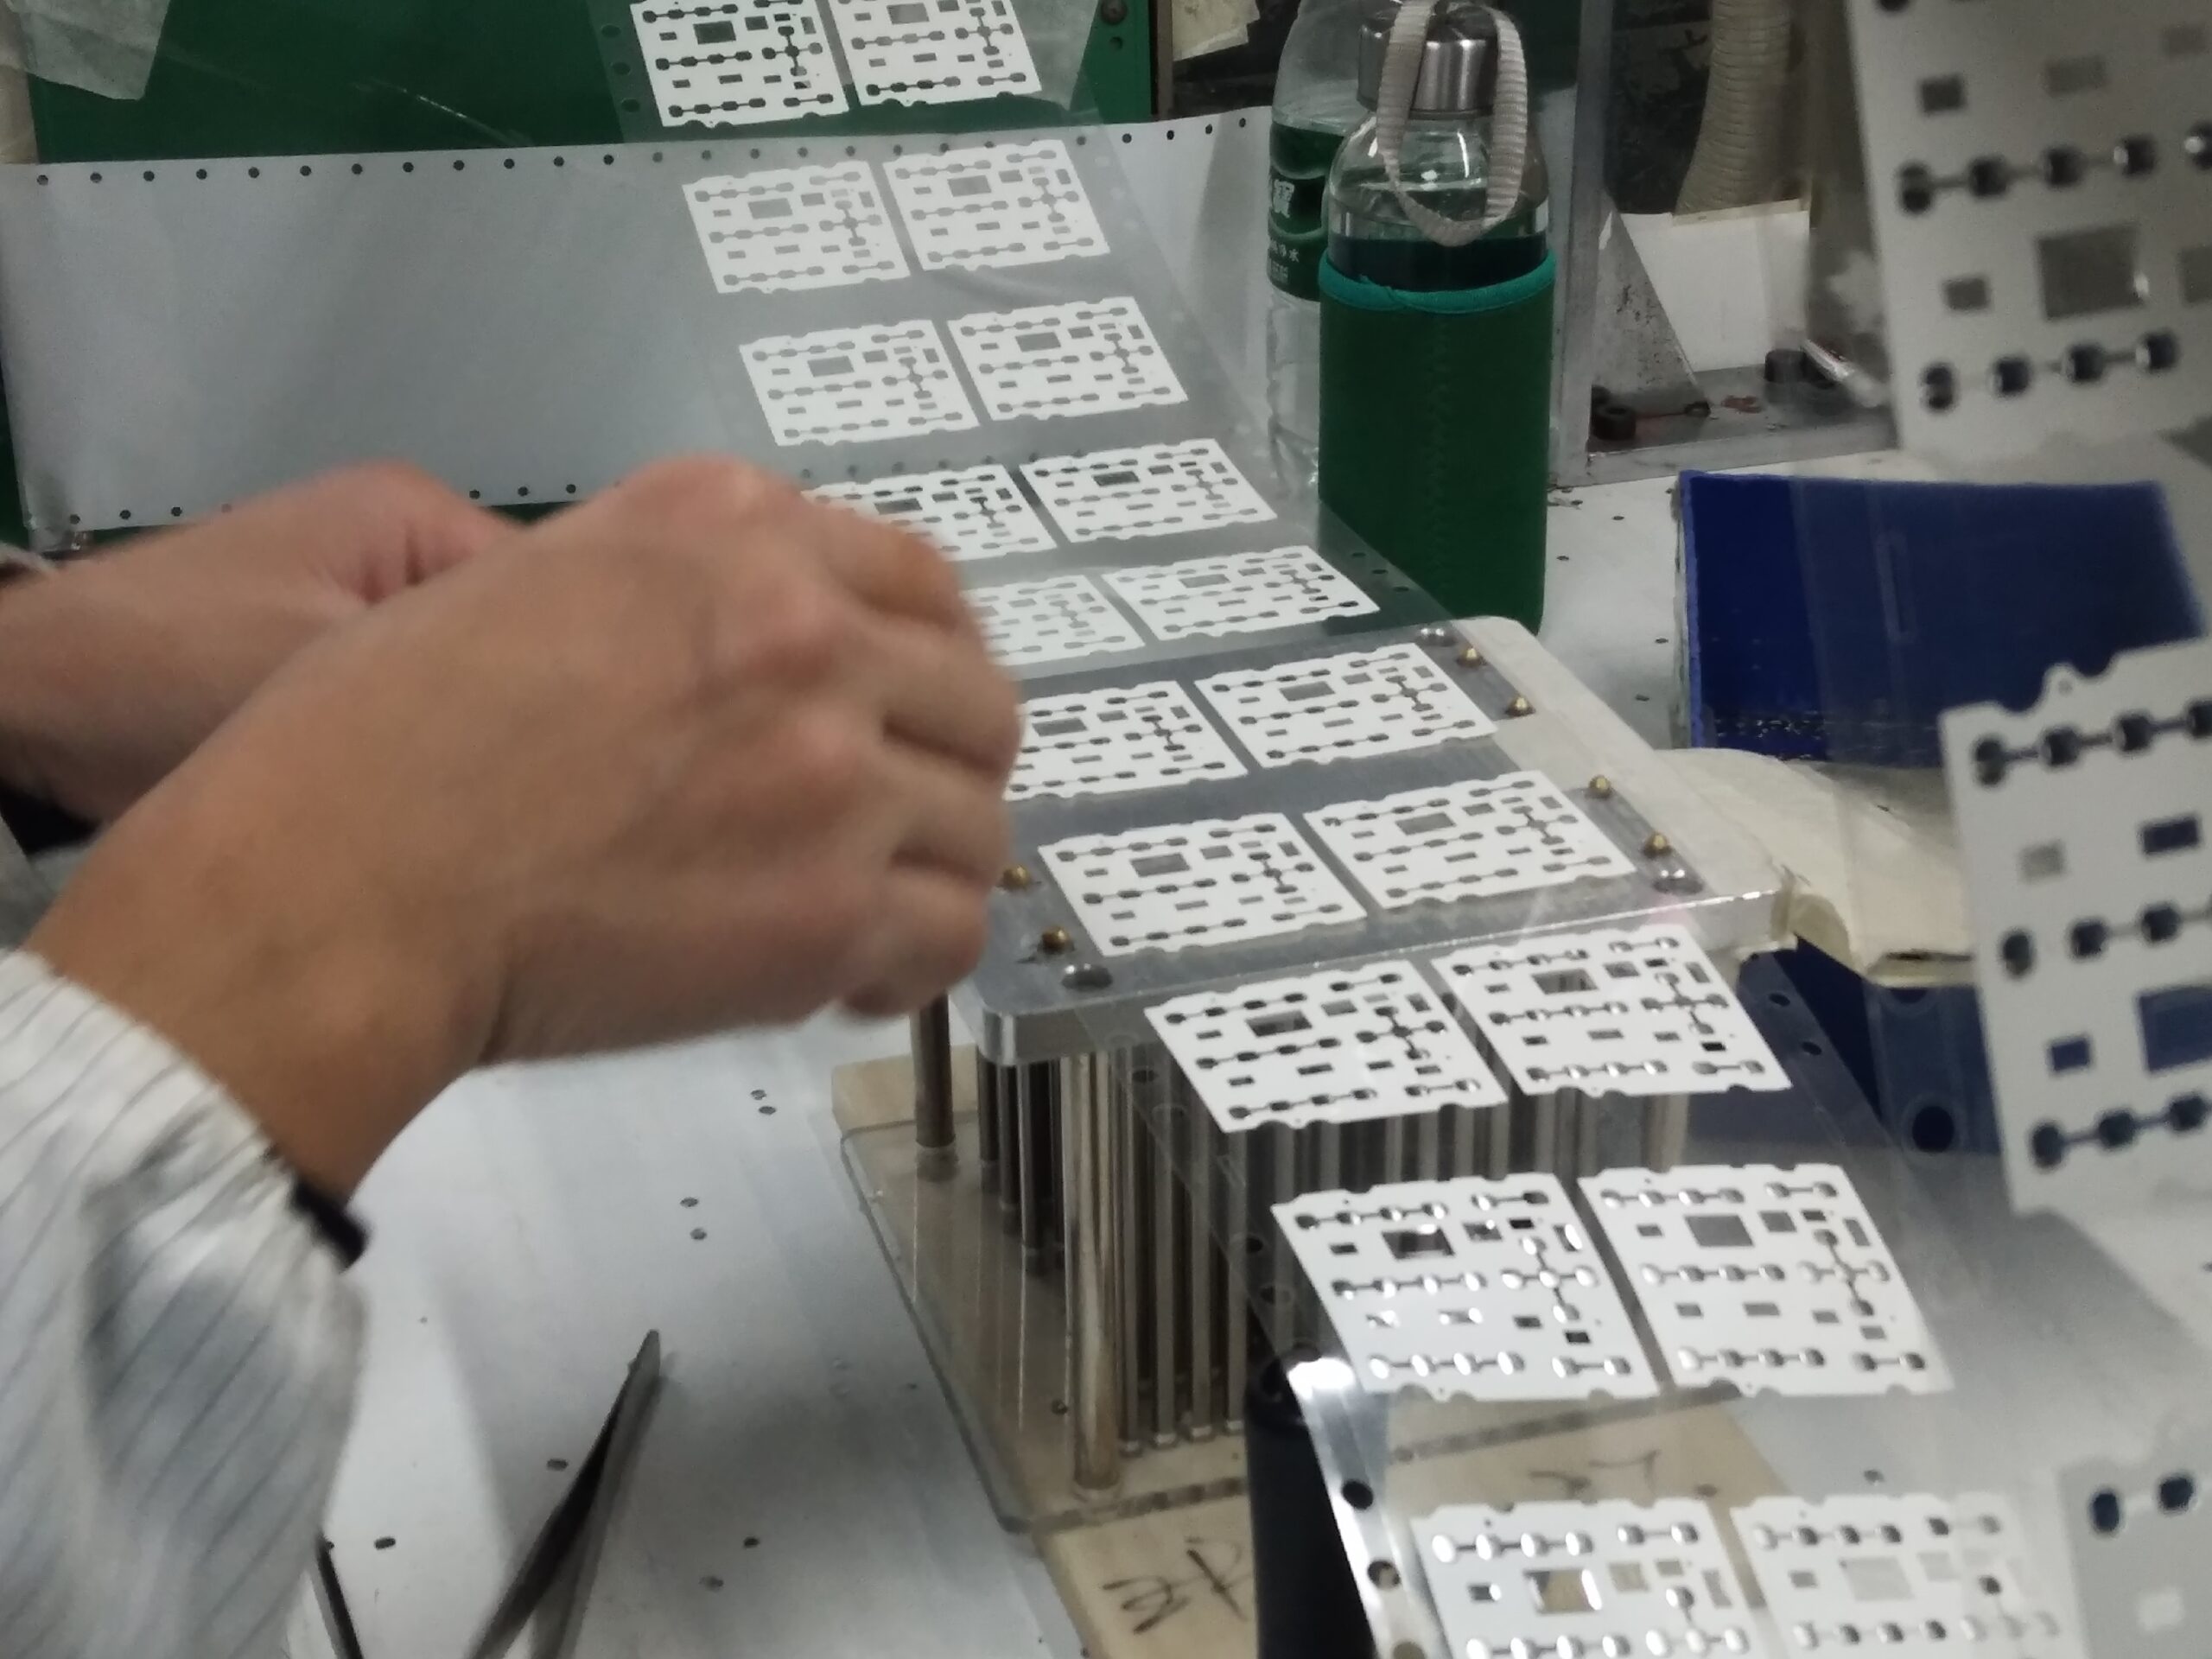
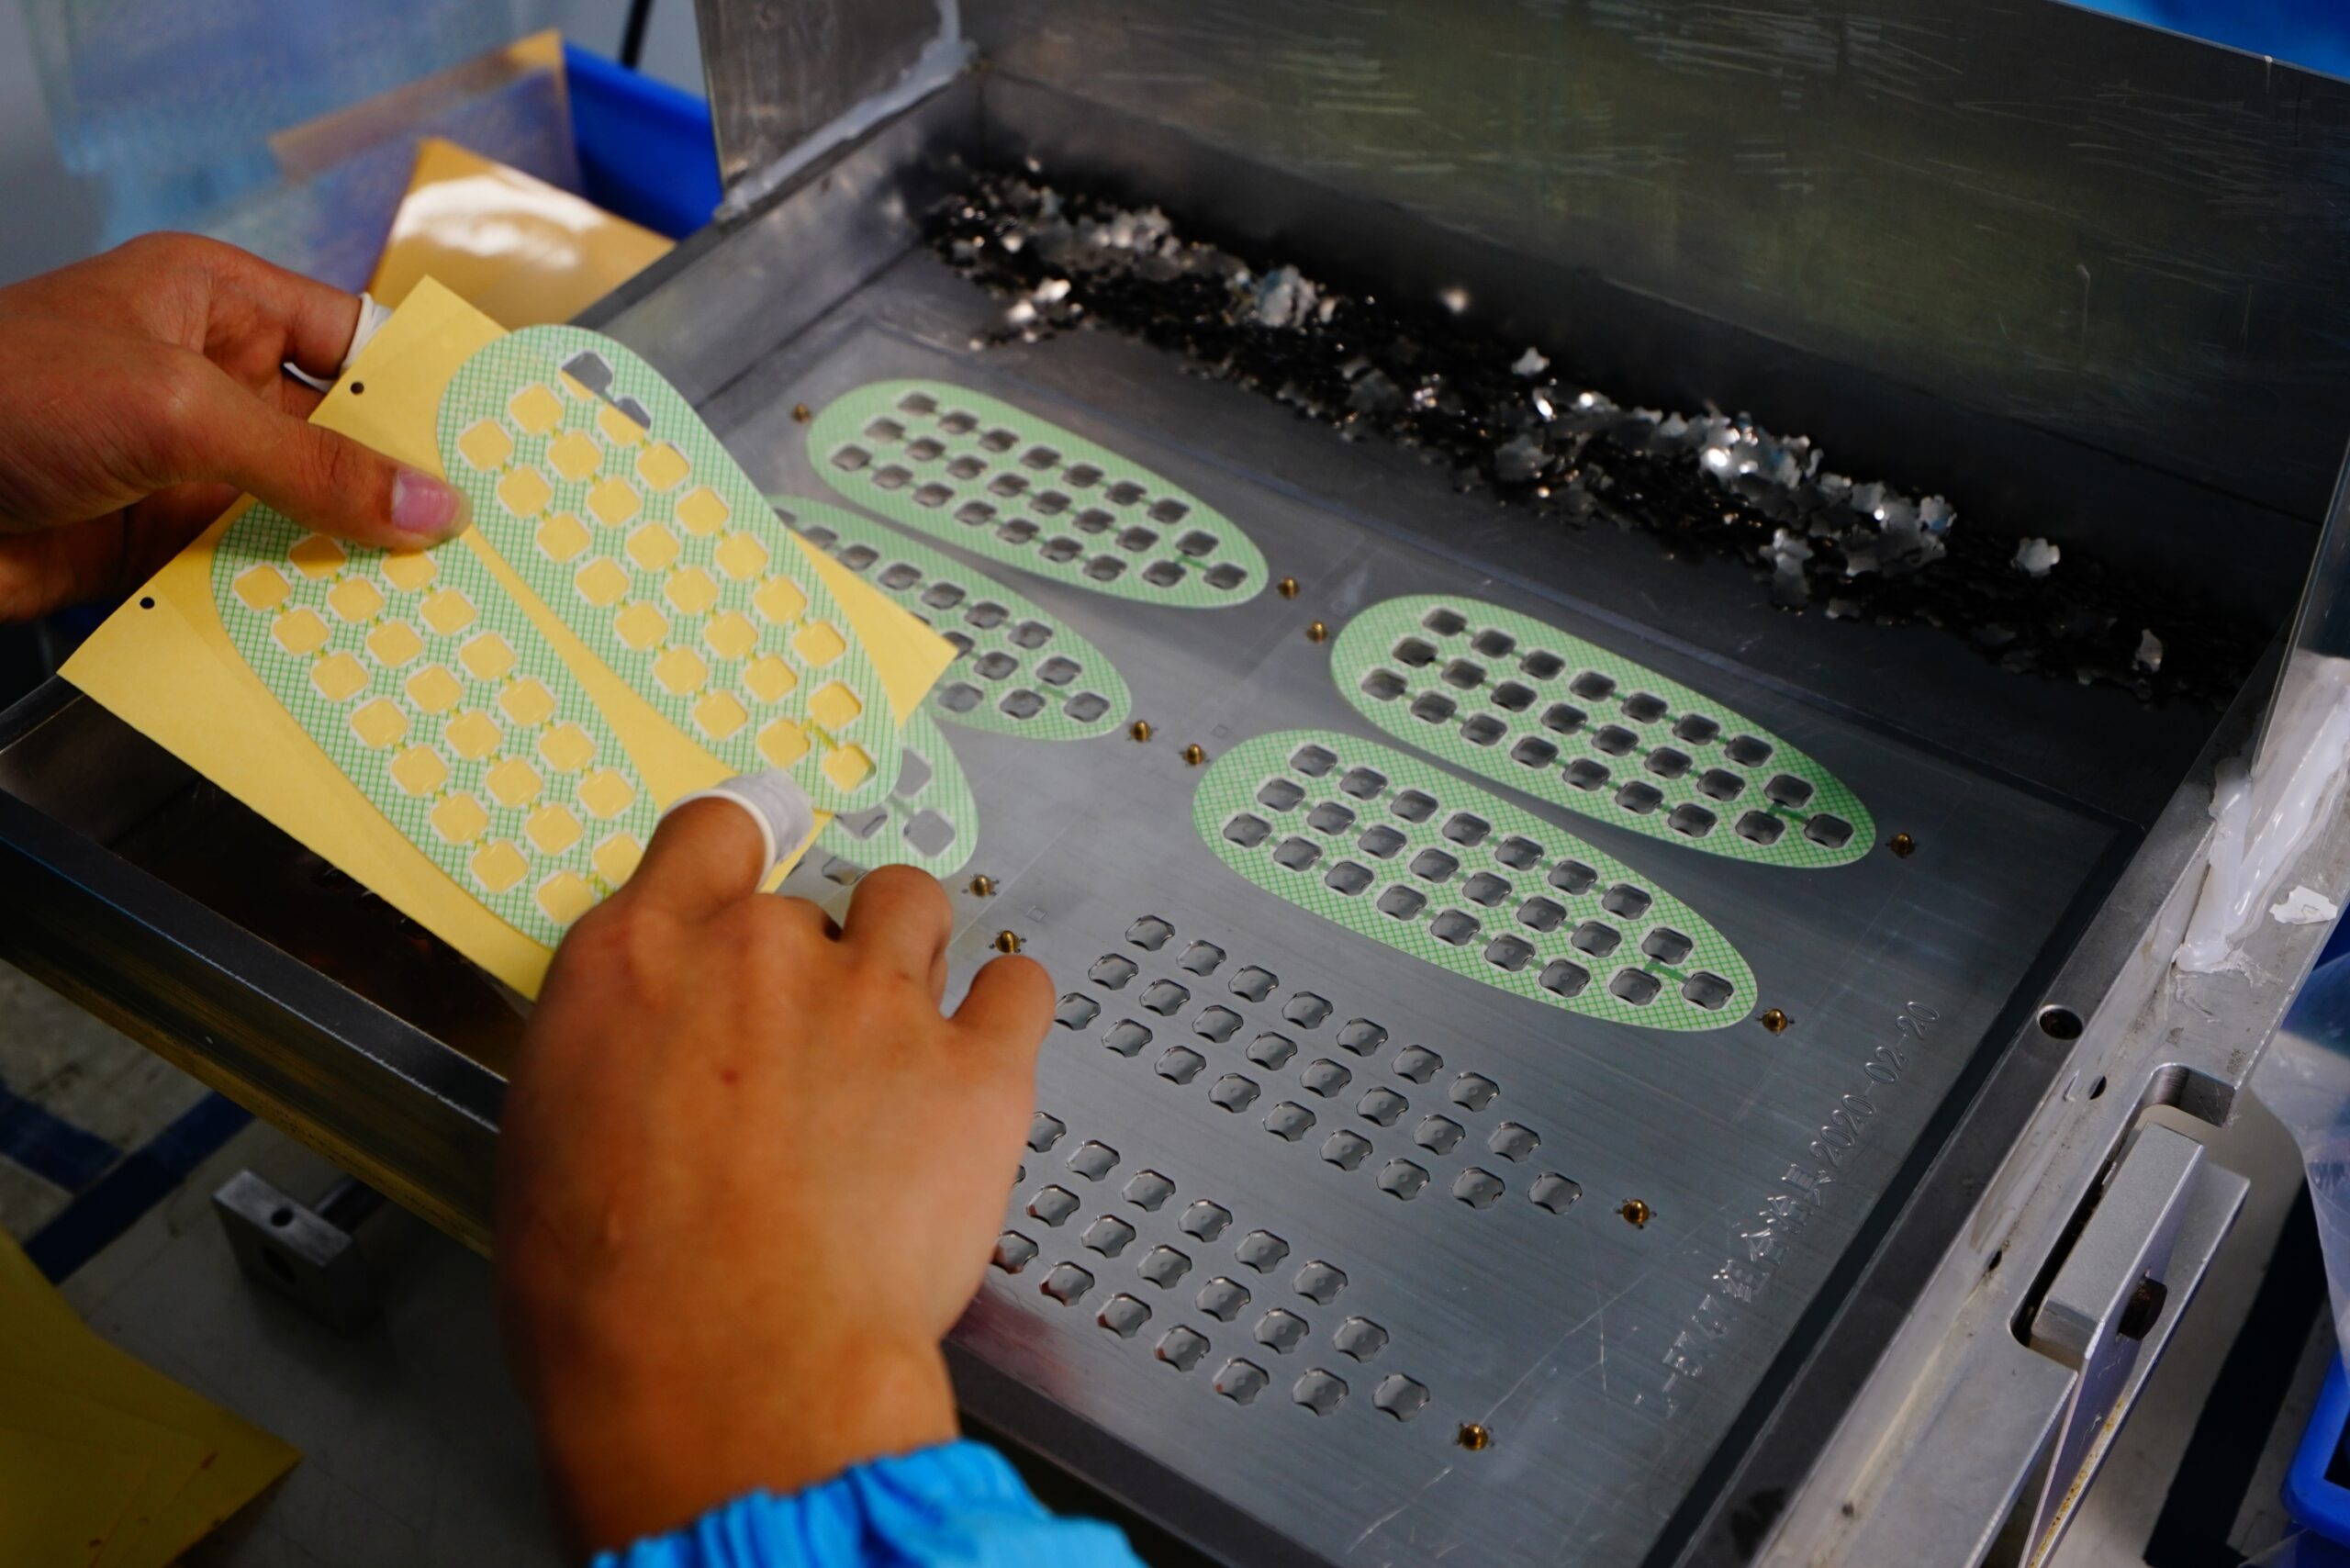
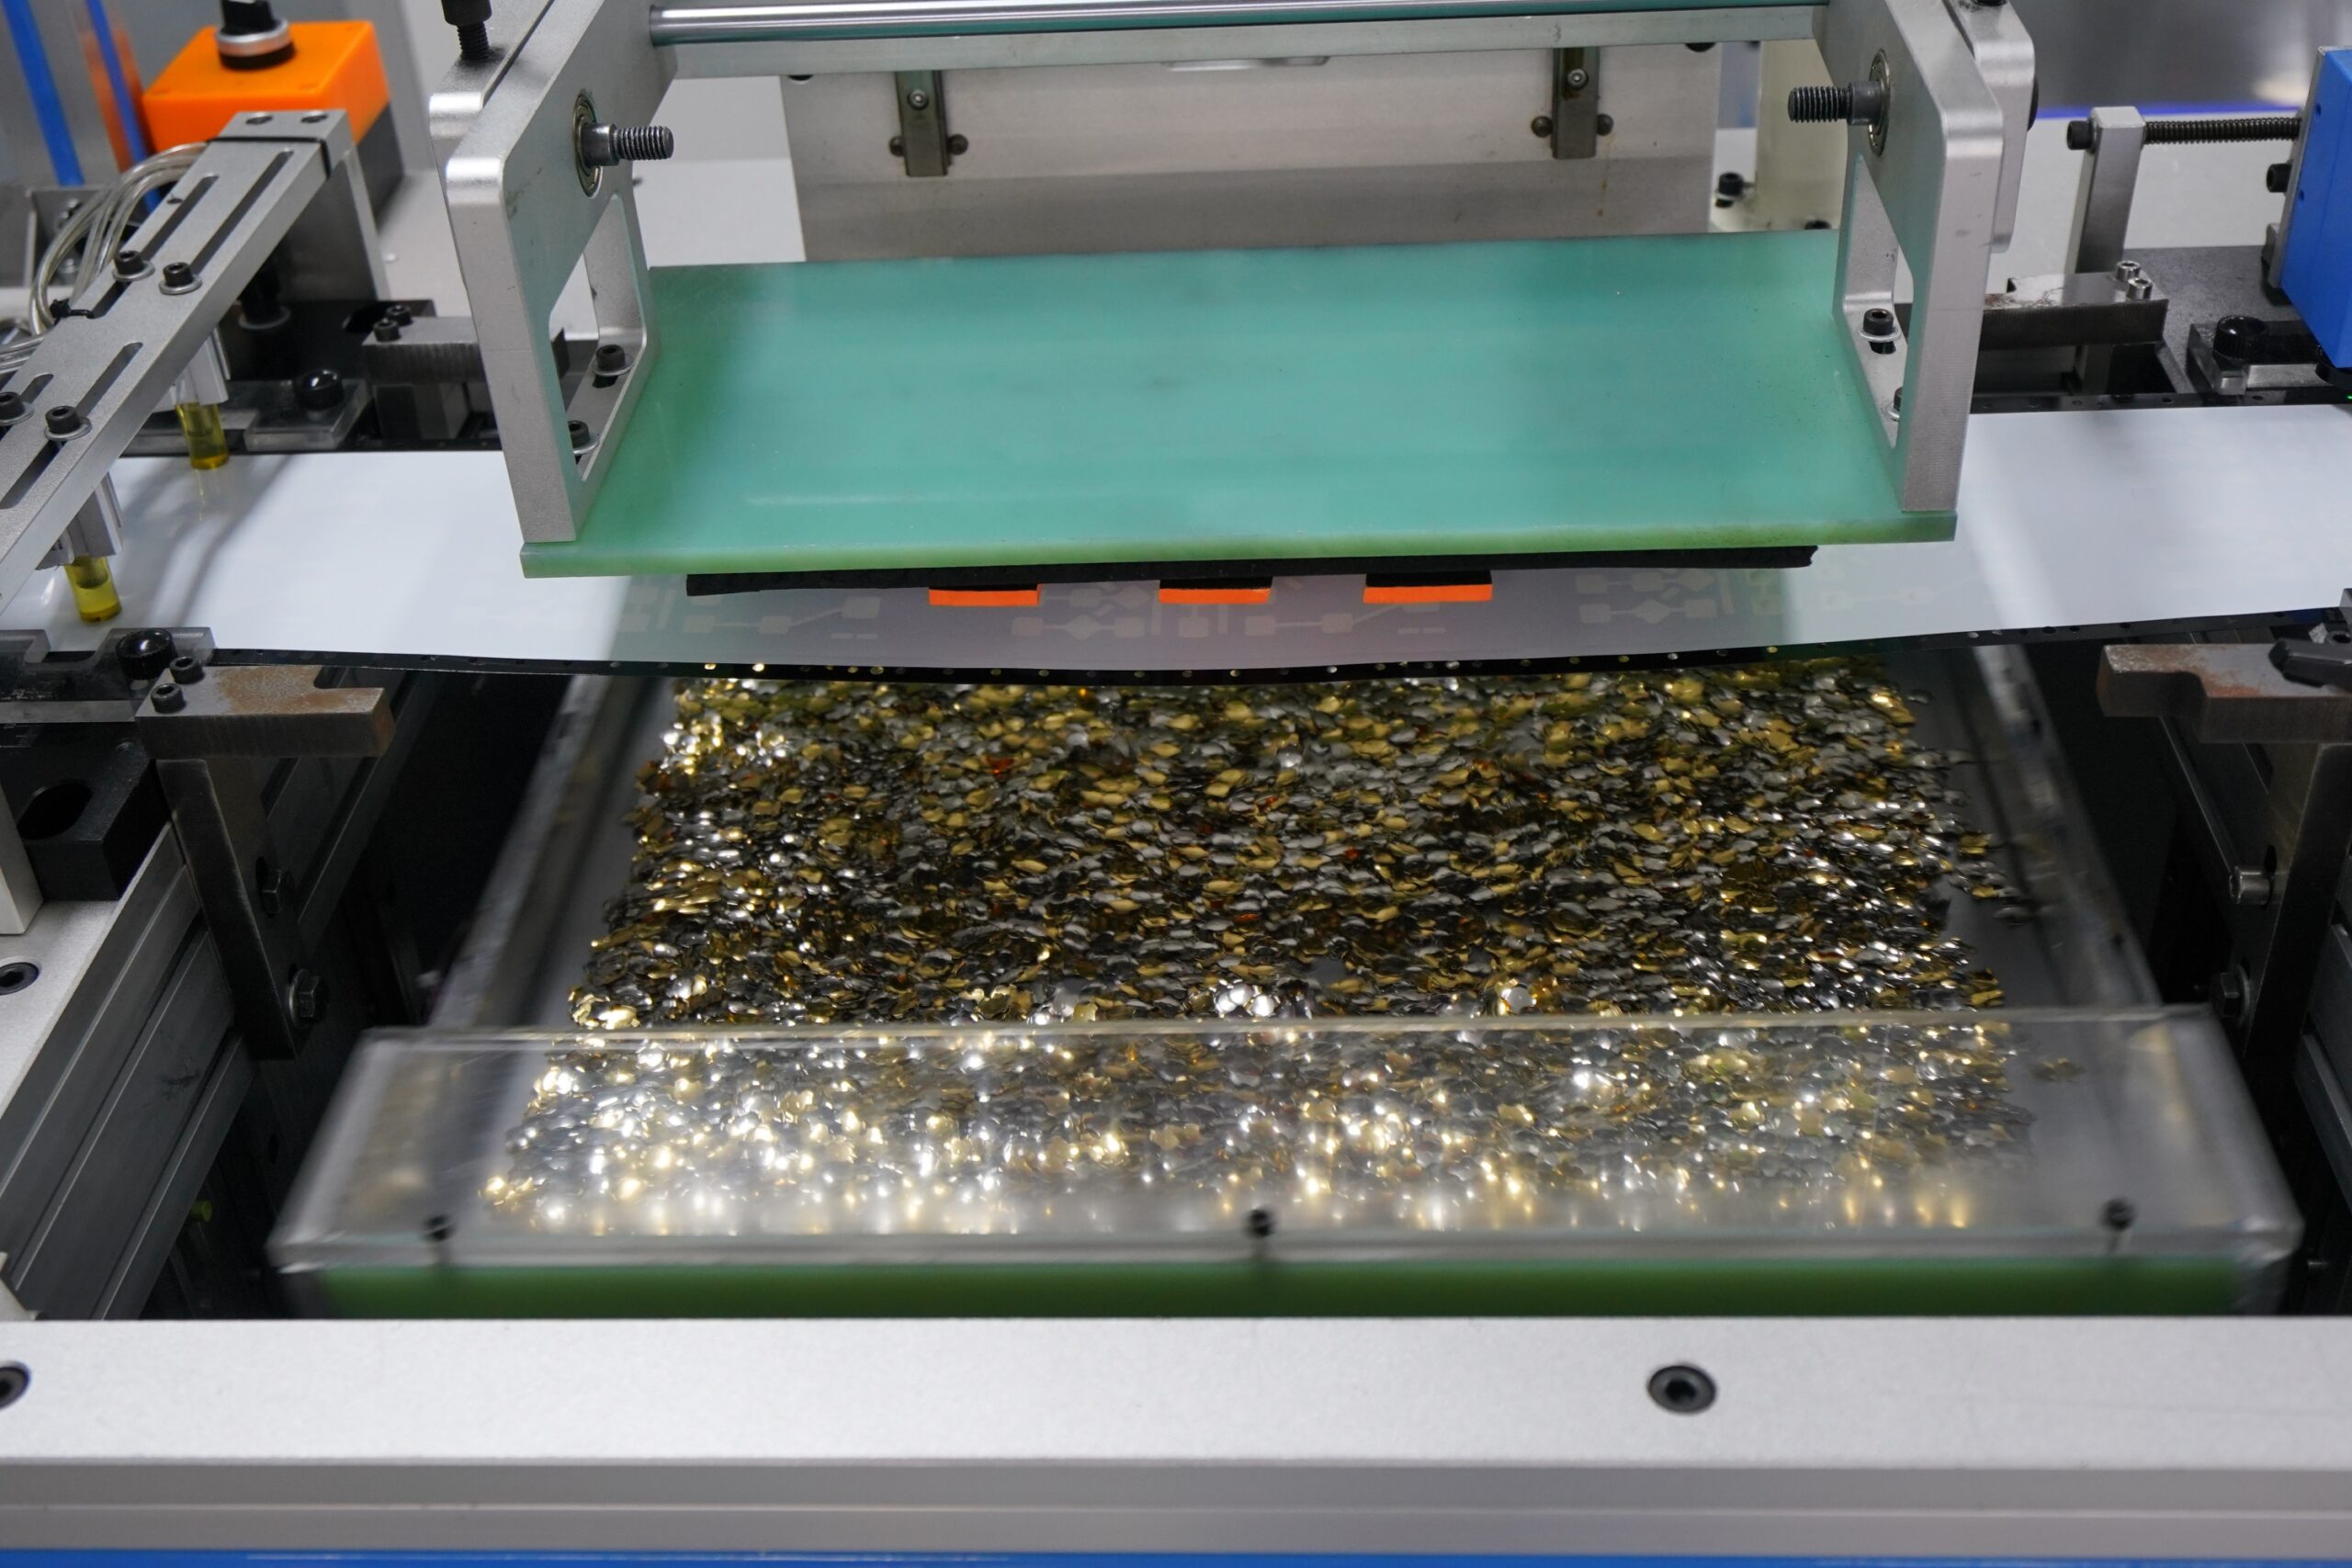
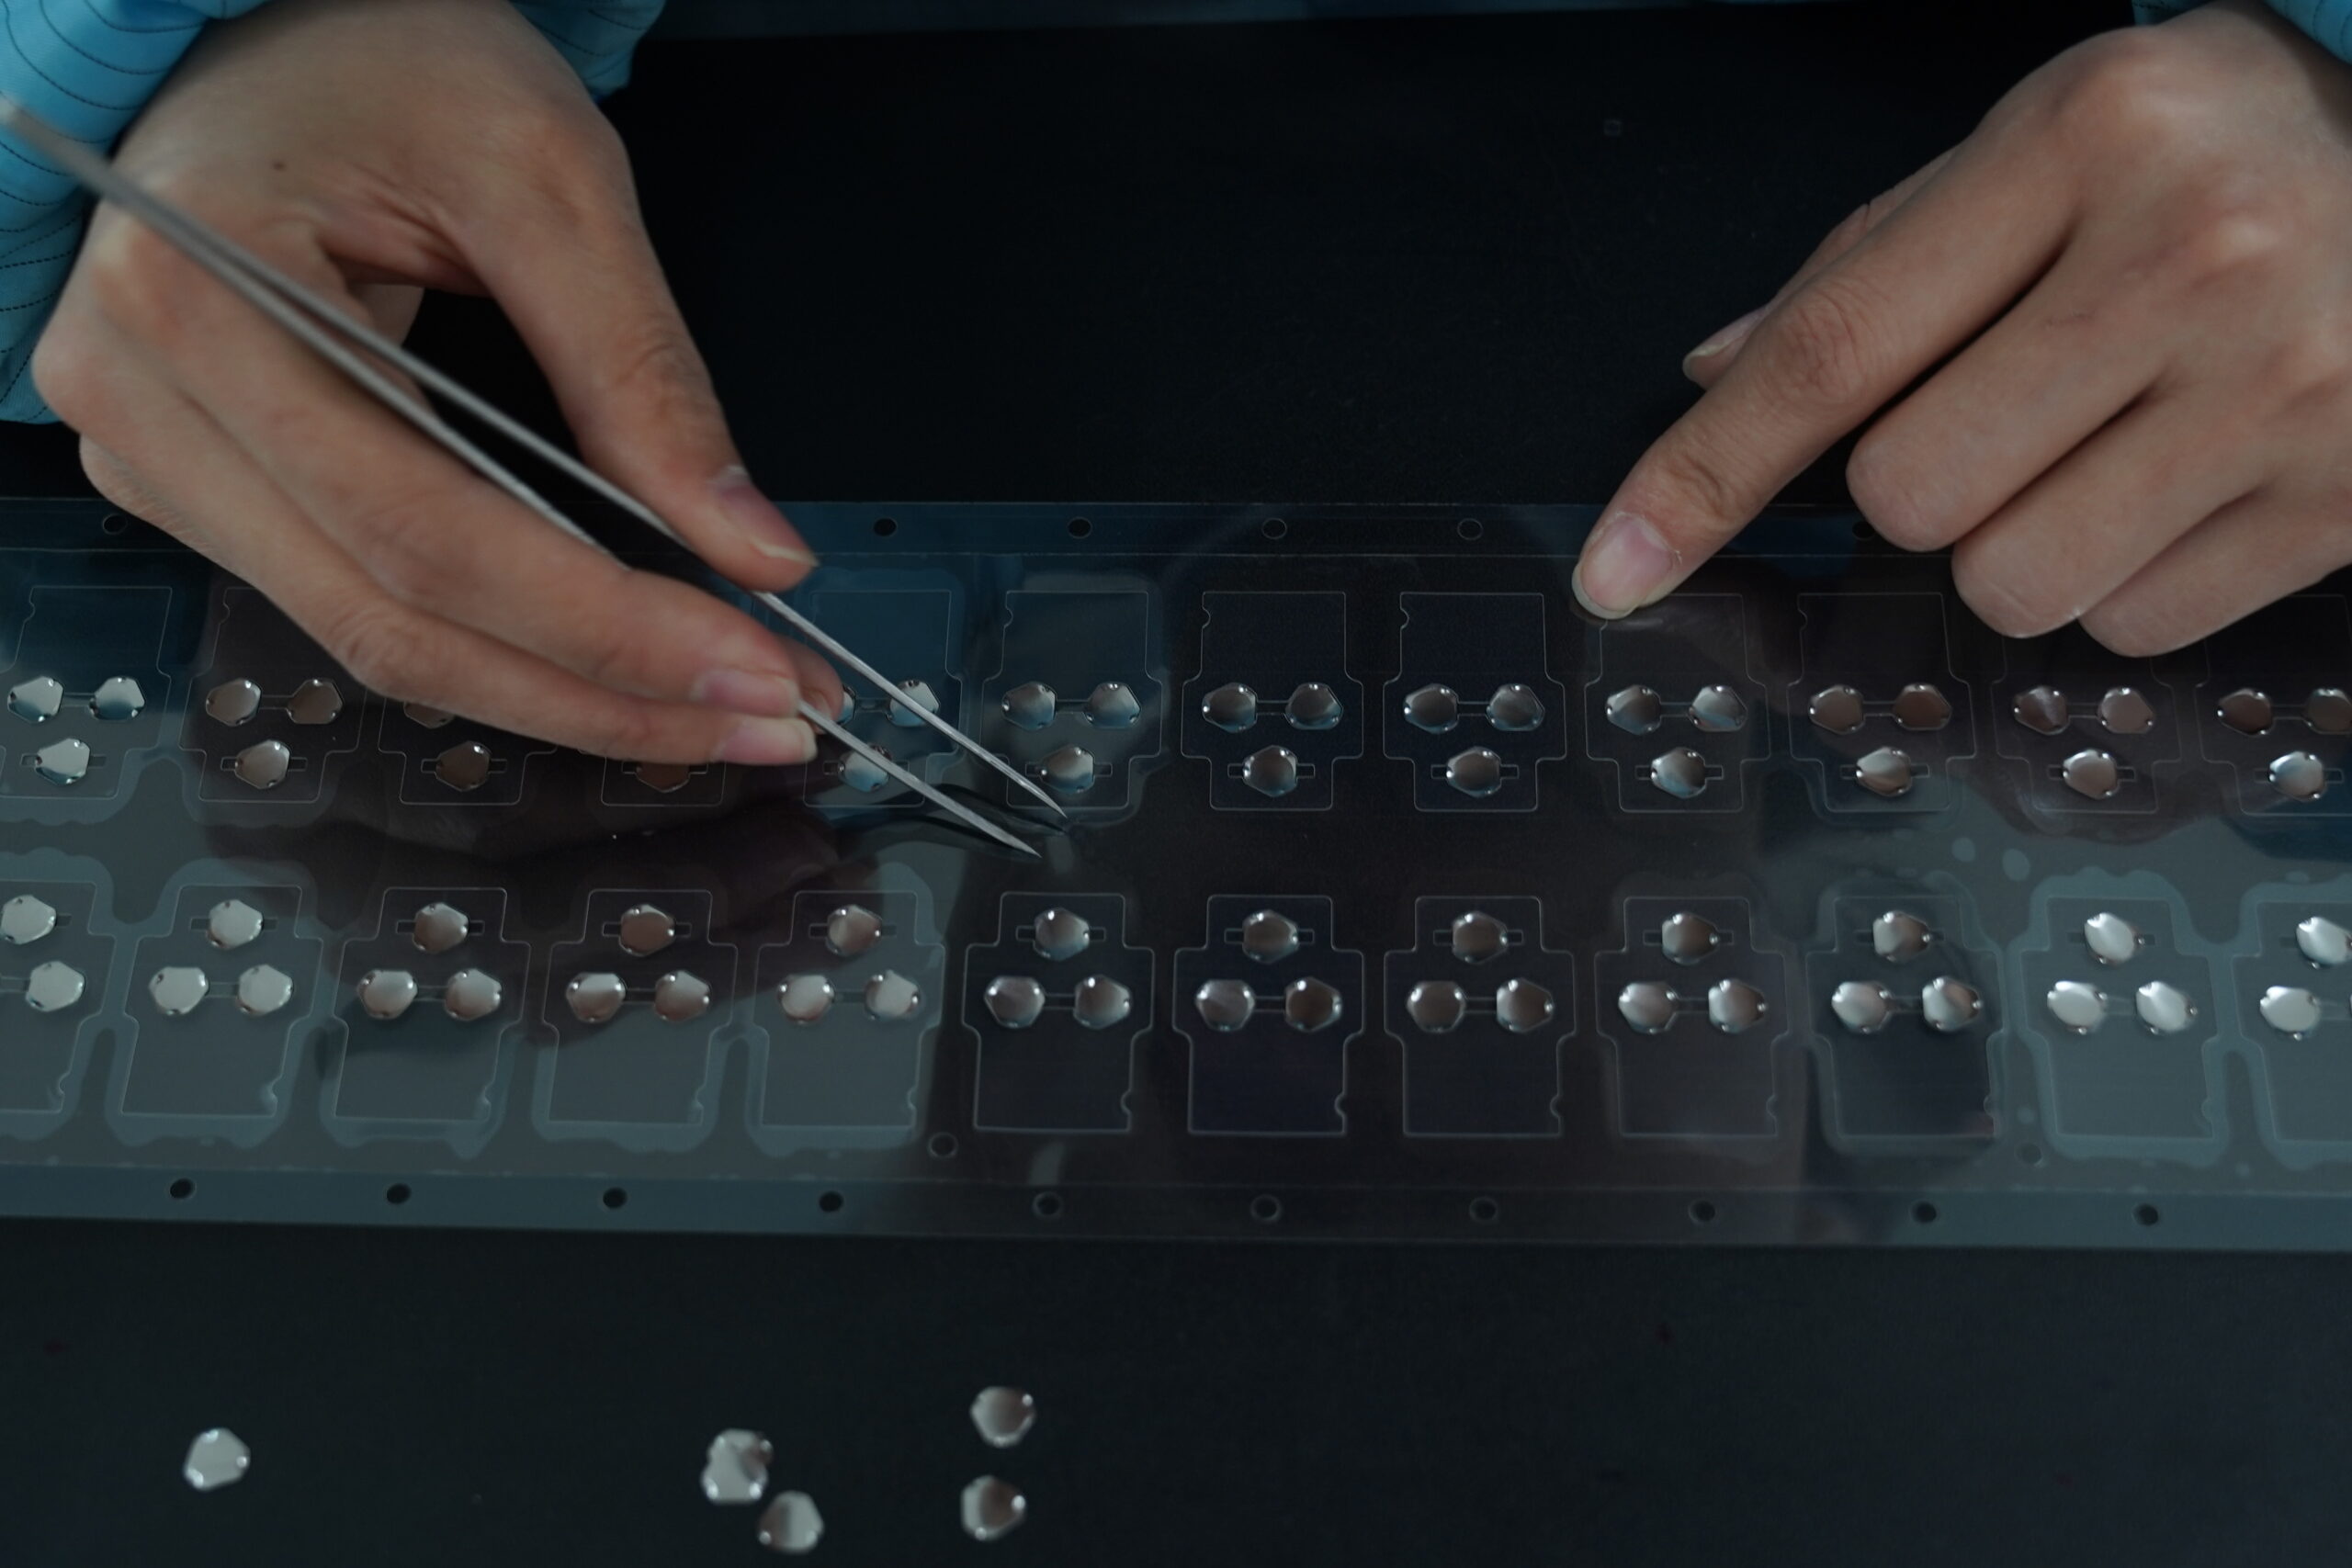
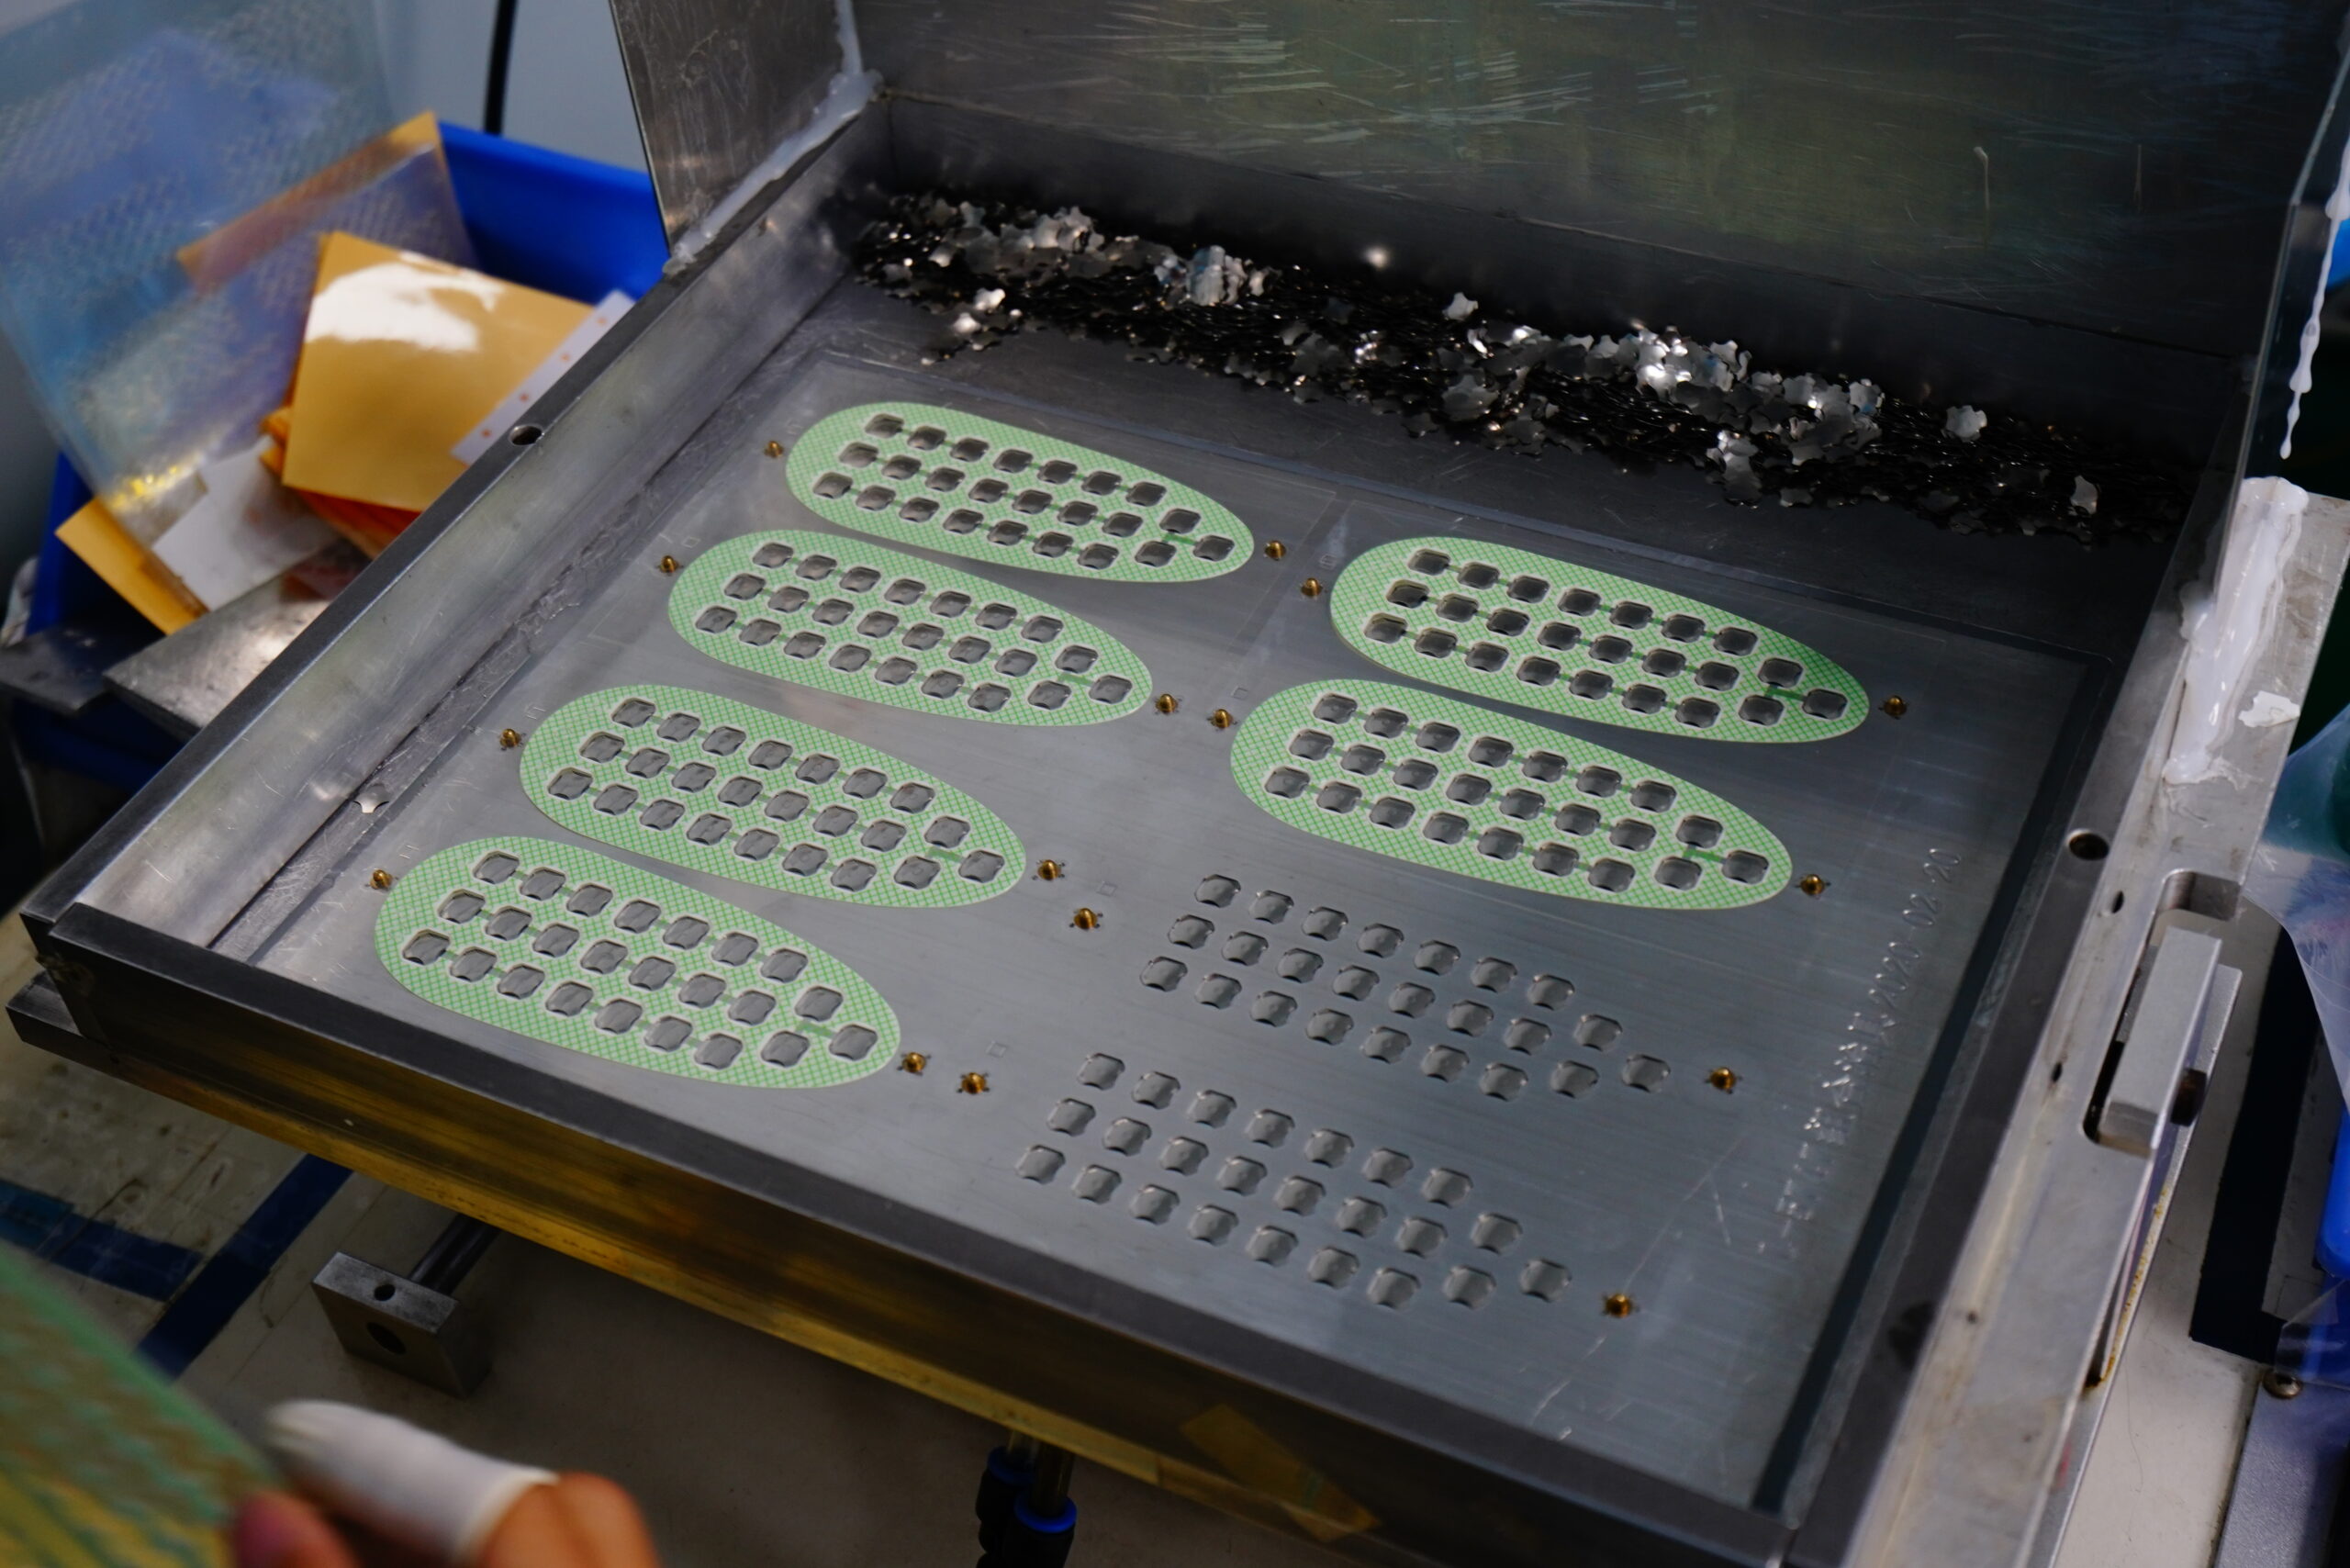
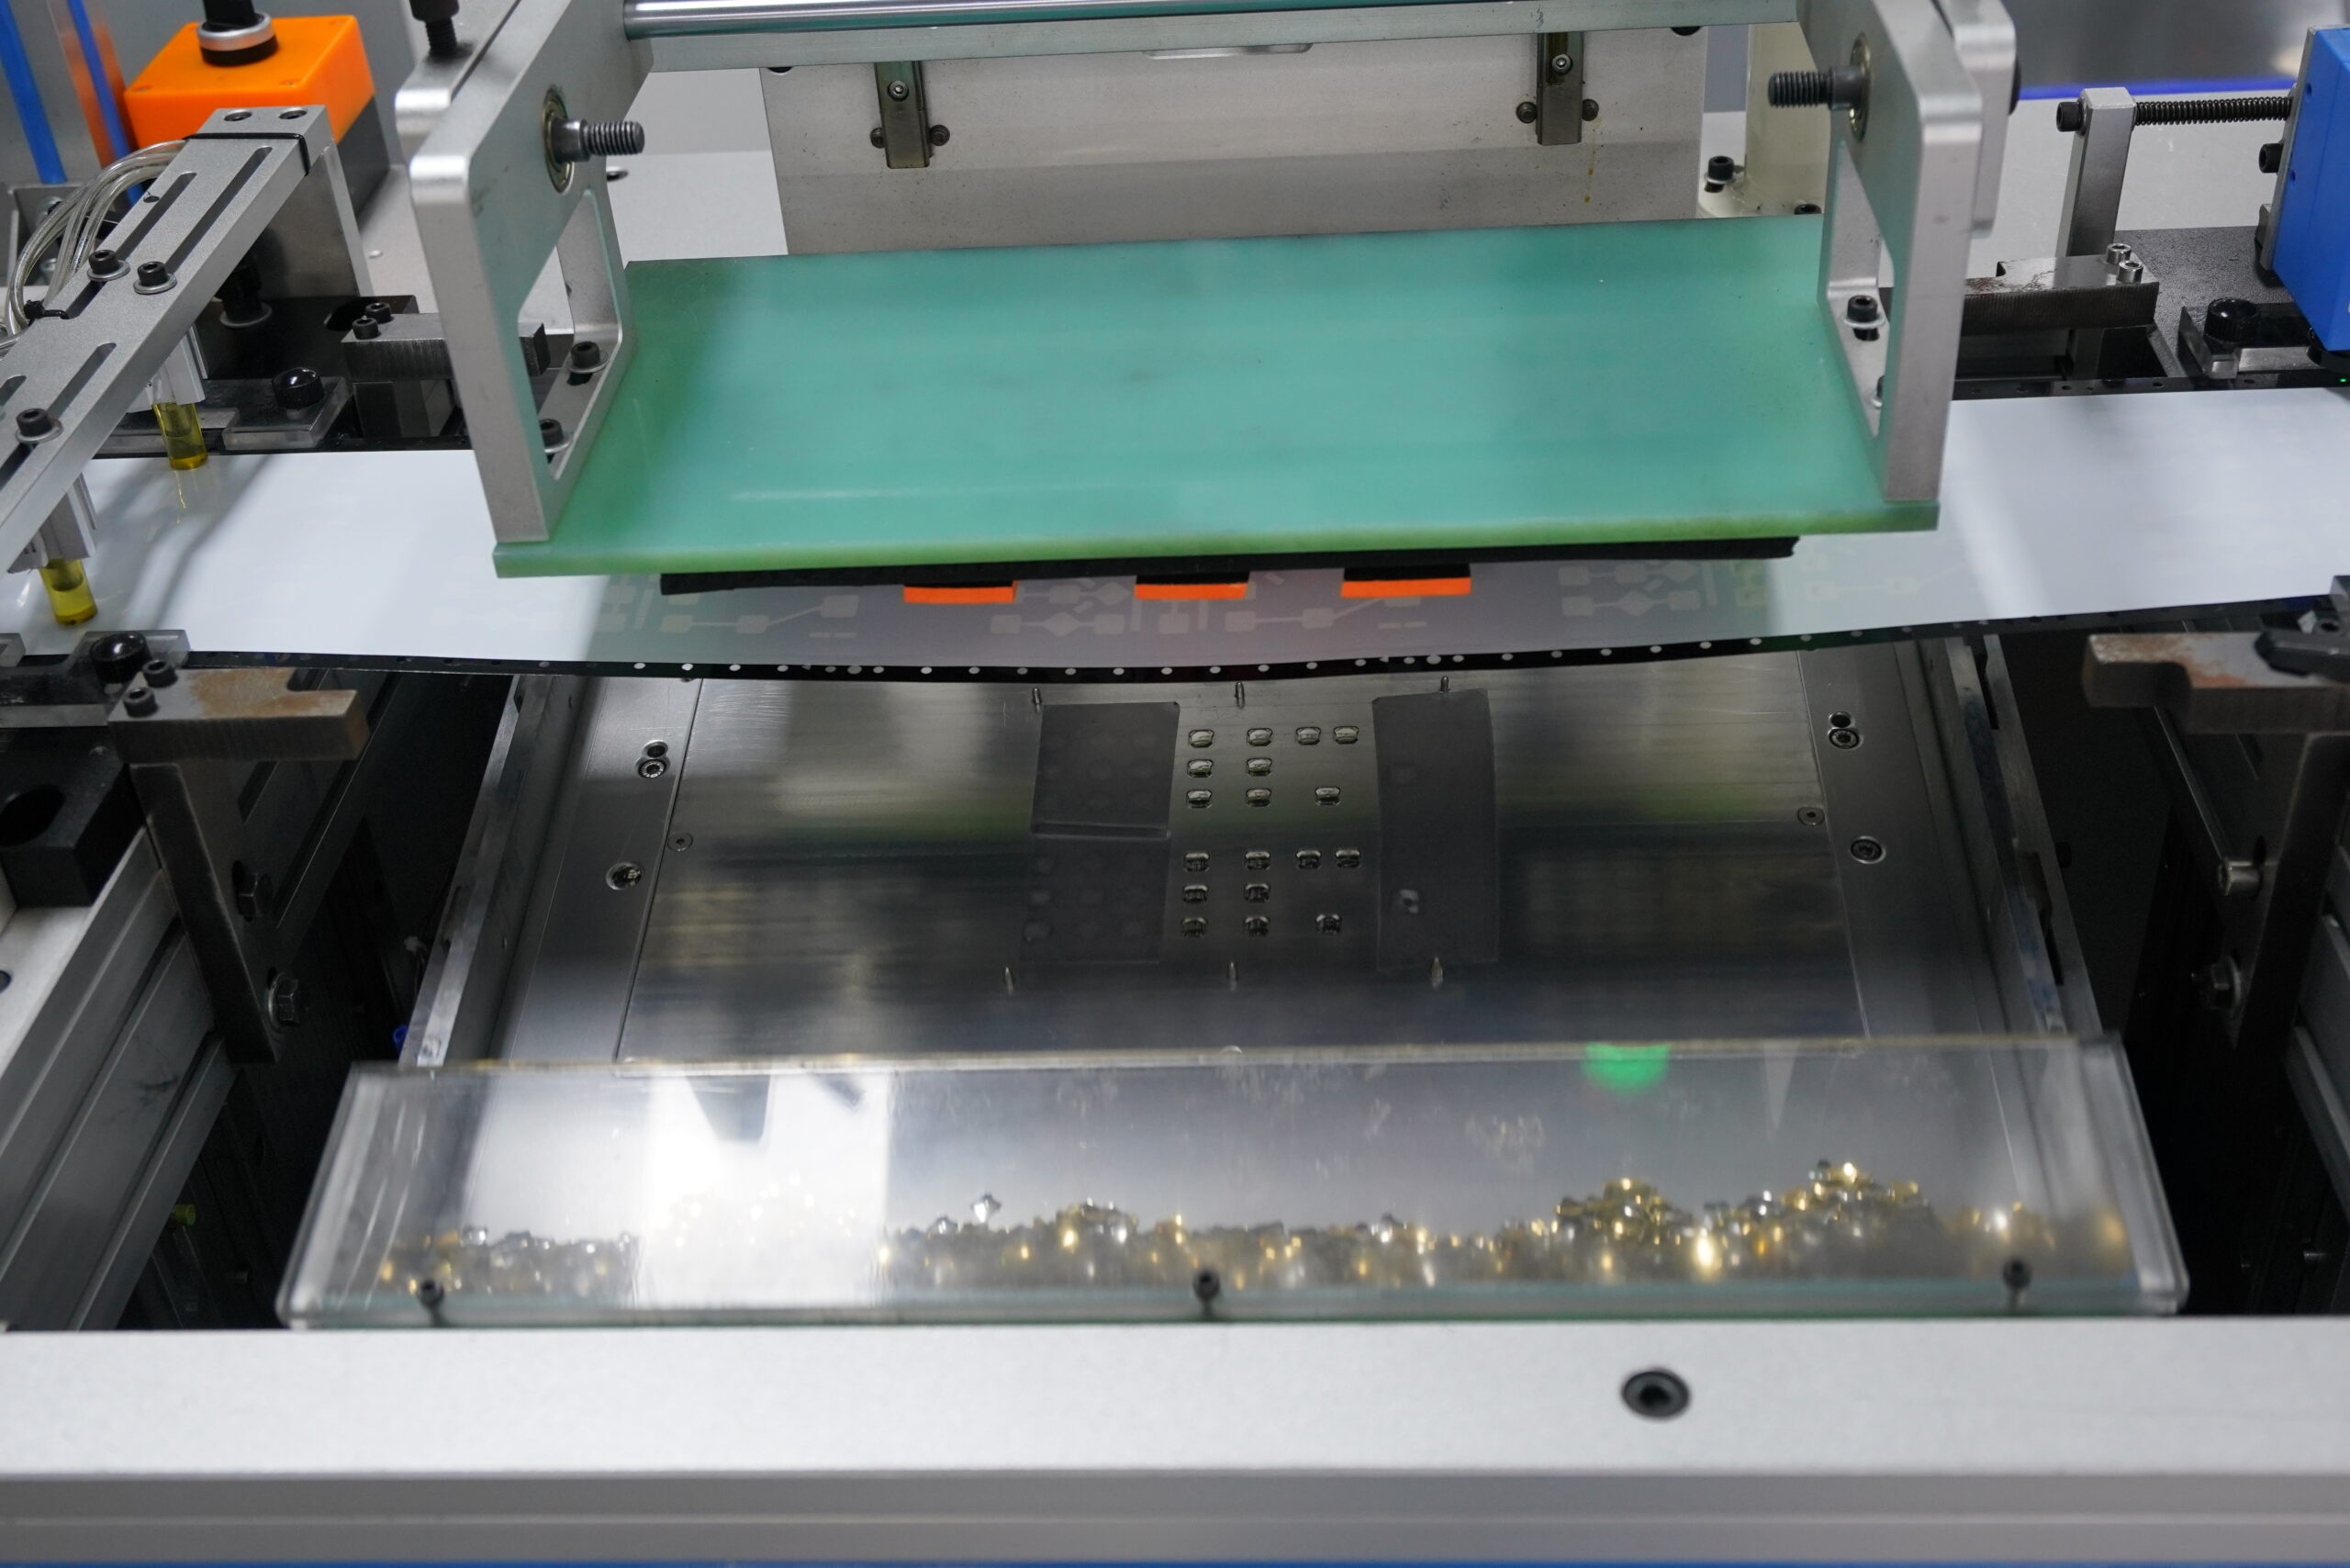
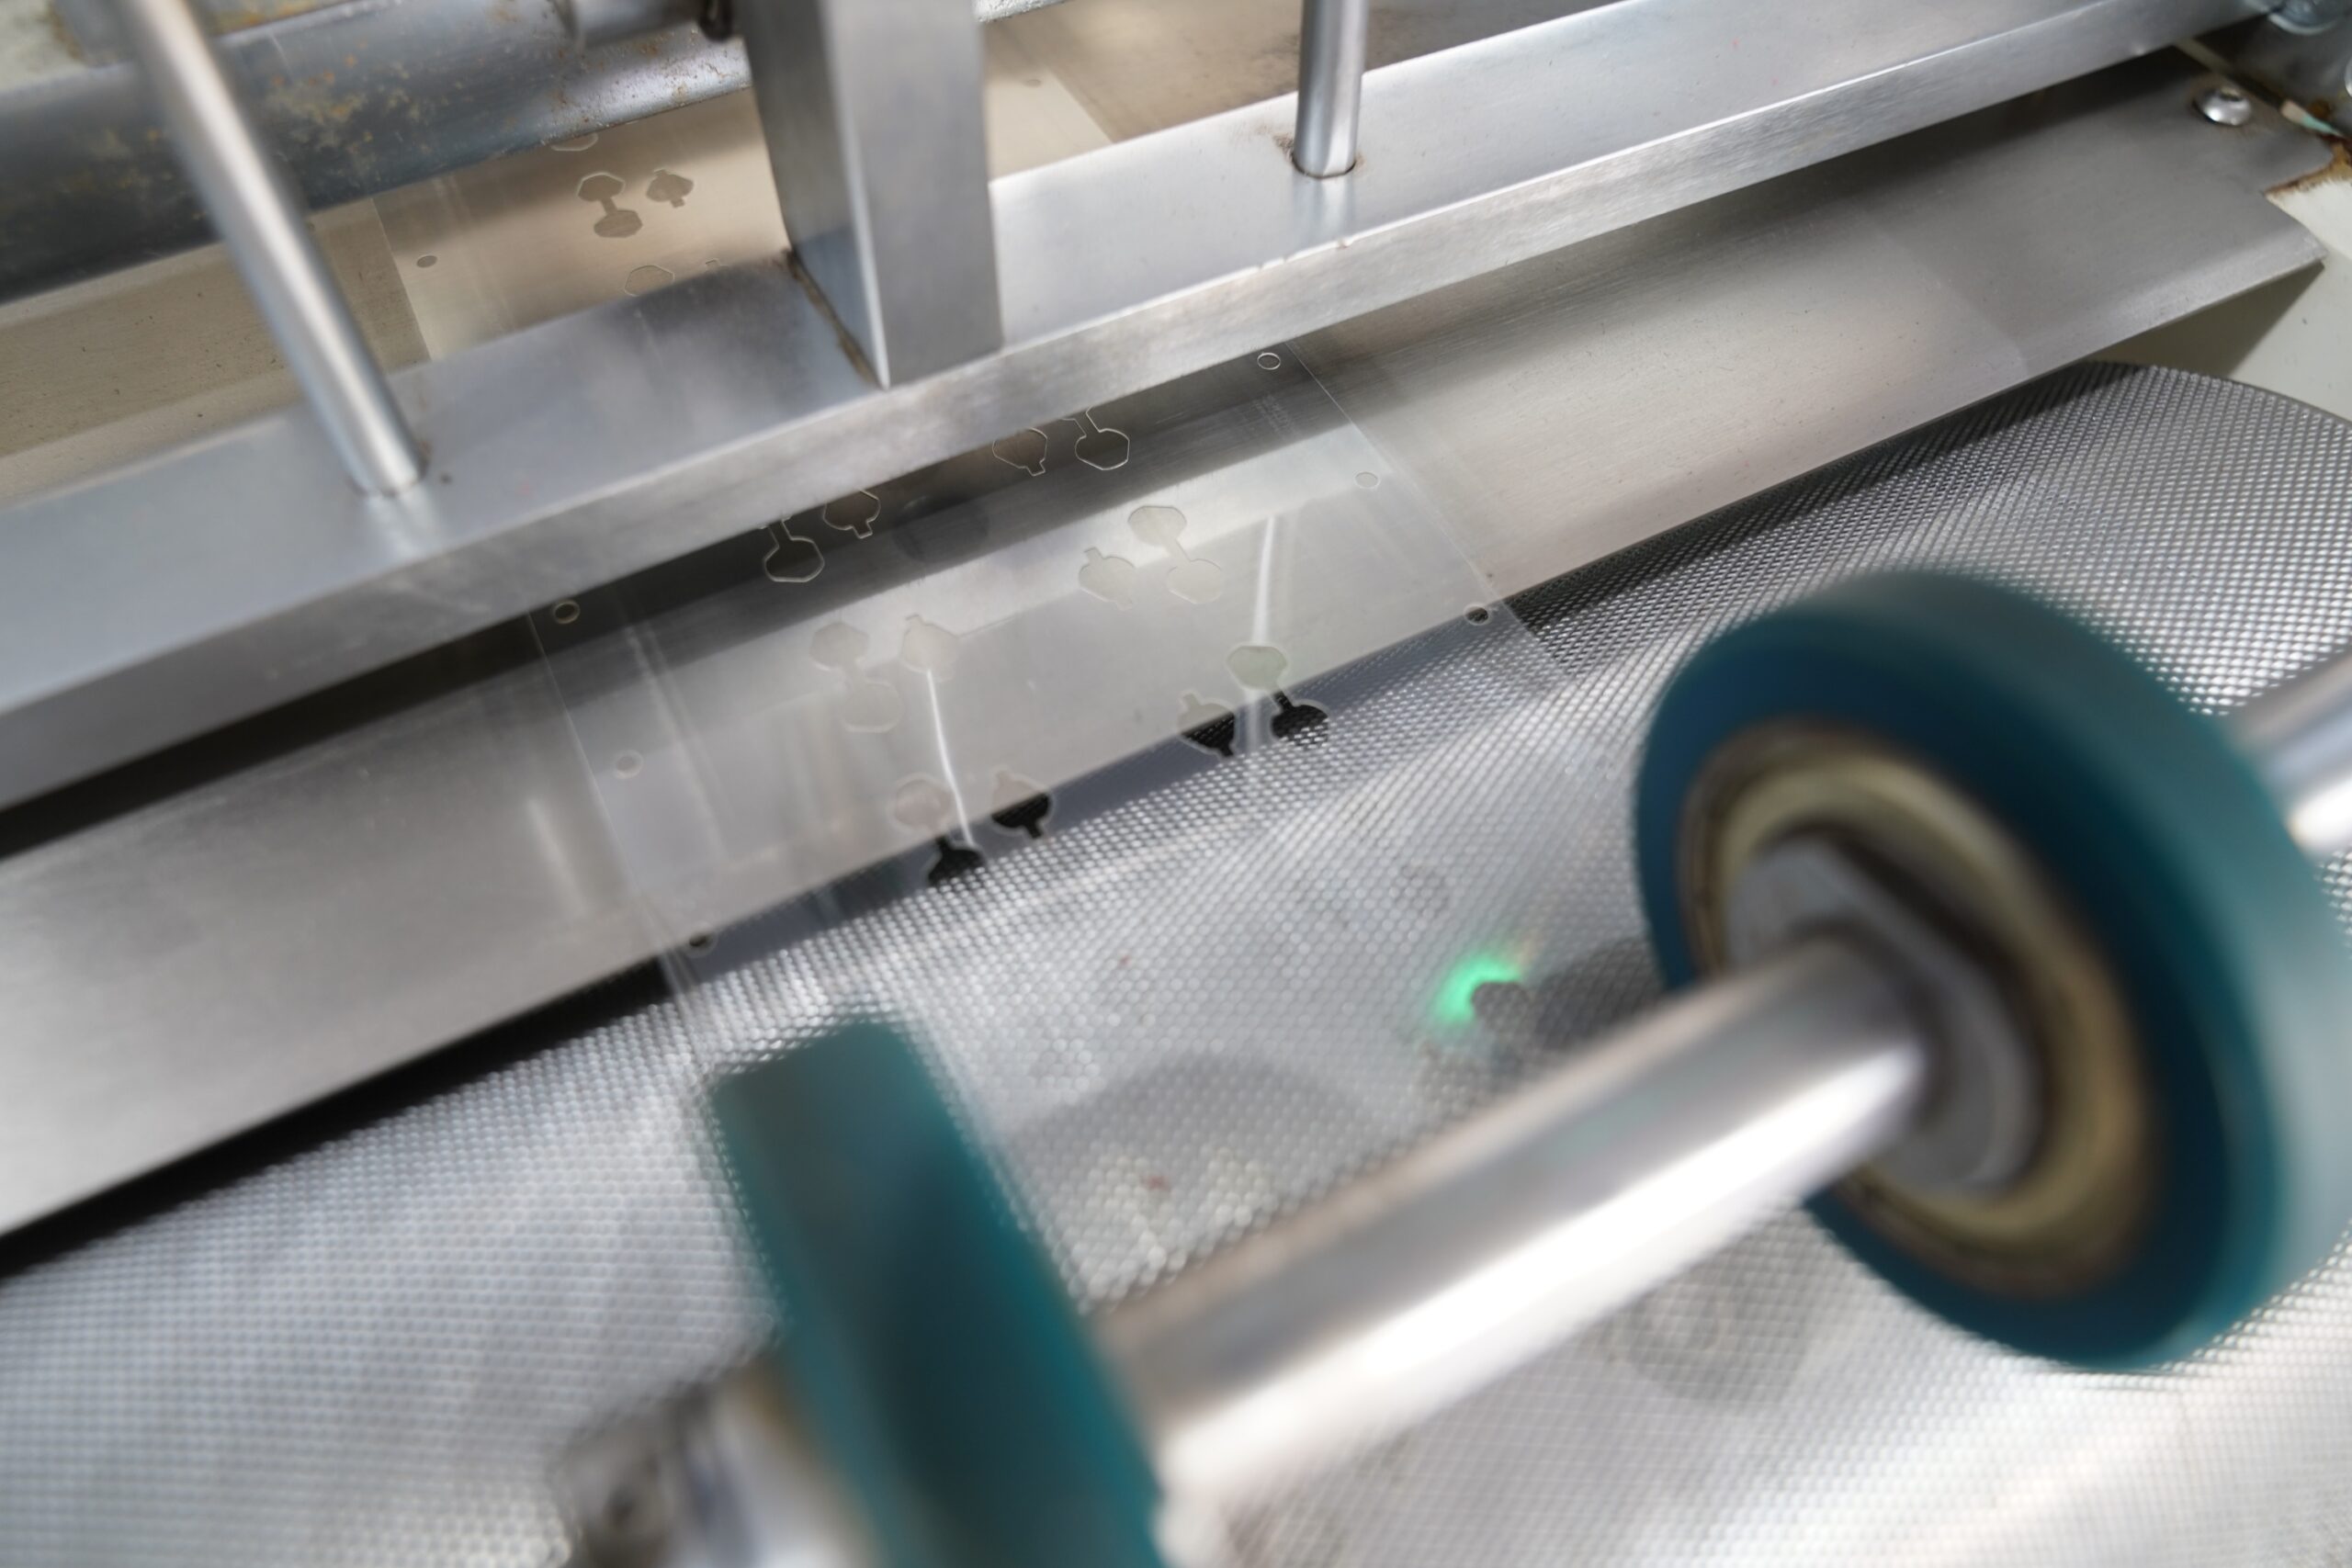
- Stable Mass Production: ISO9001 system, fully automatic SMT and testing equipment to ensure consistency of each piece.
- Fast Delivery: 2-3 day expedited delivery, far exceeding the industry average speed.
- After-Sales Technical Support: Full follow-up until the customer’s complete product project is finished.
Why Choose Us? (BEST Technology Core Advantages)
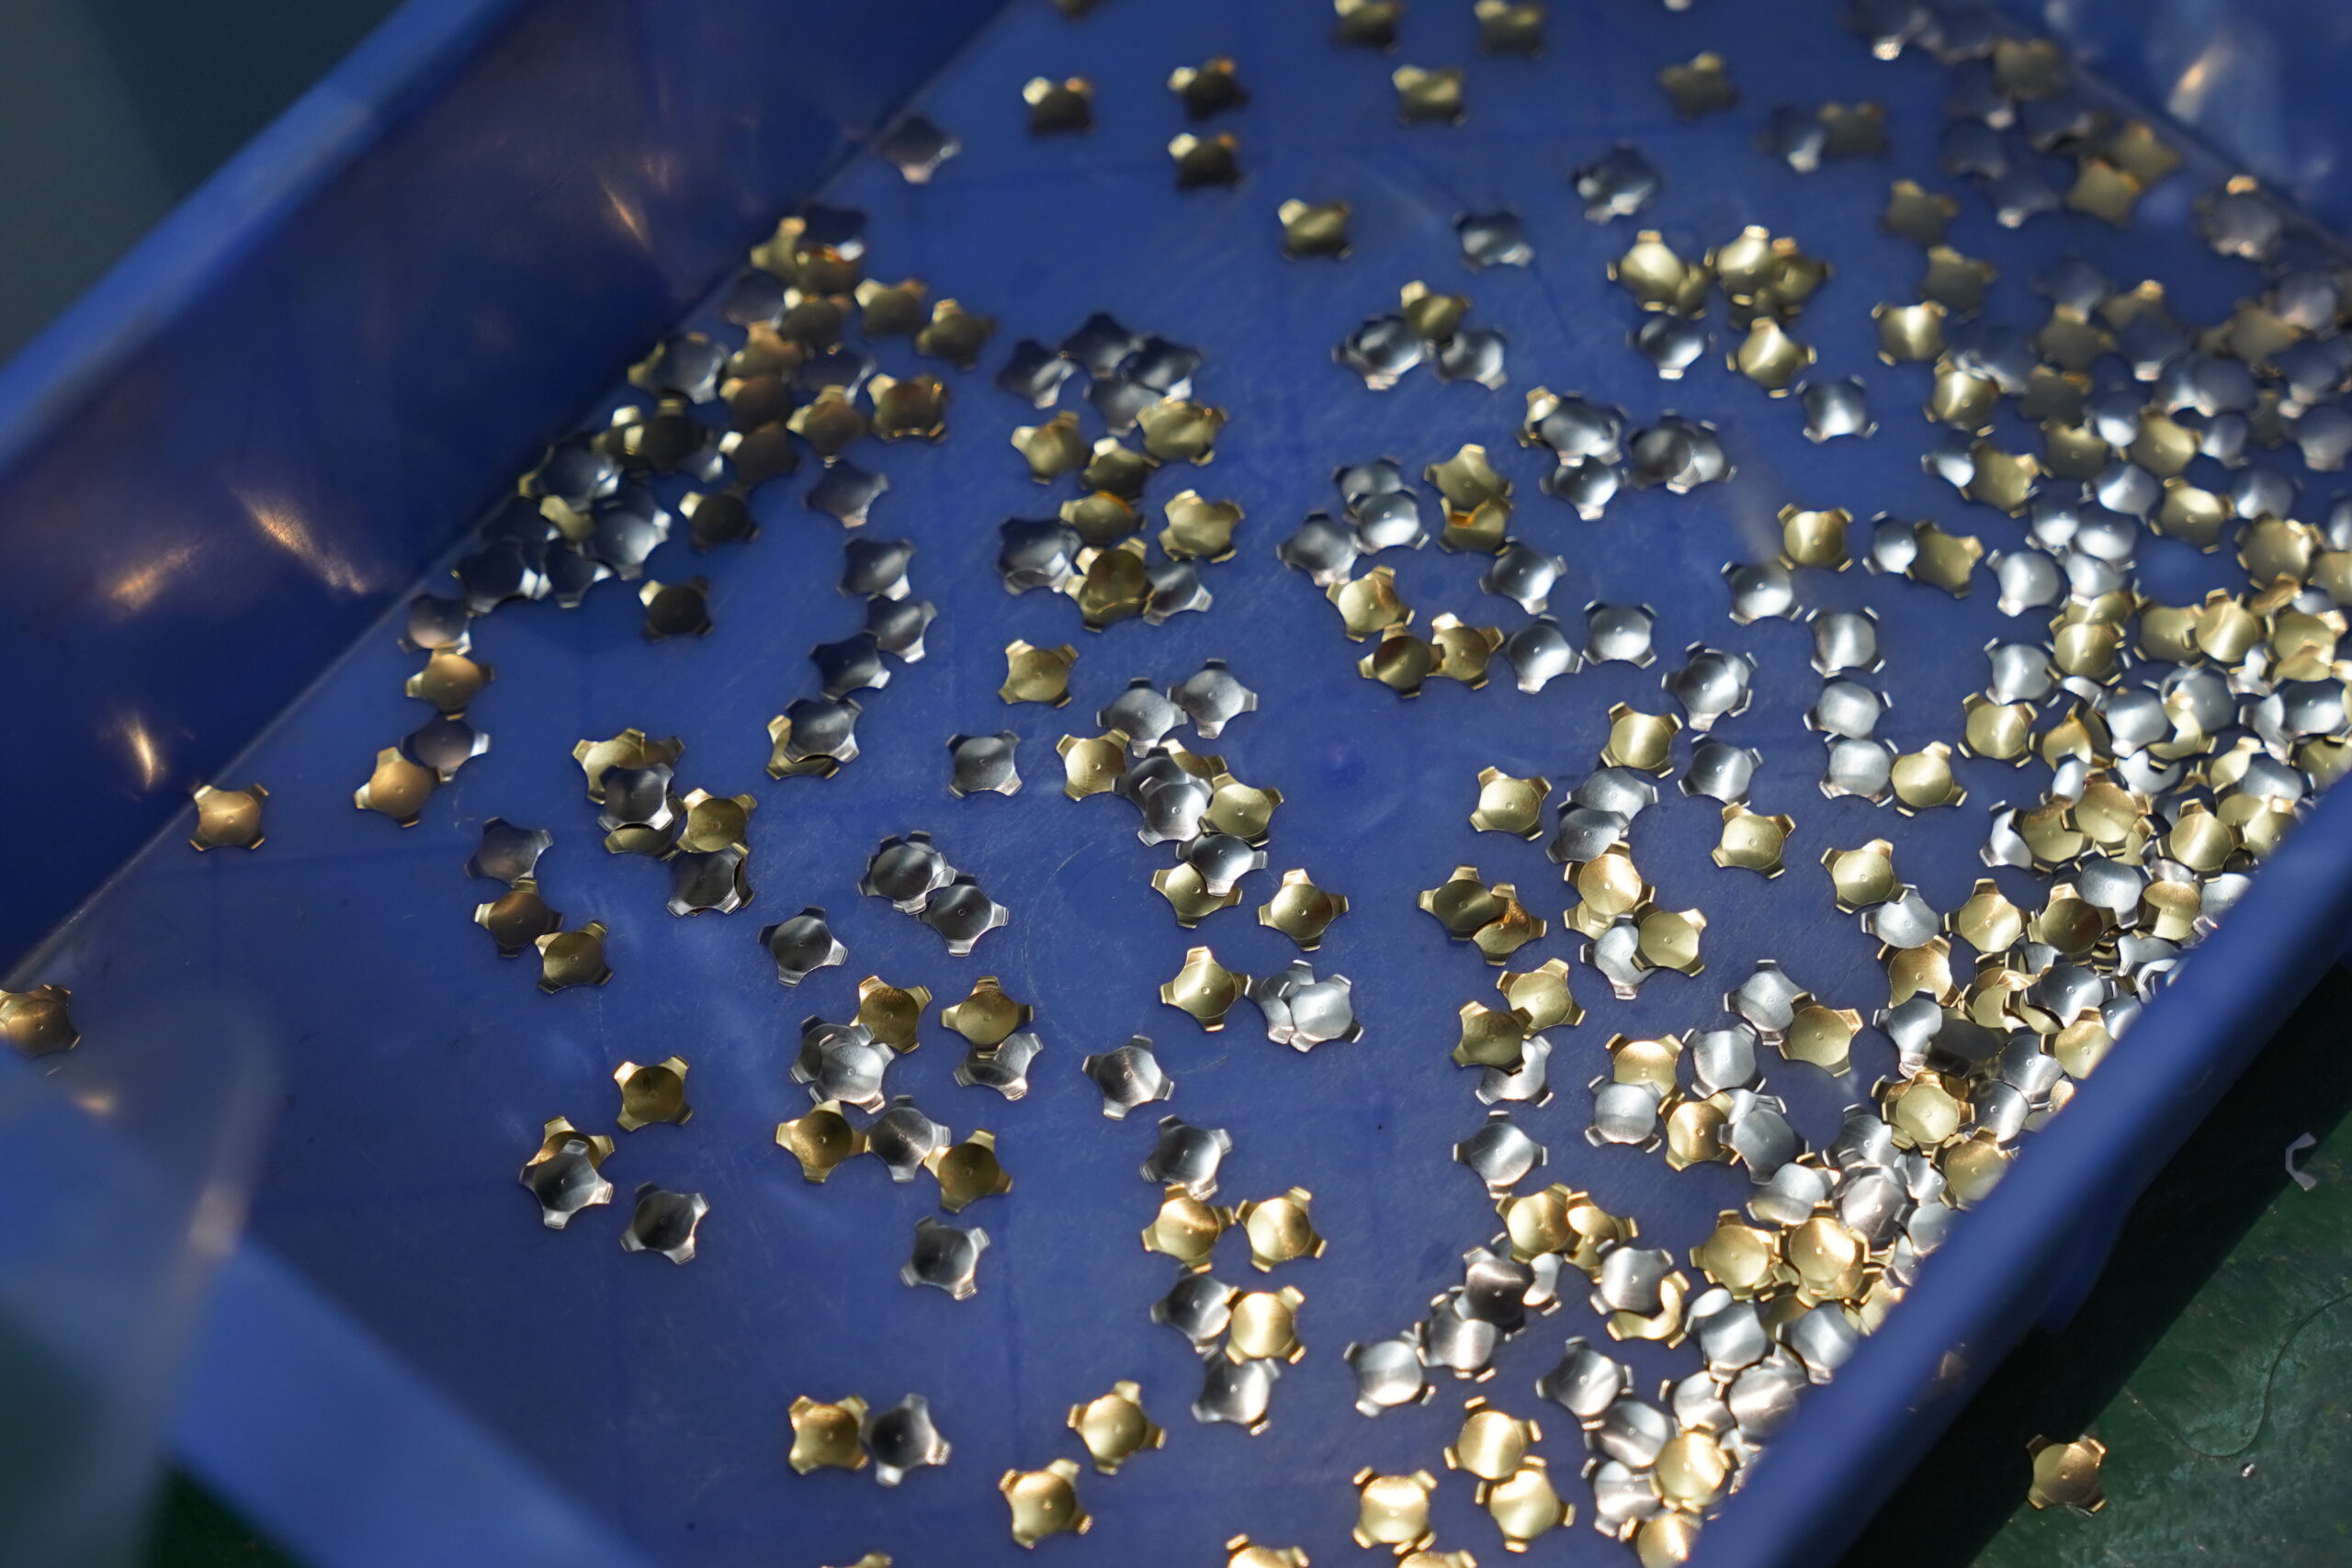
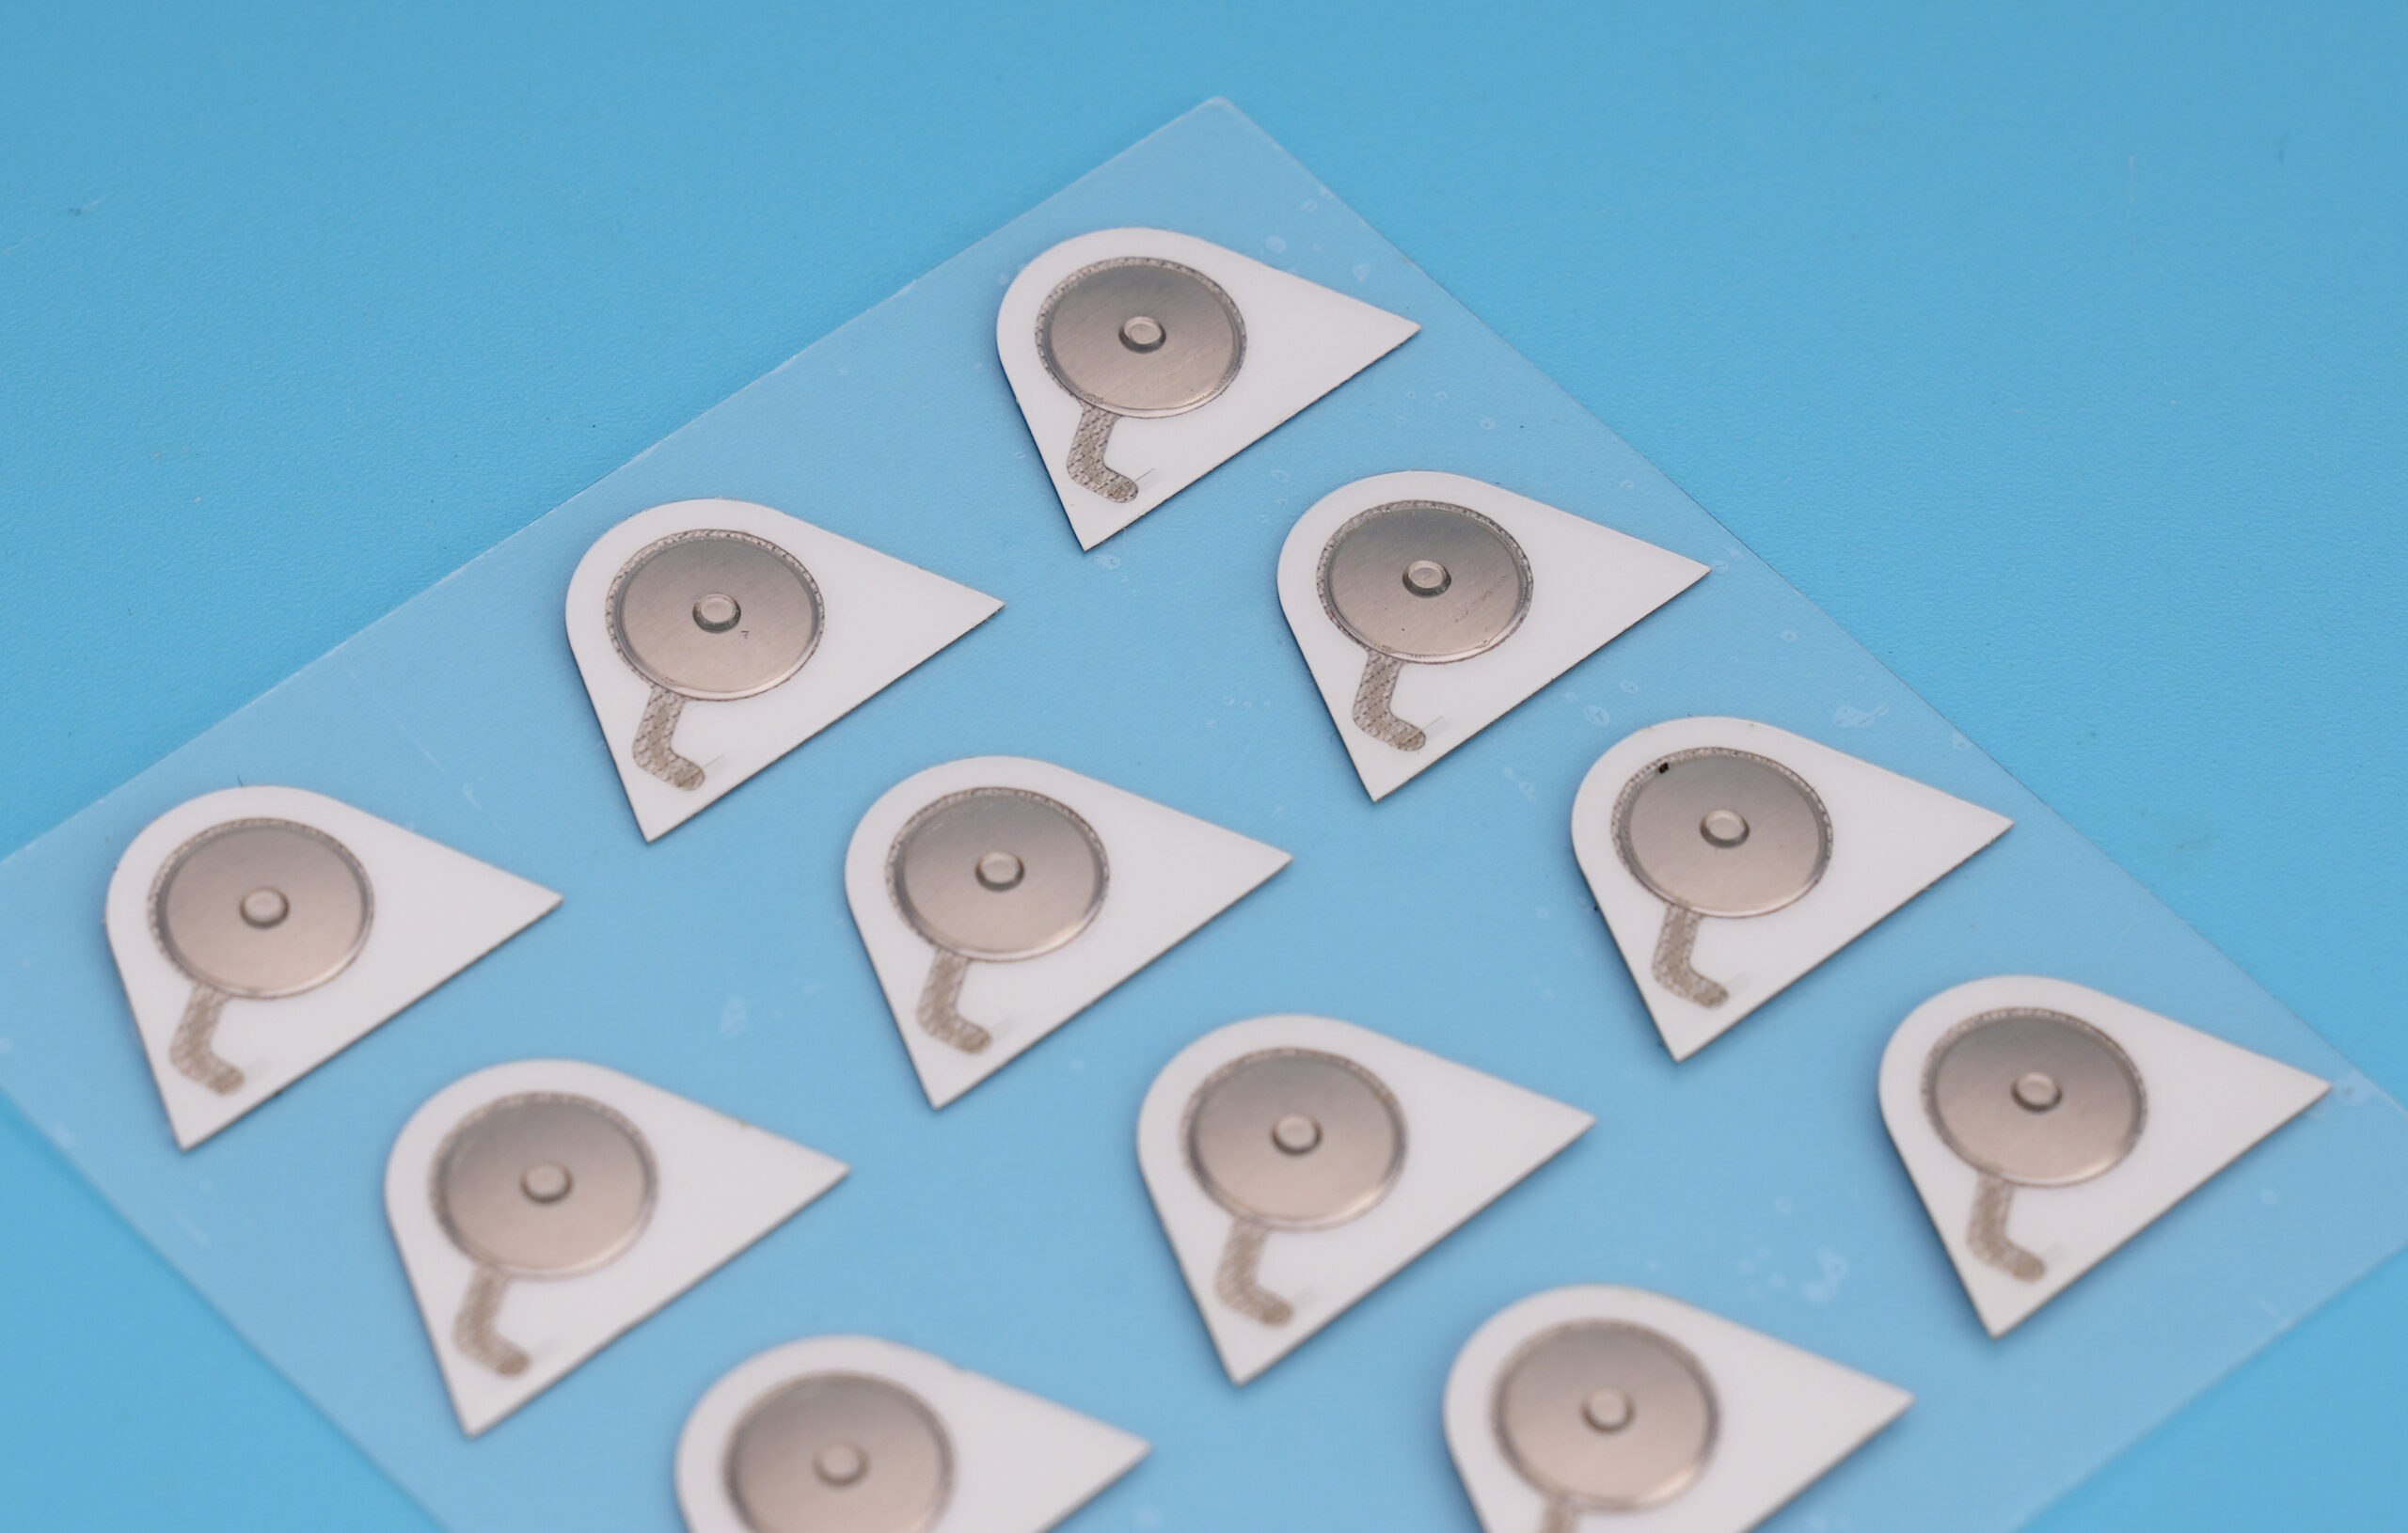
- 20+ Years of Professional Experience: Deeply rooted in the dome array and metal dome field, a long-term supplier for many international brands.
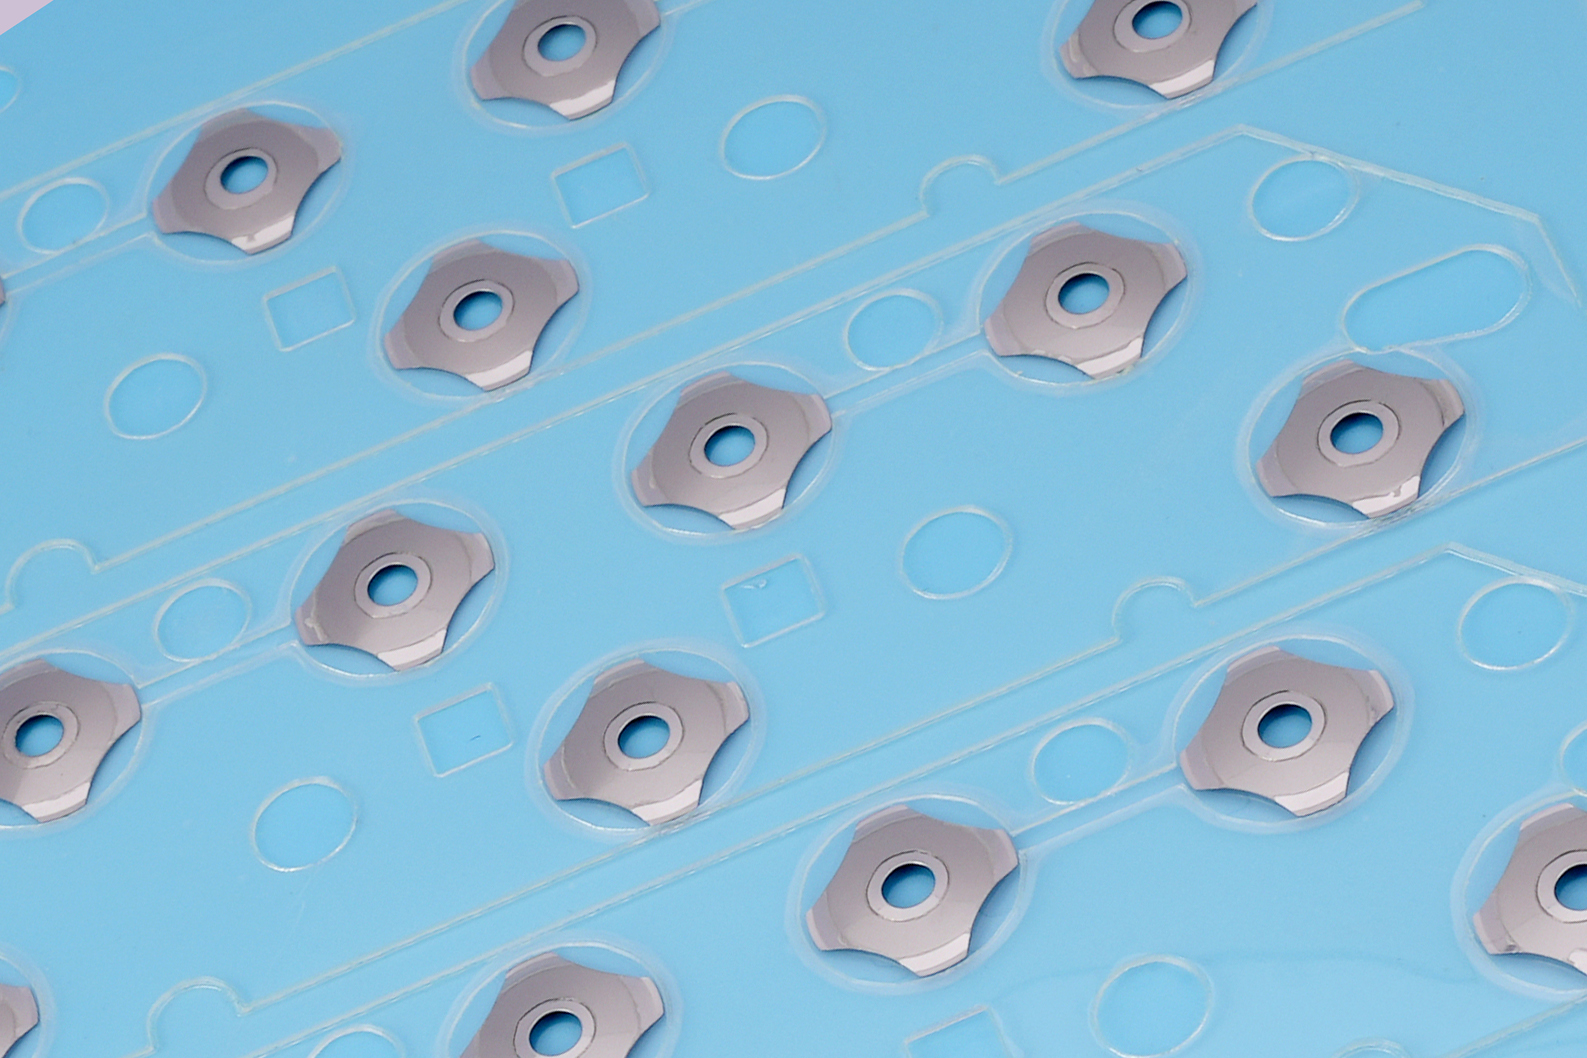
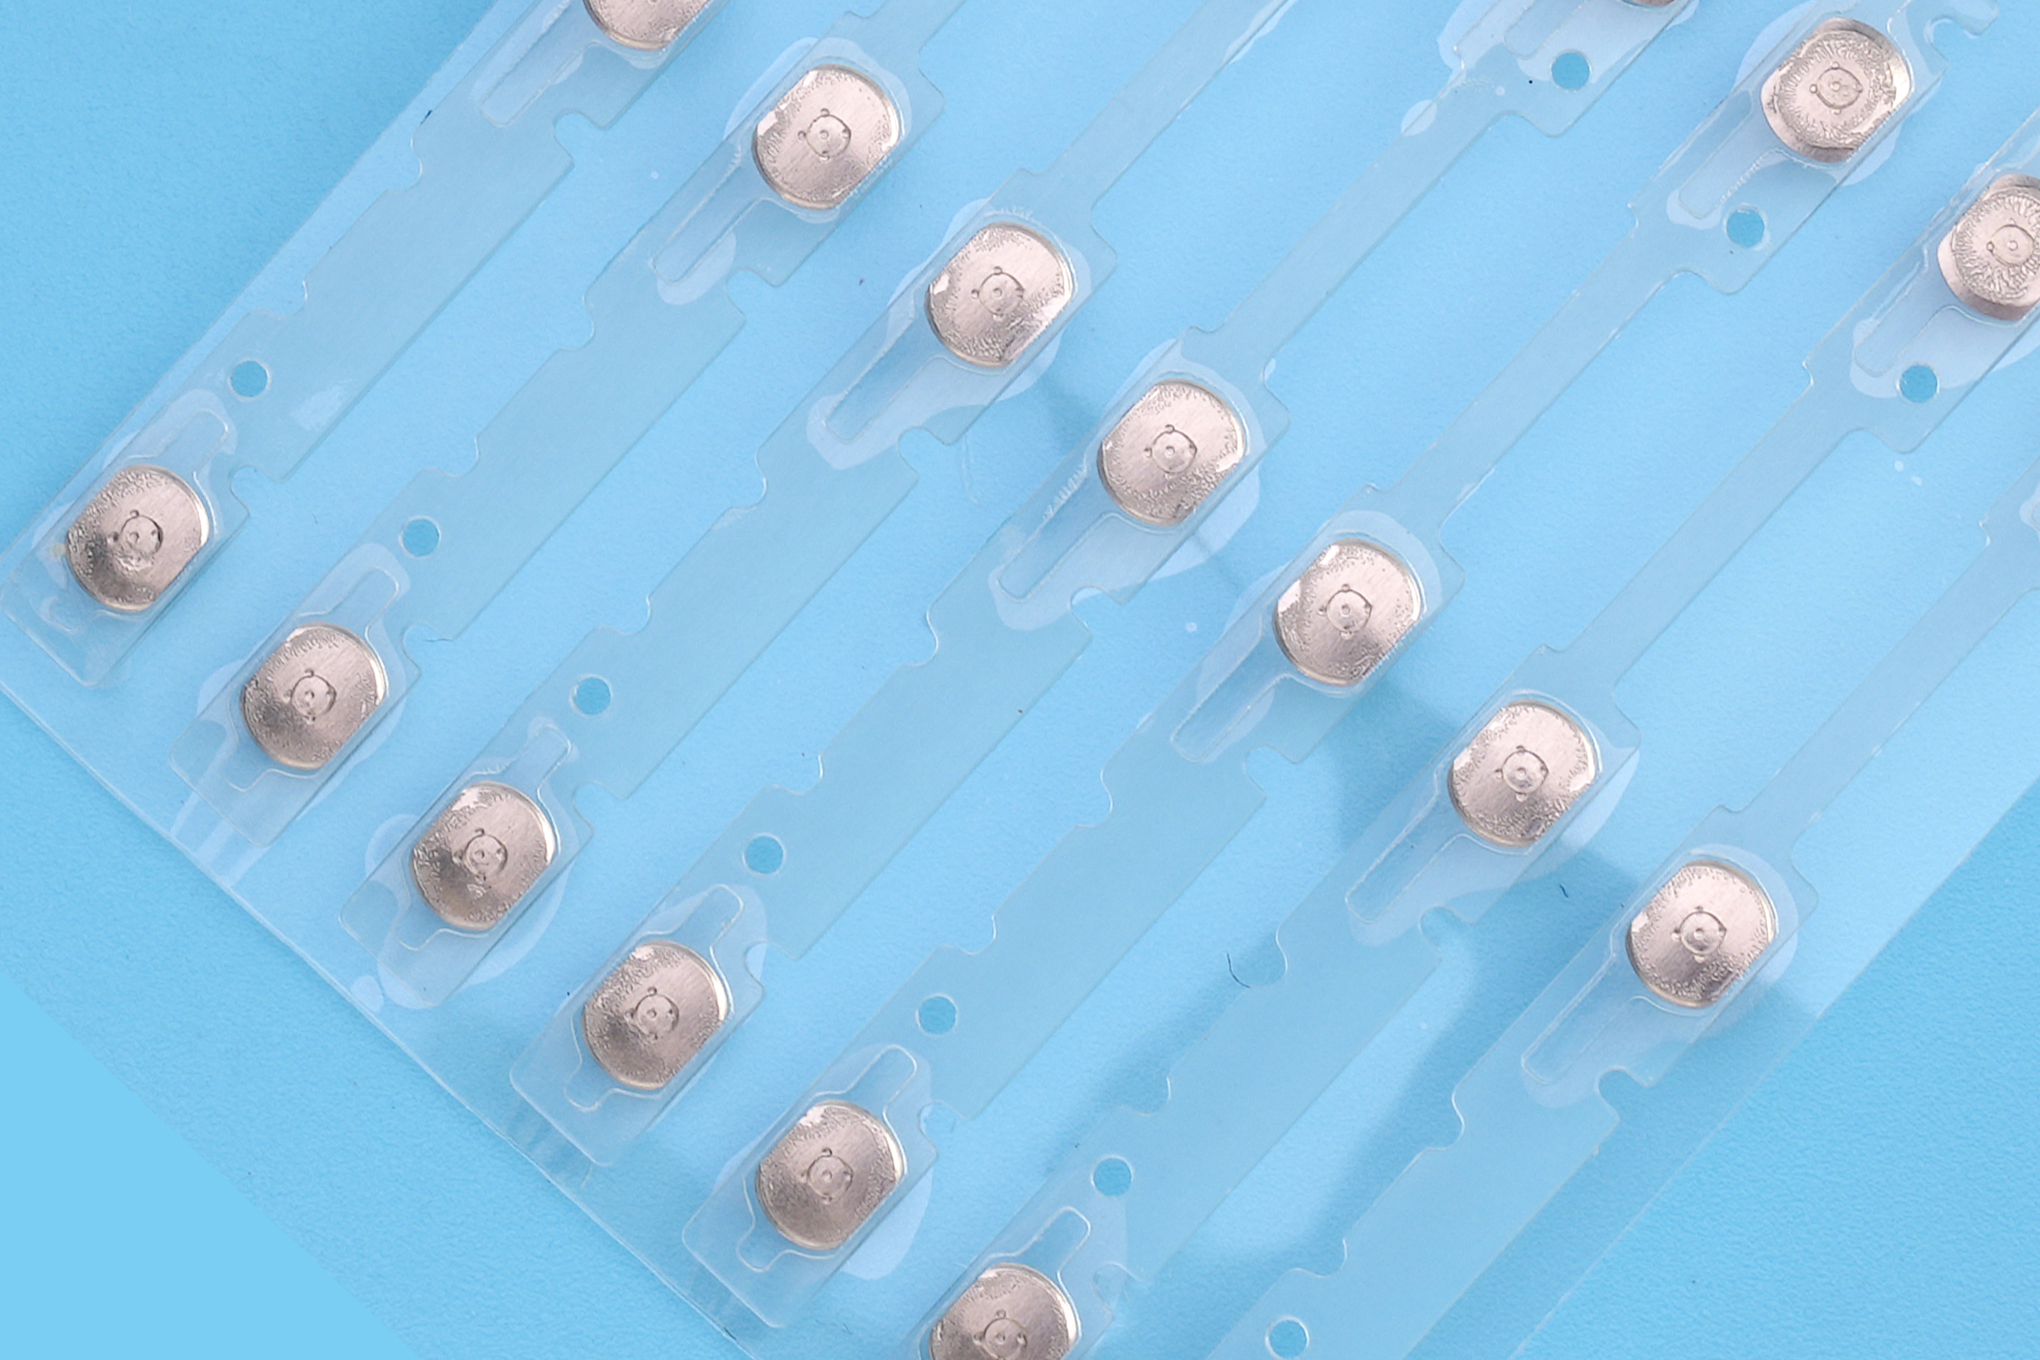
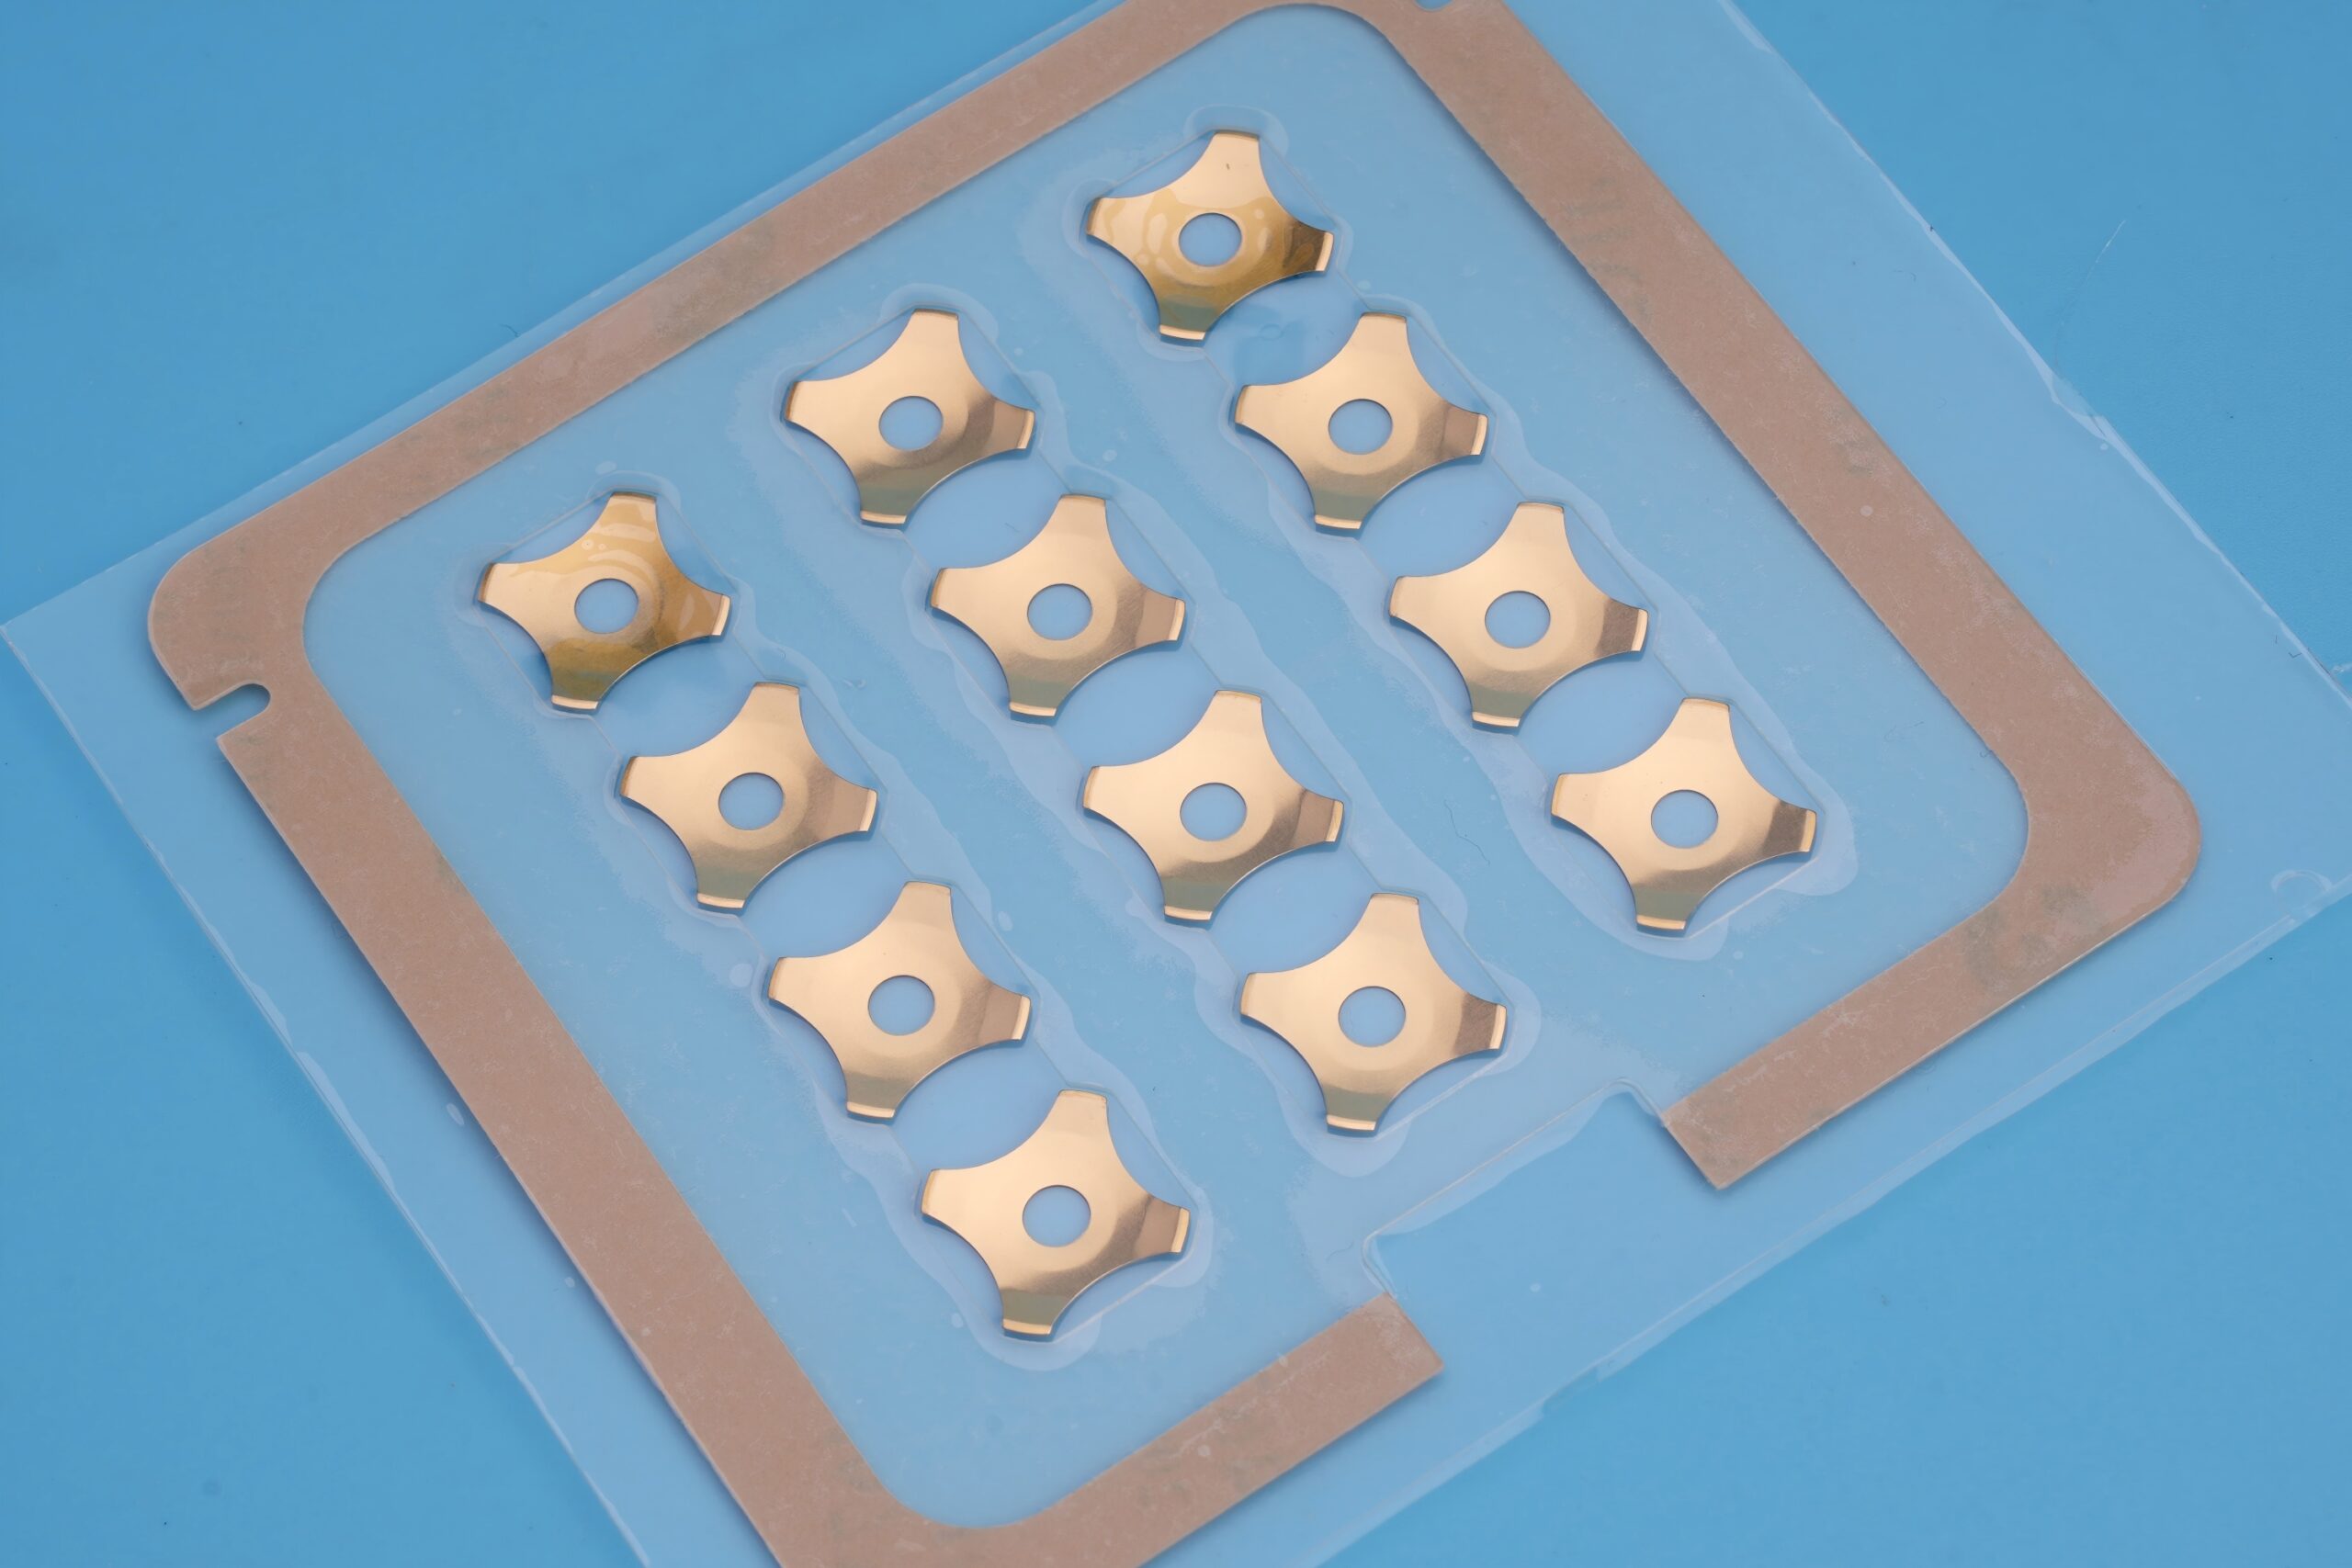
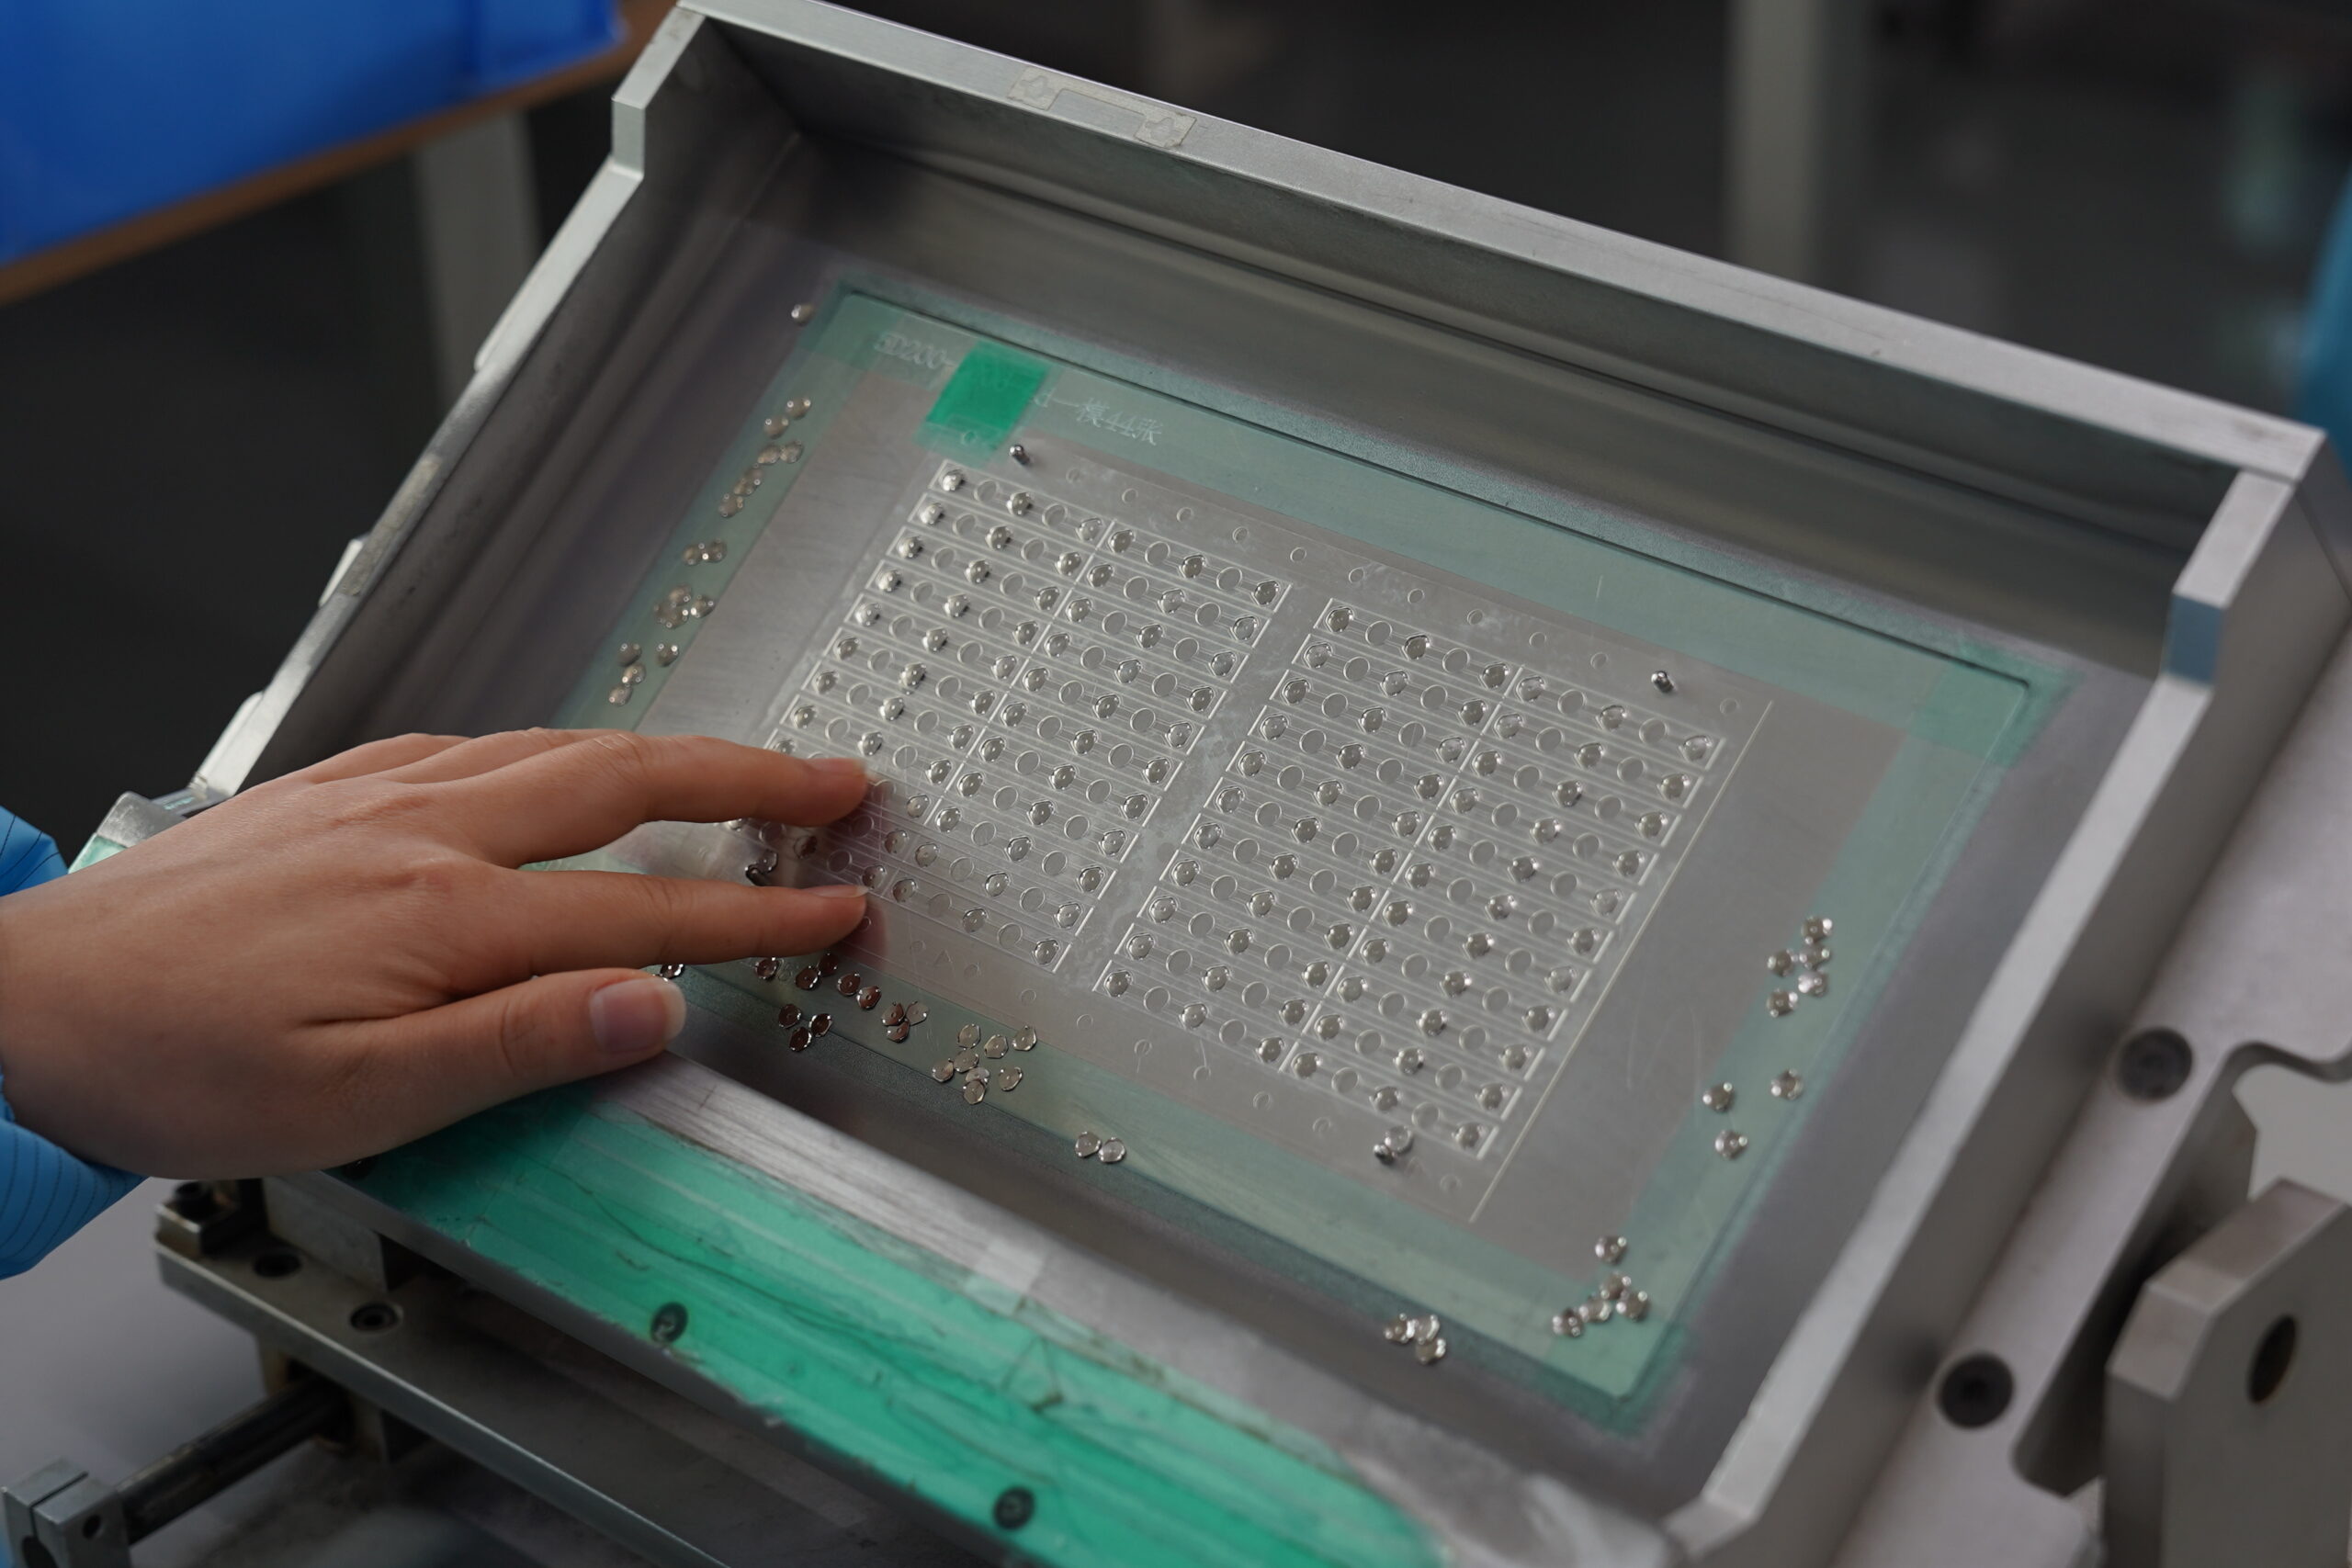
- High-Precision Array Capabilities: Array positioning accuracy can reach ±0.05mm, leading the industry in tactile consistency.
- Faster Delivery: Expedited samples shipped in 2-3 days, stable and efficient mass production lines, a capability highly valued by Brazilian customers.
- Complete certification support: We provide RoHS, REACH, and reliability test reports, ensuring compliance for our customers’ finished product exports.
- Strong customization capabilities: We can fully customize products based on parameters such as pressure, stroke, shape, and contact points.
- Extensive global export experience: We have long-term partnerships with numerous end brands in Brazil, North America, and Europe, and support OEM/ODM.
Top 10 dome array manufacturers in Brazil
| Manufacturer | Process Capabilities | Key Advantages |
|---|---|---|
| BEST Technology | Metal dome, Dome array, custom dome array, Tape & Reel packaging | High-precision array, fast delivery, stable lifespan over 1 million cycles, global shipment |
| TecnoDome Brazil | Basic Dome assembly | Fast local service response |
| ElectroPress Components | Simple metal dome structures | Cost advantage for mid to low-end products |
| FlexKey Brazil | Flexible membrane switches + Dome array | Can provide keyboard structural components |
| DomesPro Latin | Dome array panelization & engineering prototyping | Flexible handling of small batches |
| PressMetal Components | Basic metal stamping parts | Suitable for standard Dome requirements |
| KeyTouch Brazil | Membrane keyboards + Dome solutions | Combined delivery |
| SmartSwitch Labs | OEM/ODM component integration | Can produce complete button components |
| MetalFlex Group | Metal flexible parts and domes | Medium-sized manufacturer |
| SwitchCo Brazil | Small-batch customization | High flexibility |
How to choose a Brazil dome array manufacturer?
- Does the manufacturer have an independent engineering team to support structural design?
- Are the dome force values, lifespan, and travel customizable?
- Can the array placement accuracy reach ±0.05mm?
- Does it support Tape & Reel packaging for SMT assembly?
- Can it provide small-batch trial production?
- Is the mass production quality stable, and are there quality control records?
- Does it provide complete material certifications (RoHS/REACH)?
- Does it have automated production lines to ensure consistency?
- Can it provide fast prototyping and expedited services?
- Does it have experience in international shipping and after-sales service?

How does BEST Technology fully meet these requirements?
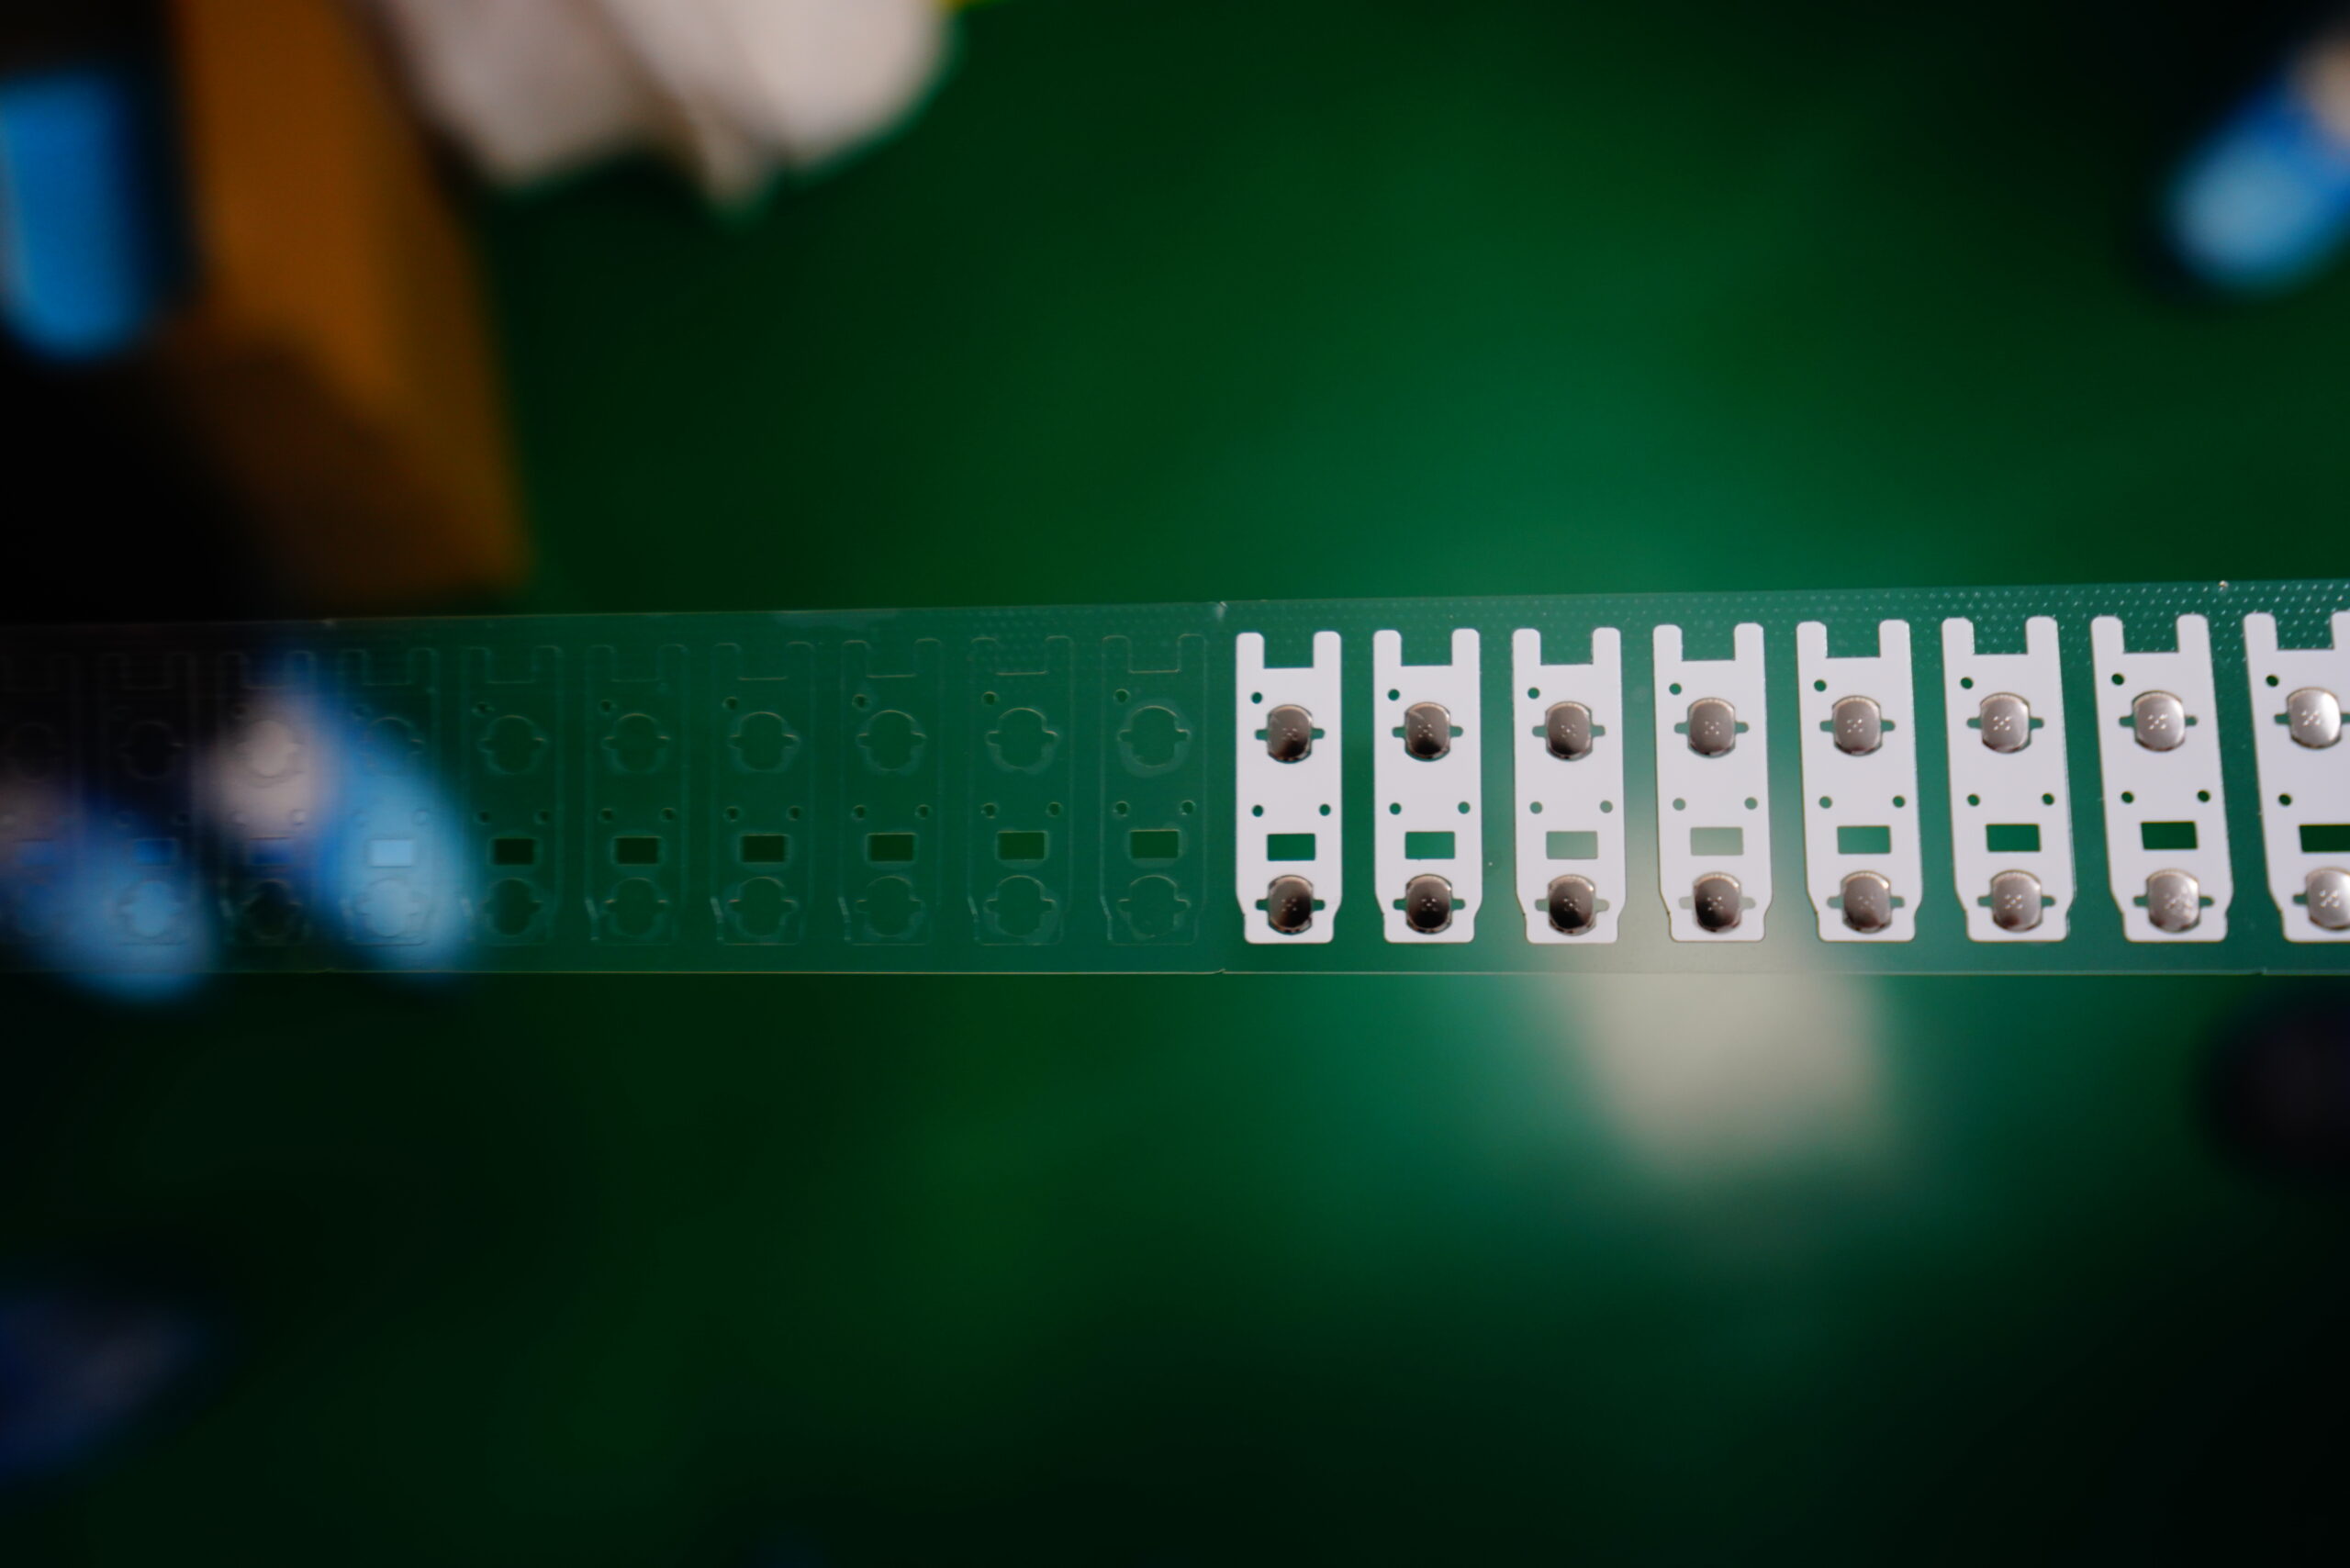
BEST Technology has over 20 years of experience in dome array R&D and manufacturing, with an independent engineering team that can provide structural adjustments and force value optimization based on customer drawings; array placement uses automated equipment, with accuracy stable at ±0.05mm; Tape & Reel packaging enables high-speed placement of 20,000–100,000 pieces/hour; supports small batches of 50 pieces and expedited samples; the entire production line is managed under the ISO9001 system, maintaining a long-term yield rate of over 98%; all metal materials have RoHS/REACH certification; and it has extensive experience exporting to Brazil, providing full-process control from engineering to mass production for local projects.
Core pain points of Brazil dome array manufacturers
- Inconsistent tactile feel between batches, leading to unstable overall product experience
- Insufficient engineering technology, unable to provide structural and lifespan optimization
- Long sample cycle, affecting project progress
- Insufficient array positioning accuracy (less than ±0.1mm), leading to reduced yield
- Poor material plating, prone to contact point oxidation
- Frequent dome misalignment problems during mass production
- Lack of export certifications for materials and processes
How does BEST Technology solve these industry pain points?
BEST Technology comprehensively improves consistency through high-precision fixtures, automated placement, and visual inspection systems, strictly controlling array accuracy within ±0.05mm; using imported stainless steel and reinforced plating technology to prevent oxidation, effectively addressing the export compliance needs of Brazilian customers.
How to evaluate the manufacturing capabilities of a Brazil dome array manufacturer?
- Do they have automated array assembly equipment?
- Is the production yield maintained above 98%?
- Do they have over 10 years of specialized experience?
- Do they provide pre-production engineering validation?
- Do they have reliability testing capabilities for lifespan, constant temperature and humidity, etc.?
- Can they strictly control the dome force deviation?
- Do they use imported stainless steel materials?
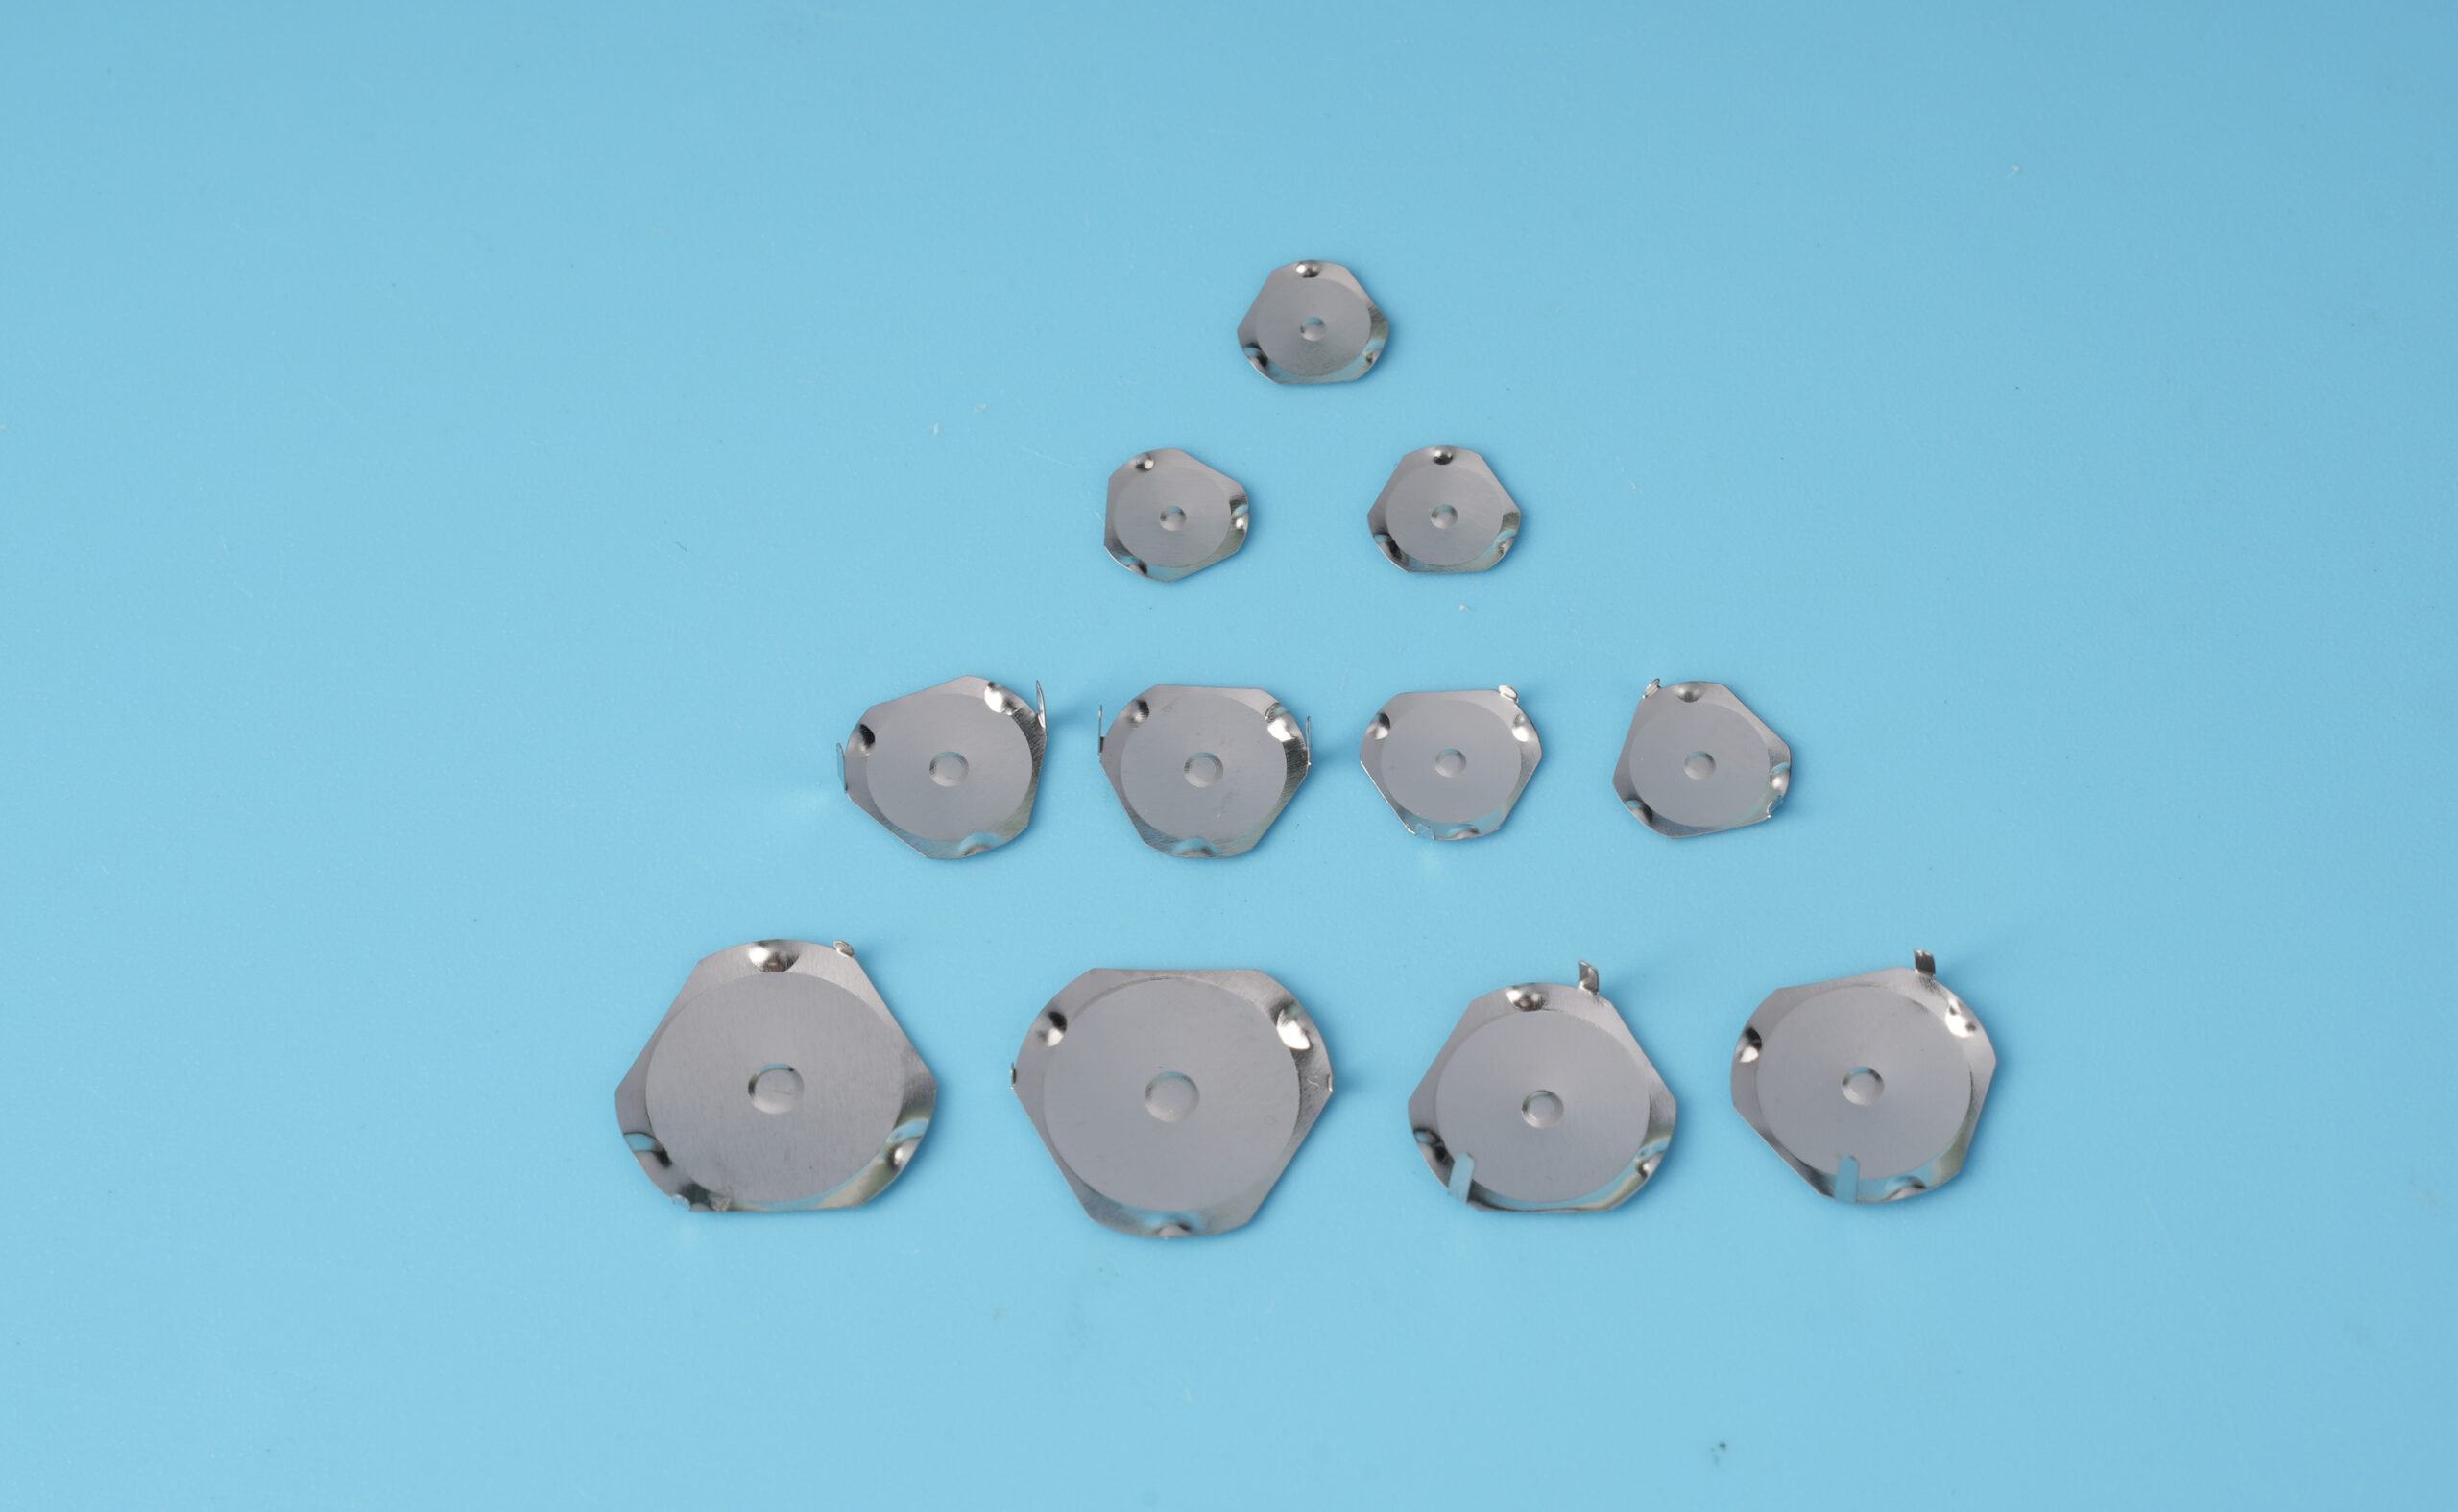
- Can they support various dome structures (four-legged, triangular, circular)?
- Do they support OEM/ODM?
- Are the factory scale and quality system up to standard?
How does BEST Technology demonstrate superior manufacturing capabilities?
BEST Technology provides DFM (Design for Manufacturability) assessments for all projects; the company has its own reliability laboratory to test key performance indicators such as lifespan, stress resistance, and temperature tolerance; it uses imported SUS301/304 high-quality steel; and can produce domes with various structures, including four-legged, triangular, and circular designs. The company also utilizes an ISO9001 factory system to ensure stable delivery capabilities for the Brazil project, from trial production to mass production.
How to evaluate the delivery time of a Brazil dome array manufacturer?
- Is the sample delivery time controllable within 7-10 days?
- Is large-volume delivery stable?
- Do they provide transparent and visualized delivery schedules?
- Do they have a material stocking system?
- Do they have the ability to quickly switch between multiple production lines?
- Can they provide expedited solutions?
- Do they have multiple production bases to mitigate risks?
- Do they have a production scheduling plan?
- Is the logistics and shipping system mature?
- Is the delay handling mechanism adequate?
How does BEST Technology guarantee the fastest delivery?
BEST Technology has a dual factory system in China and Vietnam, allowing for flexible capacity switching; the engineering team can provide Brazil customers with a 48-hour response, 2-3 day sample delivery, and stable mass production delivery times; and provides multi-channel shipping solutions such as DHL/UPS/FedEx to ensure that Brazil customers receive their products in the shortest possible time.
Brazil Dome Array Manufacturer Frequently Asked Questions (FAQ)
- Q1: Why is the tactile feel of the domes inconsistent?
A: Most manufacturers have insufficient placement accuracy or unstable force control. We guarantee consistency through ±0.05mm array accuracy.
- Q2: Why do the domes not reach a lifespan of 500,000–1,000,000 cycles?
A: Insufficient material or plating grade. We use high-grade imported steel and optimize the plating structure.
- Q3: Why do dome misalignments frequently occur in mass production lines?
A: Manual assembly stations cause errors. We use automated placement to improve yield.
- Q4: Why is the prototyping time for custom dome arrays so long?
A: Incomplete engineering team. We provide a 48-hour engineering response.
- Q5: Do products exported to Brazil require certification?
A: Yes. BEST provides complete documentation including RoHS, REACH, and lifespan testing.
- Q6: Do you support small batch orders?
A: Yes, we support orders starting from 50–100 pieces, flexibly matching the needs of early-stage projects.
- Q7: Can you provide Tape & Reel packaging?
A: Yes, it is especially suitable for SMT automatic placement projects.
When looking for the top 10 dome array manufacturers in Brazil, the best choice must possess high precision, fast delivery times, and stable mass production capabilities. BEST Technology is the manufacturer with the strongest overall capabilities among the top 10 dome array manufacturers in Brazil.